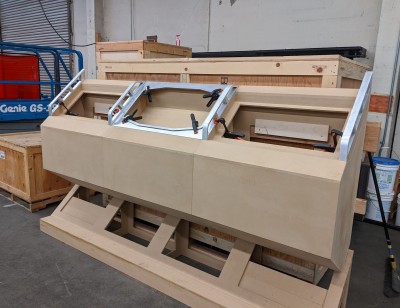
More assembly, now that we had plenty of MDF and metal pieces that needed to go together.
The cases for the wall consoles.
Attachment:
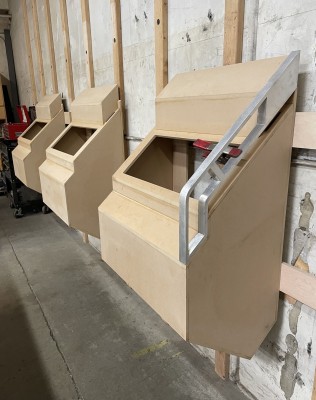 WallConsolesRaw.jpg [ 324.1 KiB | Viewed 156125 times ]
The large display wall in the vestibule. There'll be interactive consoles to the left and right, with the center being a display for a pulse rifle.
Attachment:
 VestibuleConsolesRaw.jpg [ 301.66 KiB | Viewed 156125 times ]
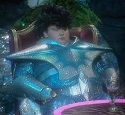
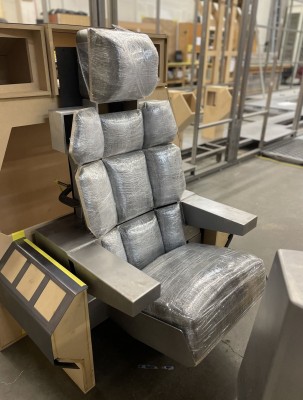
Meanwhile, we started to move forward on the upholstery. Here we're testing the shapes of the upholstery sections on the flight chair. This let us sit on it and see how it felt.
Attachment:
 BridgeChairUpholsteryTest.jpg [ 352.2 KiB | Viewed 156125 times ]
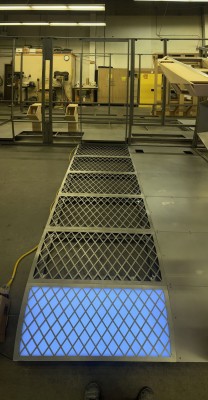
Lighting tests for the underfloor lighting in the bridge. The lighting panel is a fully controllable RGB. Due to the way the corridor goes inside a volume, we won't be able to do final lighting until it's in place. So at this point we were more focused on finding a flexible solution that we'd be confident would allow us to achieve our goals at the end.
Attachment:
 BridgeUnderlightingTest.jpg [ 284.29 KiB | Viewed 156125 times ]
Meanwhile, we'd finished priming a whole ton of the metal wall & floor pallets. In the back, you can see a box full of cables and other junk. While we were fabricating, we were also collecting boxes of old wiring, cabling, and electronics junk. We'd be using it wherever we could later in the build to achieve our weathering and high frequency detail goals.
Attachment:
 PalletsPrimedAndJunk.jpg [ 471.43 KiB | Viewed 156125 times ]
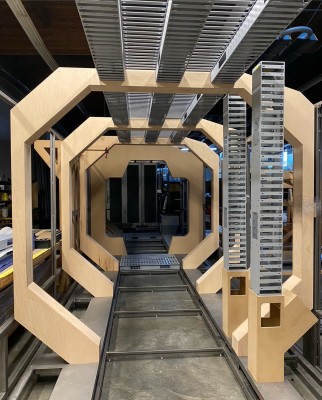
We couldn't resist seeing what the corridor looked like if we waited until it got dark. Even with just some primed pallets and raw MDF, it was getting exciting.
Attachment:
 NightPrimerTest.jpg [ 407.84 KiB | Viewed 156125 times ]
Next, EDS and some smaller details.