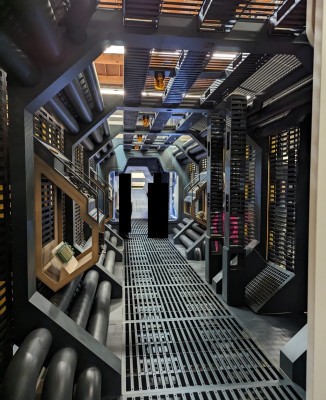
The larger pieces were the first things to make their way into the corridor - walls / ceiling / vertical columns, display cases. Larger pipes and venting in the corners, all now painted. None of the finer detail yet.
Attachment:
 CorridorAssembled.jpg [ 408.07 KiB | Viewed 158301 times ]
Another shot further down, in front of the entrance to the vestibule.
Attachment:
 CorridorAssembled2.jpg [ 484.13 KiB | Viewed 158301 times ]
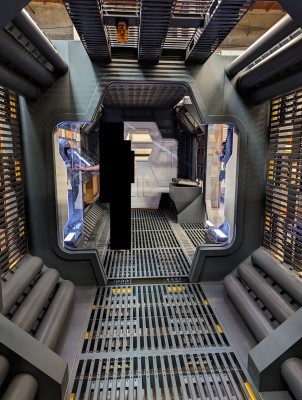
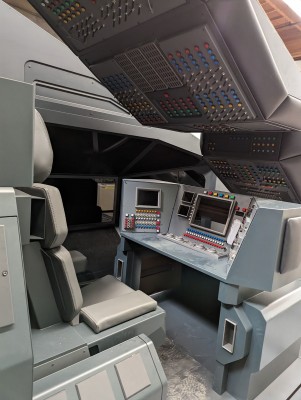
The Bridge was in a similar place. The right wall as you go in doesn't attach to the frame, which allows for this shot from a position outside of the Bridge itself. When it's in place, this won't be possible. Sorry for the blackouts, I didn't take a photo without people in it.
Attachment:
 BridgePainted.jpg [ 287.15 KiB | Viewed 158301 times ]
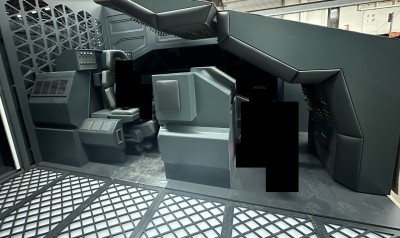
In front of the Bridge door, looking at the console. None of the electronics and finer detail in yet. Also, still all unweathered - the dust is not part of the design.
Attachment:
 BridgeConsolePainted.jpg [ 298.58 KiB | Viewed 158301 times ]
The two display cases in the vestibule were finally ready to show off their contents.
Attachment:
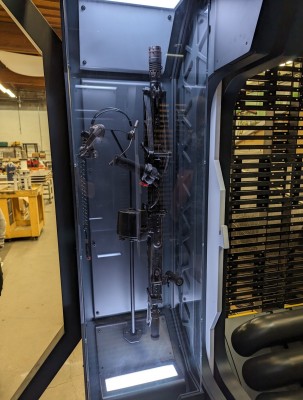 DisplayCaseSmartgun.jpg [ 314.3 KiB | Viewed 158301 times ]
Attachment:
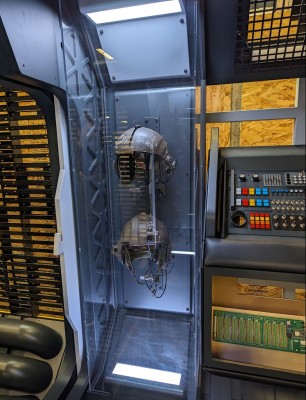 DisplayCaseFlightHelmets.jpg [ 418.95 KiB | Viewed 158301 times ]
Back in 2022, when I picked up Ferro's helmet from Propstore's auction, I mentioned I was building a shrine to it, and that I'd post photos when it was done. Sorry it took this long, but here they are.
As mentioned, this is all still focused on the larger detail. We had a big pile of junk we'd been collecting for months that we were hoping to use to greeble out the space once the big shapes were all in there.
Attachment:
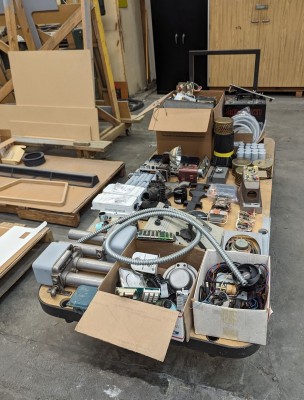 JunkPile.jpg [ 374.71 KiB | Viewed 158301 times ]
And here's a bonus pic of what it all looks like from the outside, sitting in the warehouse. That's the sliding airlock door on the truck in the foreground.
Attachment:
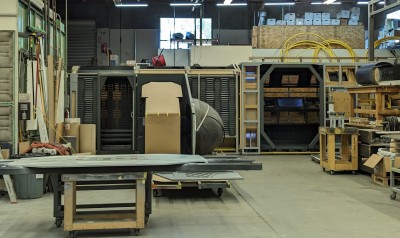 WarehouseView.jpg [ 439.96 KiB | Viewed 158301 times ]