Ok, here is a tutorial on how to easily rewire a Snow Wolf PR. Be advised: this will cause the counter to drop every time the trigger is pulled, and all you will need is regular 9V battery. But it also removes the airsoft function entirely. If you want to play airsoft with your PR, this is not the mod for you.
To begin, field strip the rifle. By that, I mean remove the shrouds until you are left with the metal Thompson base. There are lots of threads on how to do this, you can look at my build
viewtopic.php?f=3&t=12661 but it's a bit long now. You will have to break the wires free from the hot glue, but it's not strong hot glue so it shouldn't be a problem.
Once you have field stripped the rifle, you should have something that looks like this:
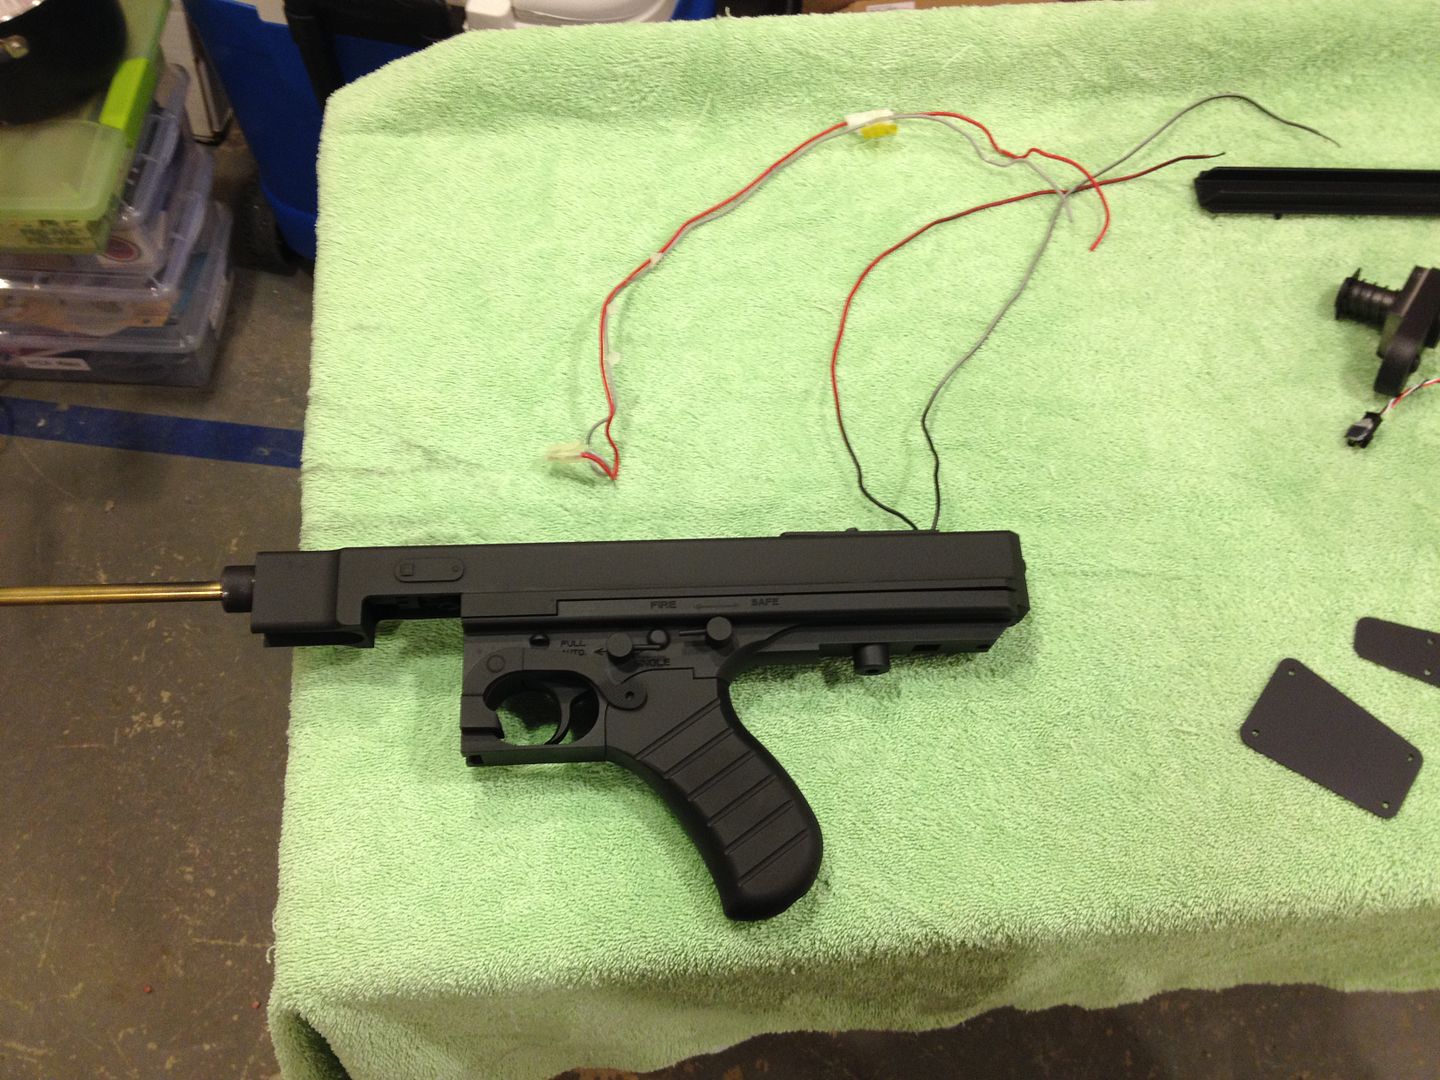
Those leads go from your 8.4V airsoft battery to drive the motor. You will not need them. The whitish block on the red lead is a fuse. Cut both wires close to the fuse. Extra length can be trimmed later, but adding it back is a real pain.
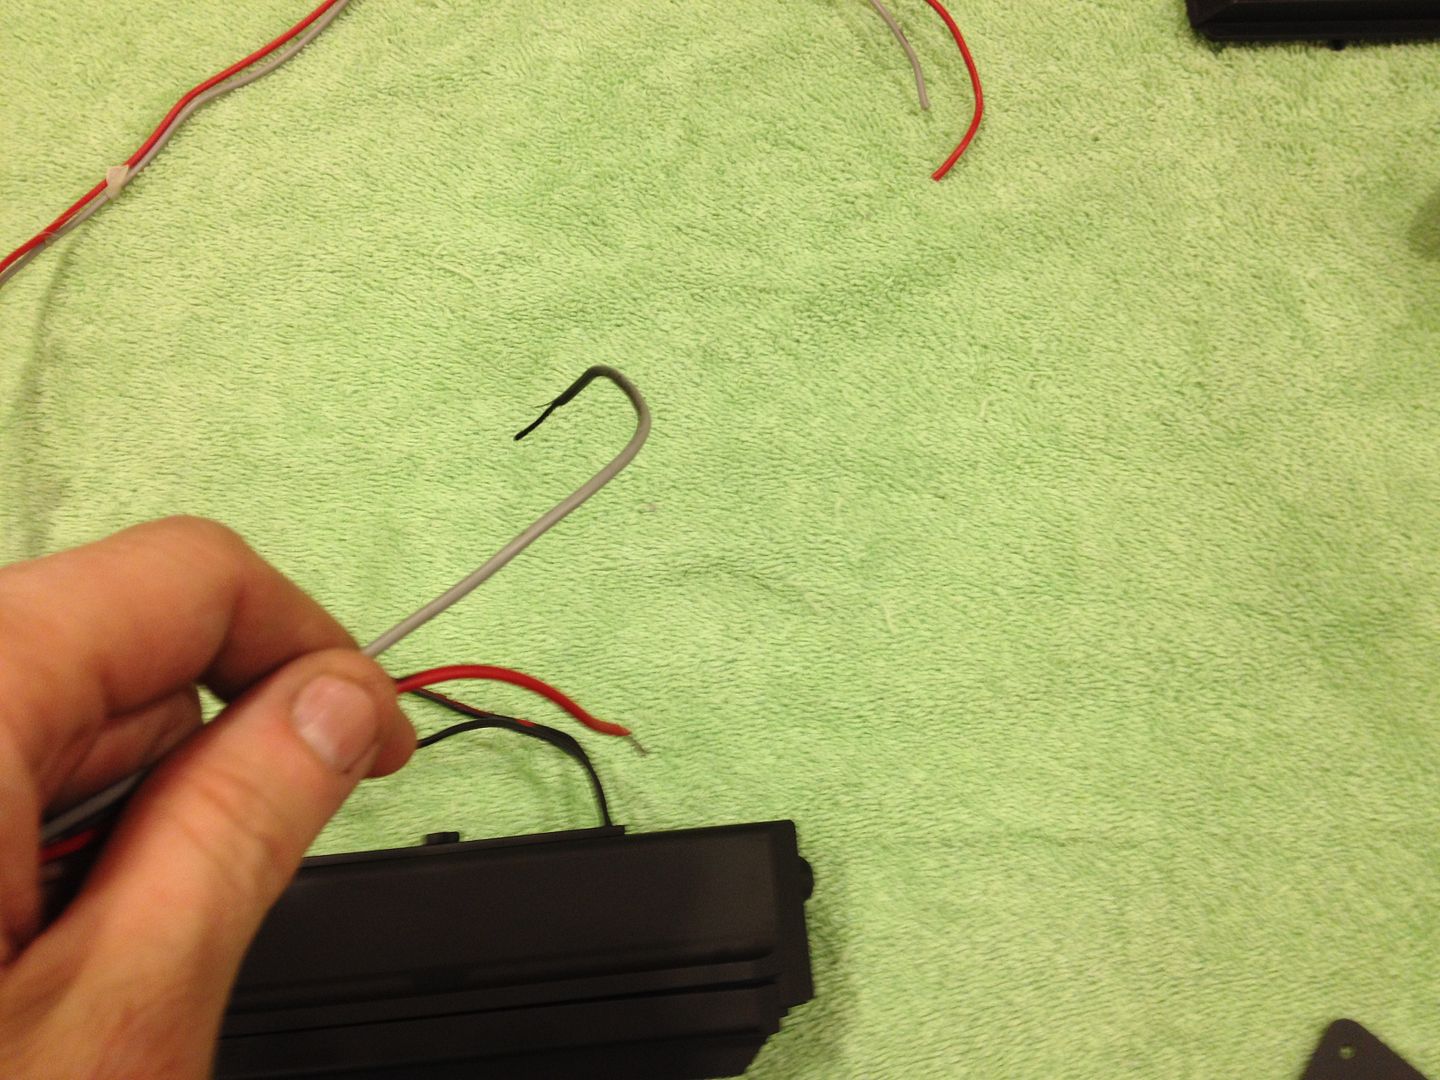
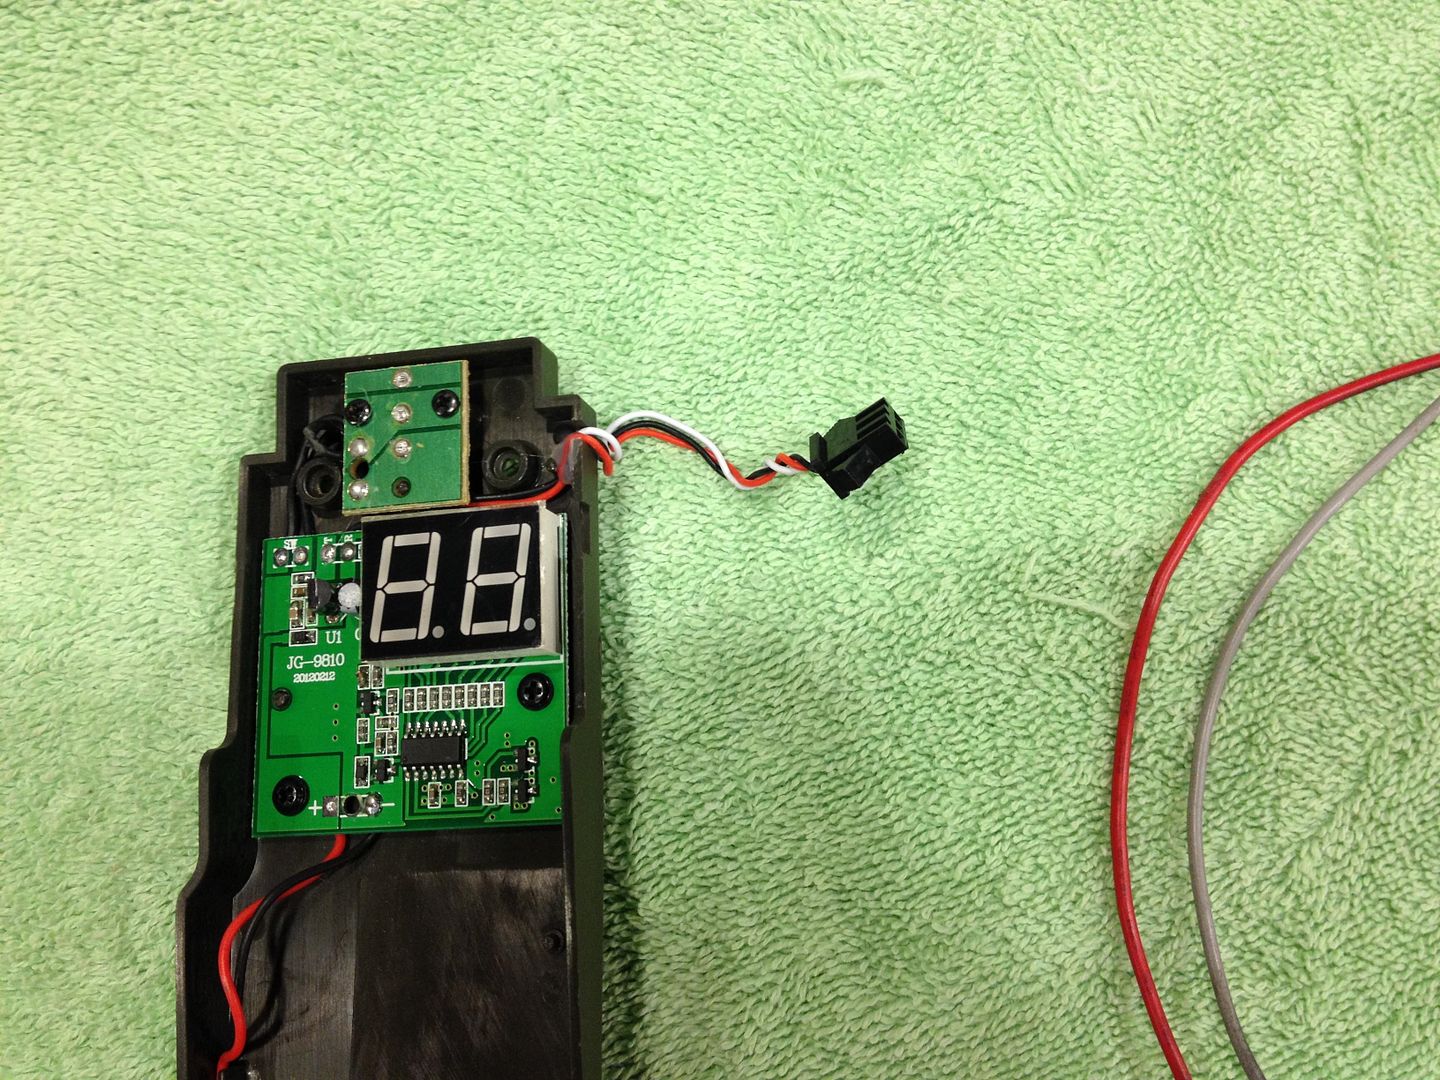
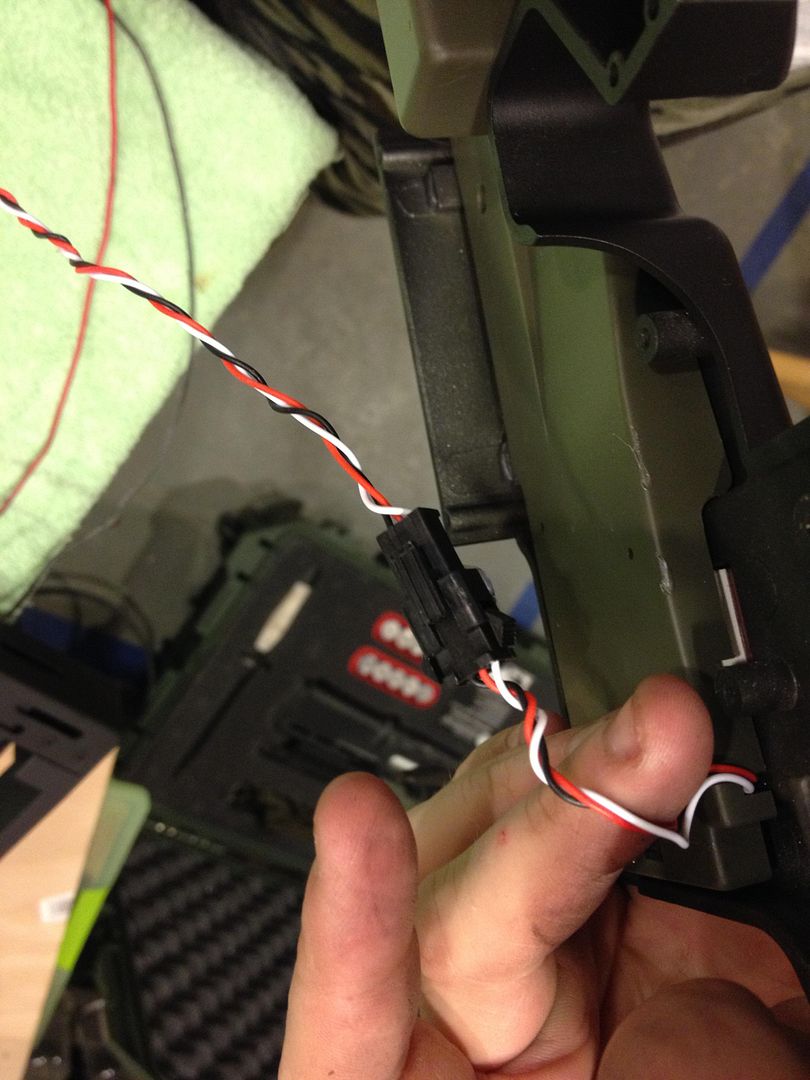
When you disassemble the counter assembly, you will notice a three wire string going to the barrel. This is the input to the circuit from the BBs that tells the counter to count down. You're going to spoof it by wiring in the trigger. There is a black connecter connecting the barrel wire to the counter assembly. You can pull it apart. It will look like this:

The other end will be attached to the barrel housing. Cut that as close to the barrel housing as possible. Again, length will be trimmed later.
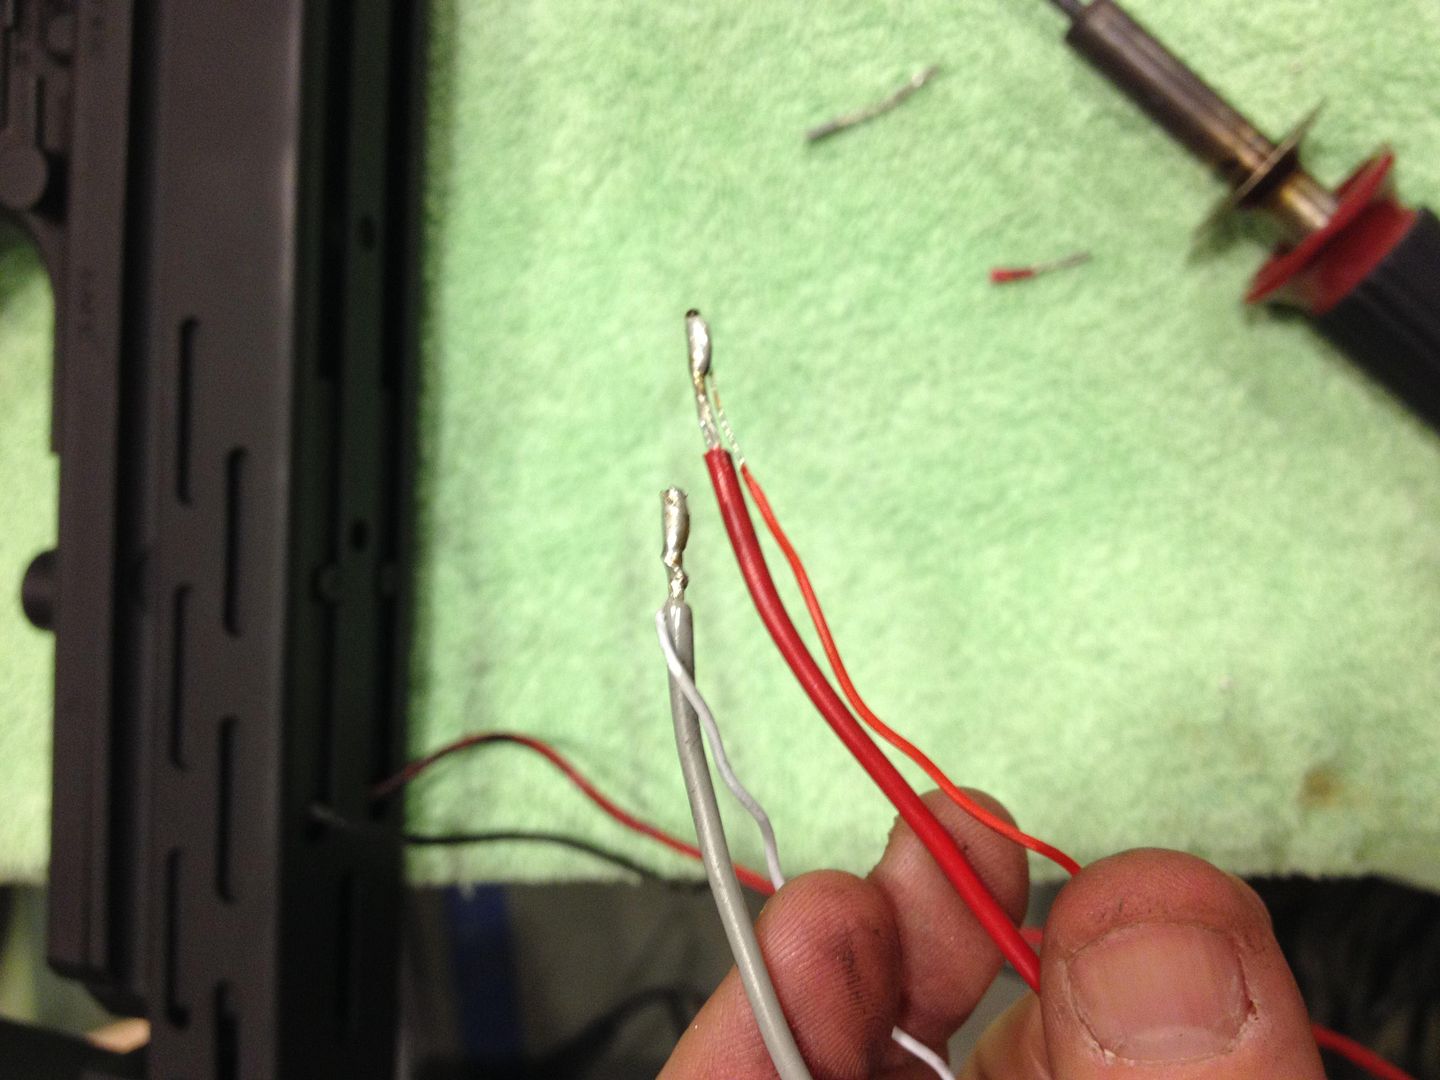
Ok, so you now have two big wires (red and white) going into the Thompson and three small wires (black, red, and white) going into a clip. For the three wire string, you do NOT need the black wire. It won't affect anything, and you're not going to connect it to anything. For the red and white wires, trim back some of the insulation so you can see the wire itself. Use a sharp blade, GENTLY, or even better, a wire trimmer designed for the task. You should have four bare end now. (the big wires are probably silver coloured, the small wires copper). IT DOES NOT MATTER WHICH YOU CONNECT TO WHICH. You are using the fact the trigger will change the circuit from an open to a short; that is all the digital counter needs to see. Just for simplicity, I did red to red and white to white.
You will need to connect those wire together. I recommend solder, but you can get very small wire caps and just thread them together. The soldering is not hard to do, even with the crappy equipment I have at hand.

This is a good time to do a quick test fit of the leads; if you put the Thompson back into the shroud and route the wires you will get a feel for how much wire you have to work with. If there is too much, trim the wire before you solder together, but LEAVE ROOM FOR MISTAKES! There is a good amount of space in the shroud to tuck extra wire in.
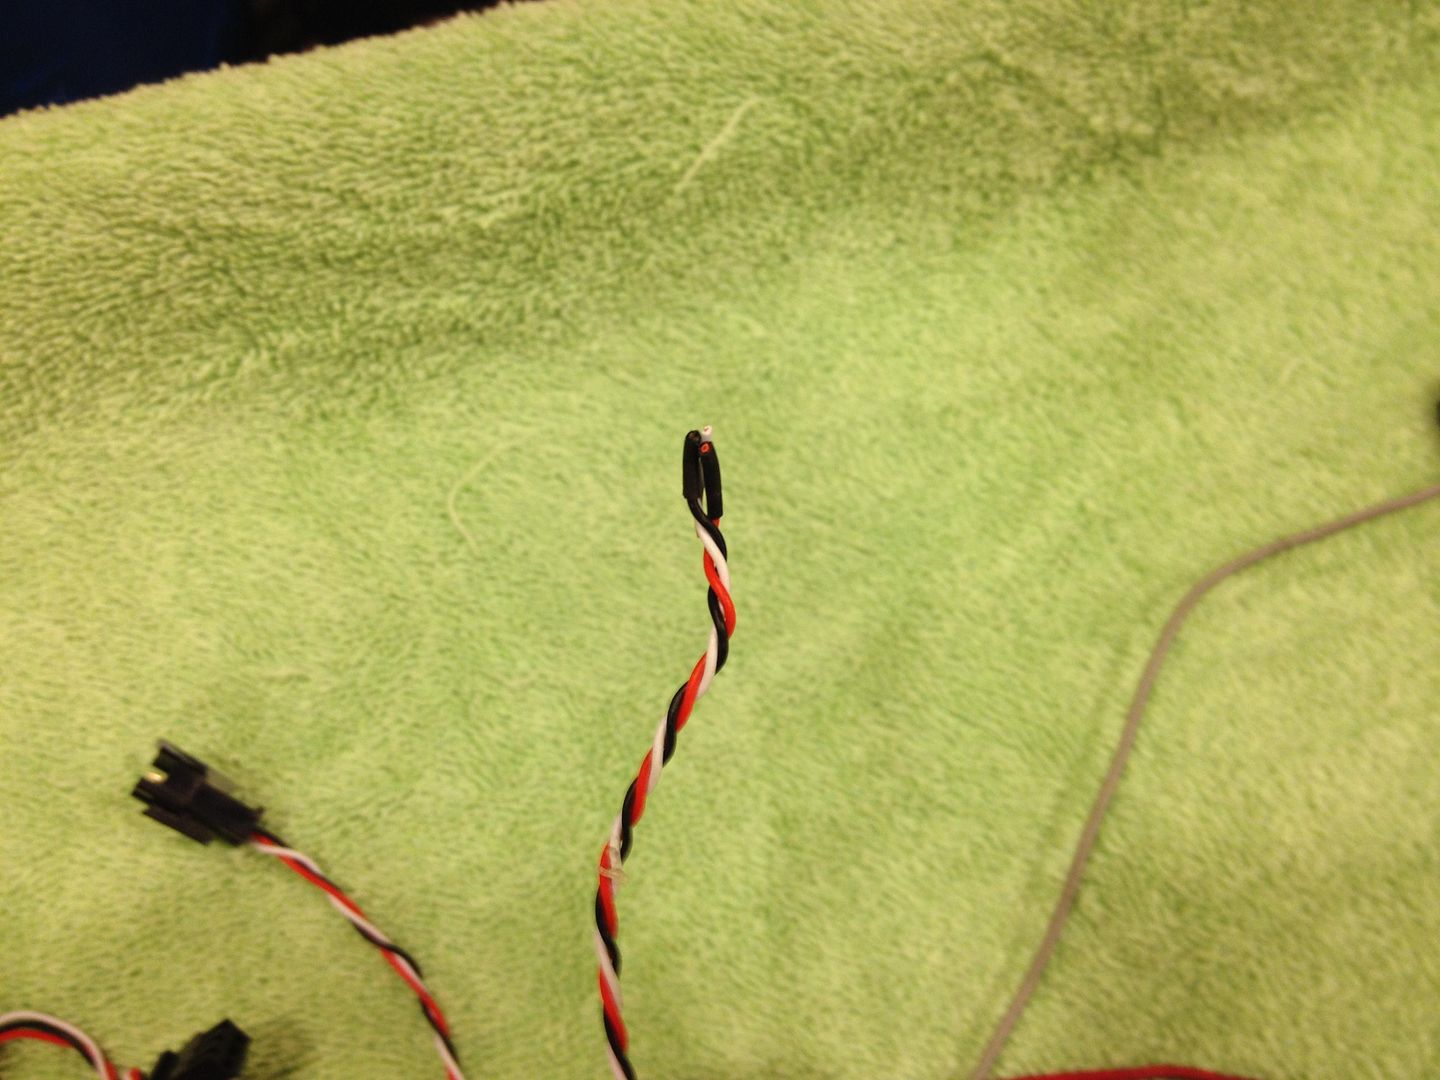
Tint (apply solder) to each exposed wire end, then mate up the ends (one wire each) and solder them together. I did the leads parallel to each other; this makes it less likely to pull apart and there is plenty of room in the gun. This is a lousy looking solder job, but it works:
Once they are solder together, then use a small bit of electrical tape and cover the solder and down the wires just a bit.
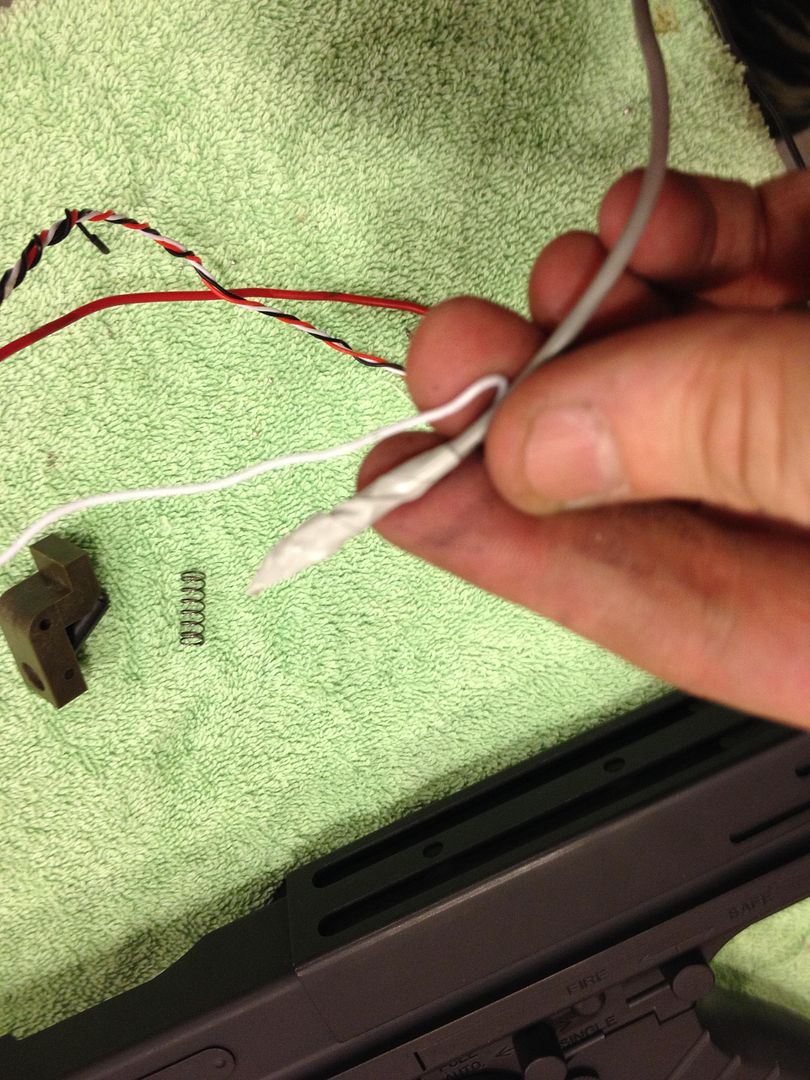
Again, to make sure I didn't stress the connections, (I am especially concerned about the small wire), I folded the wire back into a straight run and taped again.
Reconnect the clip back to the assembly.
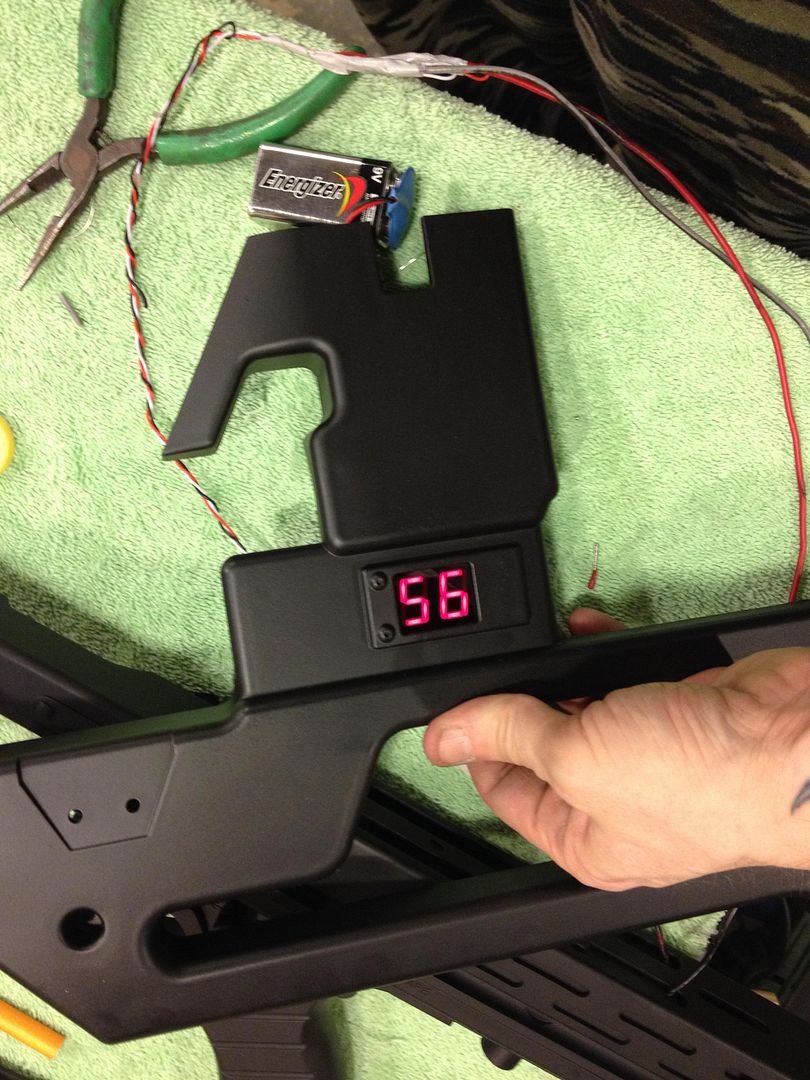
At this point, you're done. You just have to reassemble, but I recommend putting in a battery and giving it a test before you close it up. Just in case.
I hope this is helpful!
Charlie
_________________
"There is a clause in the contract which specifically states any systematized transmission indicating a possible intelligent origin must be investigated. On penalty of total forfeiture of shares. No money."