The discussion of the Alien series of films and the props used in them is the aim, but if it's got Big Bugs and Big Guns, then they are welcome too!


Post new topic Reply to topic  [ 340 posts ]  Go to page Previous  1, 2, 3, 4, 5, 6 ... 14  Next
Author Message
 Post subject: Re:
PostPosted: Sat Mar 09, 2013 10:26 pm 
MODEL 120-A2
User avatar

Service Number: A04/TQ0.0.72178E5
Country: United States
punkmarine wrote:
Hi Charlie

Can I ask why you aren't thinking about using a SA camo paint job on your armour?

Just a thought, but you may want to go more fully SA in the future (as many do, with the correct BDU's etc) and will then have to repaint the armour.

The SA armour camo will still look fine with your multi-cams IMHO.

Martin


I suppose it's mainly my personality coming out, just like why I chose multicam instead of screen accurate BDUs. I've done SA costumes before (I was part of the 501st and had a lot of approved costumes). But when things are made for a movie, they're made to look good for the specific scenes they are in. They aren't really functional. For example, to be screen accurate, I would take foam blocks and wrap them in the OD canvas, just like they did for Frost's pouches. But that doesn't hold up to really close inspection. I try not to look good at 20 feet away, or 10 feet away, but right up close and personal. So when I work on a costume, I go for as much real world functionality as I can. As another example, I've got a SA ESB Boba Fett. Looks great. Takes me about 45 minutes to actually get suited up, I need at least one other person to get me in it, and I can't really sit down. When I built my custom Mandalorian, I redesigned the whole function of the costume. I can put it on in 15 minutes, by myself, I can walk and run and sit down and go to the bathroom (damn near impossible in the Fett) but it still looks like it could have walked off the screen of a Star Wars movie. I came out with this:

Image

Not a Fett, but everyone knows it's Star Wars when they see it. More over, I love the look. I apply the same philosophy to the Colonial Marine. I'm going to take the ideas inspired by the movie look; where they work I use them. Where I think they don't, I change them. I want to go for a Marine that looks like what I want it to look like. So for the BDUs, I would rather resew a set of multicam, cause I just love that camo scheme. Same for the armor. The originals were hand painted on with brush; I won't do that cause I don't like the look (and I hate painting that way anyway). I would rather go with a custom paintjob that I like over trying to match the screen. Hopefully I will end up with a paintjob that I really like that is still recognizable as Colonial Marine.

Bit of a longwinded answer, but I hope that answers your question. :)

Charlie

_________________
"There is a clause in the contract which specifically states any systematized transmission indicating a possible intelligent origin must be investigated. On penalty of total forfeiture of shares. No money."


Image


Top
 Profile  
Reply with quote  
 Post subject:
PostPosted: Sun Mar 10, 2013 2:16 am 
K....that Mandalorian kit is awesome. I WANT IT LOL.

I like your philosophy. That is why I am trying for a set of Polish desert bdu's, and using some real kit with my loadout.


Top
  
Reply with quote  
 Post subject:
PostPosted: Sun Mar 10, 2013 2:38 am 
User avatar

Location: Southampton, UK
Country: United Kingdom
That's a nice kit. What's your mercs name? not been particularly active in a while, but i've been official a good few years now, i think i've seen your kit pop up on facebook a few times!


Also, i'm white, red, covered in spikes and using repcomm gauntlets too, we should probably duel or something. there can be only one, and all that.

I like the graffiti on the CM concept, btw!


Top
 Profile  
Reply with quote  
 Post subject:
PostPosted: Sun Mar 10, 2013 8:35 pm 
MODEL 120-A2
User avatar

Service Number: A04/TQ0.0.72178E5
Country: United States
Thank you all for the compliments on the Mando. His name is Xorim Kor. It was a fun project. I rarely wear him anymore; last time was CV. He's on display now.

But back to the Marine!

I weathered the SPAS cage. I'm not sure I went too much or too little. It's hard to tell. Thinking about it, I should have waited and weathered the whole PR at once. Oh well. I can always go back and recover it in black and then reweather.

Image

Image

I also had some nice weather today for a change, so I got up early and painted. I did the shroud and it's associated parts in green. The rest of the gun I hit with flat black to get a uniform look for the gun parts. For the green, I used Rusteolum Dark Forest Green. I think it came out well:

Image

Image

Image

Image

I didn't disassemble the Thompson again. I just hit that with flat black.

Image

Finally I went back and did the screws for the shroud. I took a piece of two by four and drilled holes to put the screws in. I didn't want to mess up the threads, just get the heads to match the shroud plates.

Image

If you will note, I wrote on the board to make sure I could go back and properly reference which screws go where. That's why they are clumped together in little groups. I wasn't sure if the writing would show through the paint (enough did) but the pattern would let me match everything back up.

Image

Image

I'm waiting on a few more parts. When the swivels get here, I will have to drill out the mounting points. That might require a little repaint on the forend and the stock; not too big a deal since I will have to hit the swivels and D-rings anyway to get them to match. Also, waiting on the 30mm SD Studios grenade to show up. Oh, and I ordered a set of tritium nights to mount on the rail. :) Once I get those parts, it'll be time to put it all back together.

I am also trying to find a red filter to put over the counter to make it "pop" a little more. I think I will take another trip to the craft store and see if I can't find a red transparency.

Charlie

_________________
"There is a clause in the contract which specifically states any systematized transmission indicating a possible intelligent origin must be investigated. On penalty of total forfeiture of shares. No money."


Image


Top
 Profile  
Reply with quote  
 Post subject:
PostPosted: Sun Mar 10, 2013 9:20 pm 
Charlie,

I have scoured dollar stores and craft/hobby stores, and couldn't find a red transparent piece of thin plastic to save my life. If you find one, let me know please!


Top
  
Reply with quote  
 Post subject:
PostPosted: Sun Mar 10, 2013 9:31 pm 
User avatar

Location: Southampton, UK
Country: United Kingdom
Magnus, easiest way, at least over here, is transparent plastic folders in stationery stores. Tend to come colourcoded, can generally find them in red. :) Thin plastic, and the flexibility obviously doesn't matter when it's tinting something else.


Top
 Profile  
Reply with quote  
 Post subject:
PostPosted: Mon Mar 11, 2013 5:18 am 
I tried...all the "red" ones are actually magenta. Not sure if that will work or not with the LED display.


Top
  
Reply with quote  
 Post subject:
PostPosted: Mon Mar 11, 2013 5:57 am 
User avatar

Location: Southampton, UK
Country: United Kingdom
Huh, weird. i've found a few true-red ones here, not too many to be fair, like you said mostly offcolours. They definitely exist out there, but if you can't just stumble across one at a local shop then yeah, better to just hunt online for basic materials.


Top
 Profile  
Reply with quote  
 Post subject:
PostPosted: Mon Mar 11, 2013 6:09 am 
MODEL 120-A2
User avatar

Service Number: A04/TQ0.0.72178E5
Country: United States
You can also make a new screen. I used on a online plastics company, I think it was Davies plastics, to get 1/8" thick transparent red plexiglass. I used it for lens in my resident evil gas mask.

Charlie

_________________
"There is a clause in the contract which specifically states any systematized transmission indicating a possible intelligent origin must be investigated. On penalty of total forfeiture of shares. No money."


Image


Top
 Profile  
Reply with quote  
 Post subject:
PostPosted: Mon Mar 11, 2013 12:03 pm 
Thanks, I will try that if everything else fails.


Top
  
Reply with quote  
 Post subject:
PostPosted: Mon Mar 11, 2013 12:43 pm 
MODEL 120-A2
User avatar

Service Number: A04/TQ0.0.72178E5
Country: United States
It's Delvies Plastics. http://www.delviesplastics.com/

Good prices. Dunno about shipping to Canada, but you can buy individual sheets. And you can get red as thin as 1/16"

Charlie

_________________
"There is a clause in the contract which specifically states any systematized transmission indicating a possible intelligent origin must be investigated. On penalty of total forfeiture of shares. No money."


Image


Top
 Profile  
Reply with quote  
 Post subject:
PostPosted: Mon Mar 11, 2013 7:11 pm 
Cool...I've sent Delvies an email on a 12"x12", 1/16" sheet of red. Now if someone on the forum needs a bit I'll have extra. (If the shipping cost isn't too much through Delvies).


Top
  
Reply with quote  
 Post subject:
PostPosted: Tue Mar 12, 2013 2:22 pm 
MODEL 120-A2
User avatar

Service Number: A04/TQ0.0.72178E5
Country: United States
My wife got me a transparent red "poly zip envelope" from Staples. Basically, a cheap little envelope holder with a 3 business card holders. Not very robust, but it's super thin. I cut up a bit as a test; it's not a dark red like I would like, more magenta almost, but double layered over the clear screen and it looks fine. More importantly, it hides the visible but unlit segments of the counter. and it was a dollar. Woot woot. I am trying a couple of layering tricks (I think three might be ideal but I don't know yet). Still working nights so I won't be doing a whole lot. On the plus side, the last of my patches showed up. I got the correct white bordered from patchesnpins and nametapes from camotech.

This is what I started with:

Image

Your basic Propper multicam ACU shirt.

This is what is going to the seamstress:

Image

Image

Image

I had my wife help me center the patches up and get them properly measured. I used 1.75" from the center seam, centered on my arm from the top of the shoulder for the eagle and the flag. The sergeant's stripes are 1/2" centered below the flag. I also have some detailed sketches about the mods to collar that I want, as well as "finished look" sketch. I will try to get those posted soon. Hopefully I can get the shirt over to the seamstress on Thursday, but I have no idea how long it will take her to get it finished. Not a big rush, since I won't be ordering my armor til Friday and it will take months to get here anyway.

Charlie

_________________
"There is a clause in the contract which specifically states any systematized transmission indicating a possible intelligent origin must be investigated. On penalty of total forfeiture of shares. No money."


Image


Top
 Profile  
Reply with quote  
 Post subject:
PostPosted: Tue Mar 12, 2013 5:27 pm 
Not too hard removing the velcro'd pockets on the sleeves?


Top
  
Reply with quote  
 Post subject: Re:
PostPosted: Tue Mar 12, 2013 9:08 pm 
MODEL 120-A2
User avatar

Service Number: A04/TQ0.0.72178E5
Country: United States
Magnus wrote:
Not too hard removing the velcro'd pockets on the sleeves?


The sleeves were quite easy. I used a seam ripper and went very slow. The latching stitch (where it doubles over itself) was a bit tough, but there I never ripped the sleeve. There were some faint "stitch lines" were the sleeves used to be, but the patches cover a lot of that and it should be gone in a few washes. Almost impossible to see it anyway from any kind of distance.

Removing the stitching on the velcro on the front was tougher. It was really stitched in well (makes sense since it was velcro and would have a lot of force applied removing patches and whatnot). There was a little bit of fraying from removing the stitch locks, but it's nothing that I would cry over and the nametapes will cover it all.

I will have to some stitching resewn. Mostly on the front zipper; I had to get through the stitiching to remove the velcro. Everthing else I removed was independent of the mainly clothing stitching (the pockets were all sewn on top, etc) but the velcro rank patch was part of the center seam. Not a big a deal to fix though.

Charlie

_________________
"There is a clause in the contract which specifically states any systematized transmission indicating a possible intelligent origin must be investigated. On penalty of total forfeiture of shares. No money."


Image


Top
 Profile  
Reply with quote  
 Post subject:
PostPosted: Wed Mar 13, 2013 9:15 am 
User avatar

Location: Almelo
Country: Netherlands
that's coming along nicely!! good job


Top
 Profile  
Reply with quote  
 Post subject:
PostPosted: Thu Mar 14, 2013 12:52 am 
MODEL 120-A2
User avatar

Service Number: A04/TQ0.0.72178E5
Country: United States
Well I have my tritium sights, my d-rings and swivels, my red tint, and my SD studios grenade. Most importantly, I have a day off tomorrow. I'm going to put the PR back together. More pics to follow!!

Charlie

_________________
"There is a clause in the contract which specifically states any systematized transmission indicating a possible intelligent origin must be investigated. On penalty of total forfeiture of shares. No money."


Image


Top
 Profile  
Reply with quote  
 Post subject:
PostPosted: Thu Mar 14, 2013 12:57 am 
This I can't wait for. Where did you get the sights Charlie?


Top
  
Reply with quote  
 Post subject: Re:
PostPosted: Thu Mar 14, 2013 2:49 am 
MODEL 120-A2
User avatar

Service Number: A04/TQ0.0.72178E5
Country: United States
Magnus wrote:
This I can't wait for. Where did you get the sights Charlie?


Midwayusa. They are triijicon AR15 sights. I can post a link to the particular model tomorrow. Used the Triijicon model because it has tritium on on both the post (front) and apature (rear). It's a very close match to the game. Requires a little drilling but the way the sight rail on the PR is setup it's easy to install.

Charlie

_________________
"There is a clause in the contract which specifically states any systematized transmission indicating a possible intelligent origin must be investigated. On penalty of total forfeiture of shares. No money."


Image


Top
 Profile  
Reply with quote  
 Post subject:
PostPosted: Thu Mar 14, 2013 3:29 am 
Yeah, if you don't mind. I would maybe like to see what type of sights I could stick in there.


Top
  
Reply with quote  
 Post subject:
PostPosted: Thu Mar 14, 2013 1:04 pm 
MODEL 120-A2
User avatar

Service Number: A04/TQ0.0.72178E5
Country: United States
This is the set I ordered:

http://www.midwayusa.com/product/428560 ... tium-green

I'm planning on using a spare A2 sight bolt to fix it in place on the PR. Hopefully that will secure it and prevent any wobble. Magnus, you might have a problem getting them from that source though; I think they are controlled by export laws. I don't know if you can get them in Canada or not.

Here is my sketch I'm bringing to seamstress.

Image

She is normally pretty good at interpreting my sketches :)

Charlie

_________________
"There is a clause in the contract which specifically states any systematized transmission indicating a possible intelligent origin must be investigated. On penalty of total forfeiture of shares. No money."


Image


Top
 Profile  
Reply with quote  
 Post subject:
PostPosted: Thu Mar 14, 2013 10:48 pm 
User avatar

Location: San Clemente, Ca.
Service Number: A05/TQ1.0.32155E1
Country: United States
So, you are doing more like Hudson's pulse rifle for the sights? Please don't put them as close together as they have them in the game. That sight radius makes no dam sense.

Image

The MK2 has a taller blade front sight and more of a shotgun fiber optic ghost ring rear sight. But at least the sight radius actually makes sense.

Image[/img]


Top
 Profile  
Reply with quote  
 Post subject:
PostPosted: Fri Mar 15, 2013 1:19 am 
MODEL 120-A2
User avatar

Service Number: A04/TQ0.0.72178E5
Country: United States
I am doing the MK2 sight radius. I agree, Hudson's setup makes no sense. My sights are not EXACTLY like those, but my rear sight is a ghost ring, with 2 tritium beads. The front sight is a square post; the bead is bigger but it's real world functional so that trumps matching the game to me. :) I should have pics up tonight.

Charlie

_________________
"There is a clause in the contract which specifically states any systematized transmission indicating a possible intelligent origin must be investigated. On penalty of total forfeiture of shares. No money."


Image


Top
 Profile  
Reply with quote  
 Post subject:
PostPosted: Fri Mar 15, 2013 9:10 am 
MODEL 120-A2
User avatar

Service Number: A04/TQ0.0.72178E5
Country: United States
MY PR IS REBUILT! Woot woot!

I started with D-rings and swivels. Actually, I hodgepodged from part to part all night, waiting for adhesives and paint to dry. I started with these:

Image

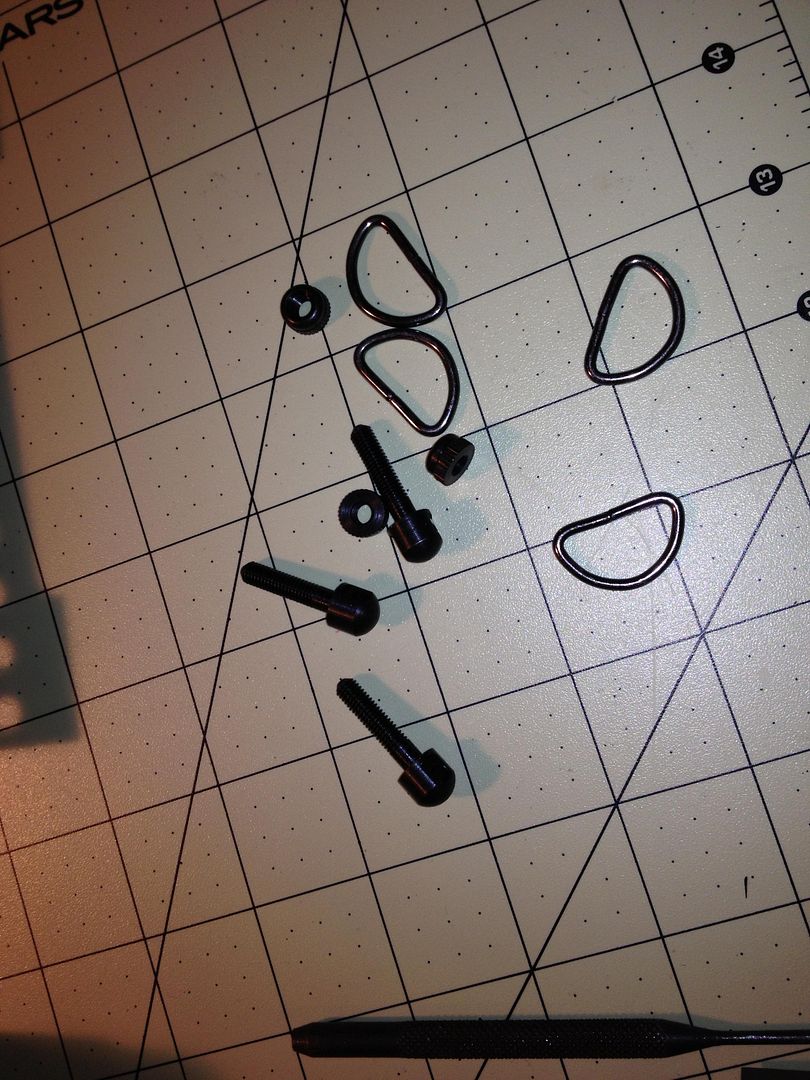
Ultimately, the d-rings were too small. So I went back to Tandyleather d-rings I ordered. They were too thick to fit in the swivels. So I drilled the swivels out, and everything fit fine. Yay!

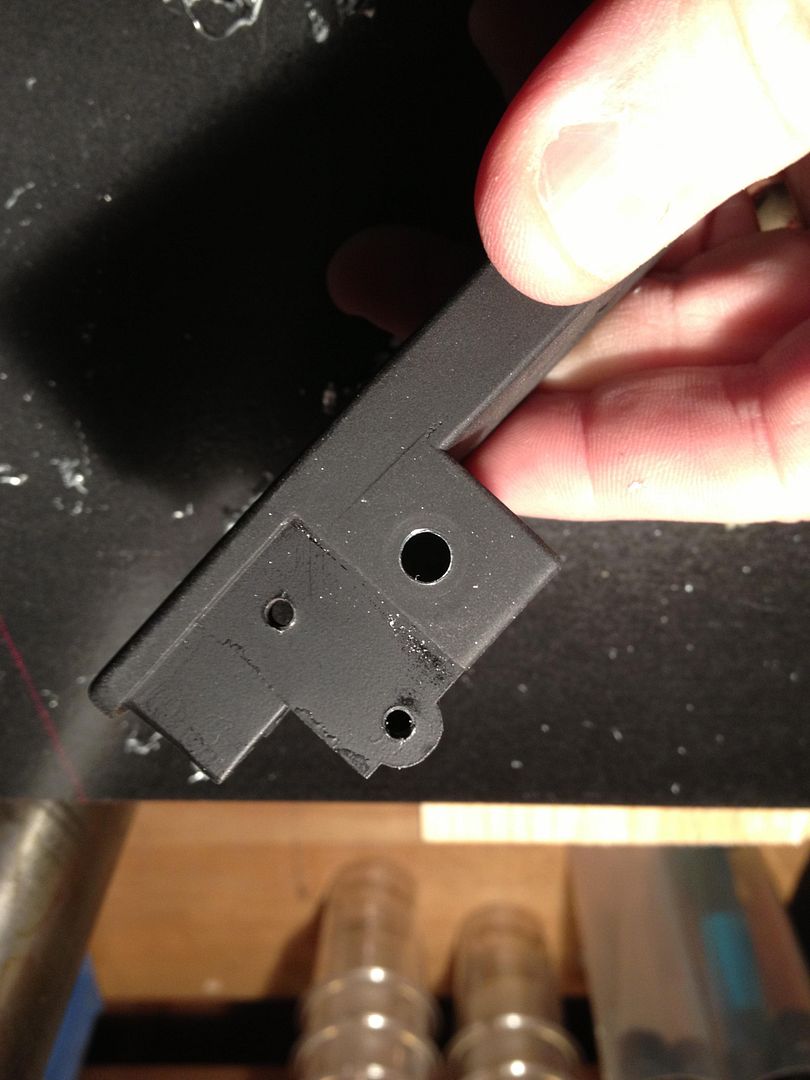
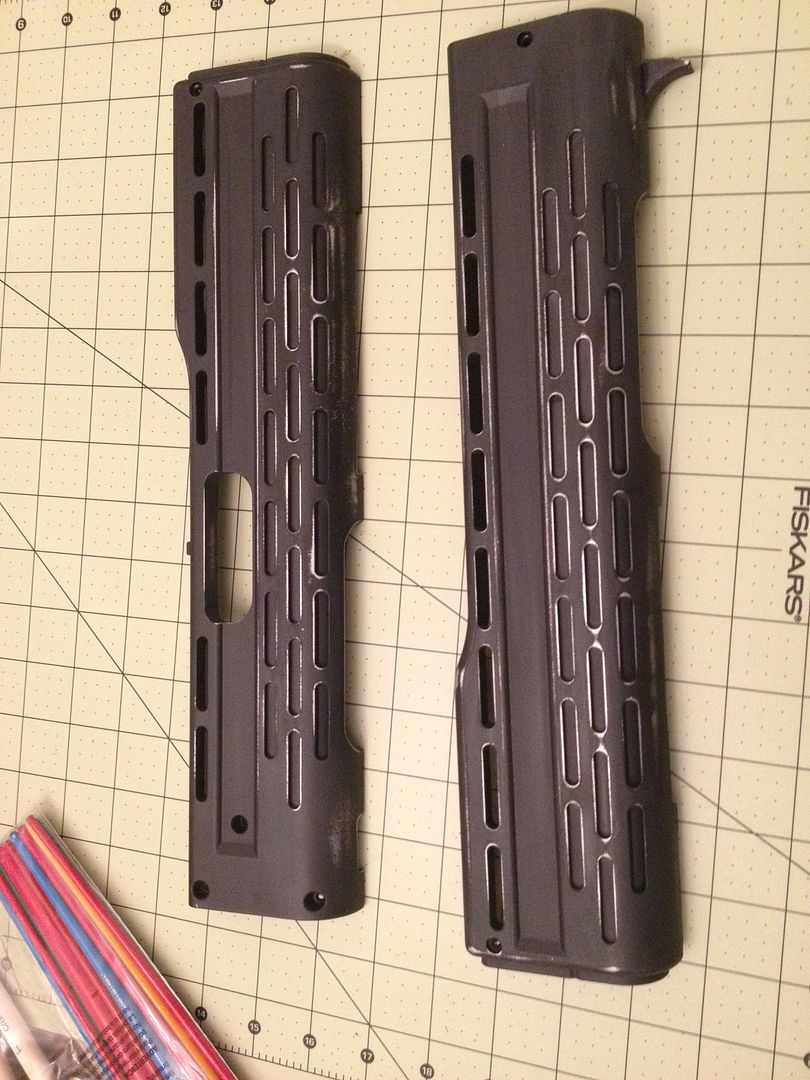
Then I went to work on the sights. I started by drilling out the mounting holes for the rear sight.

Image

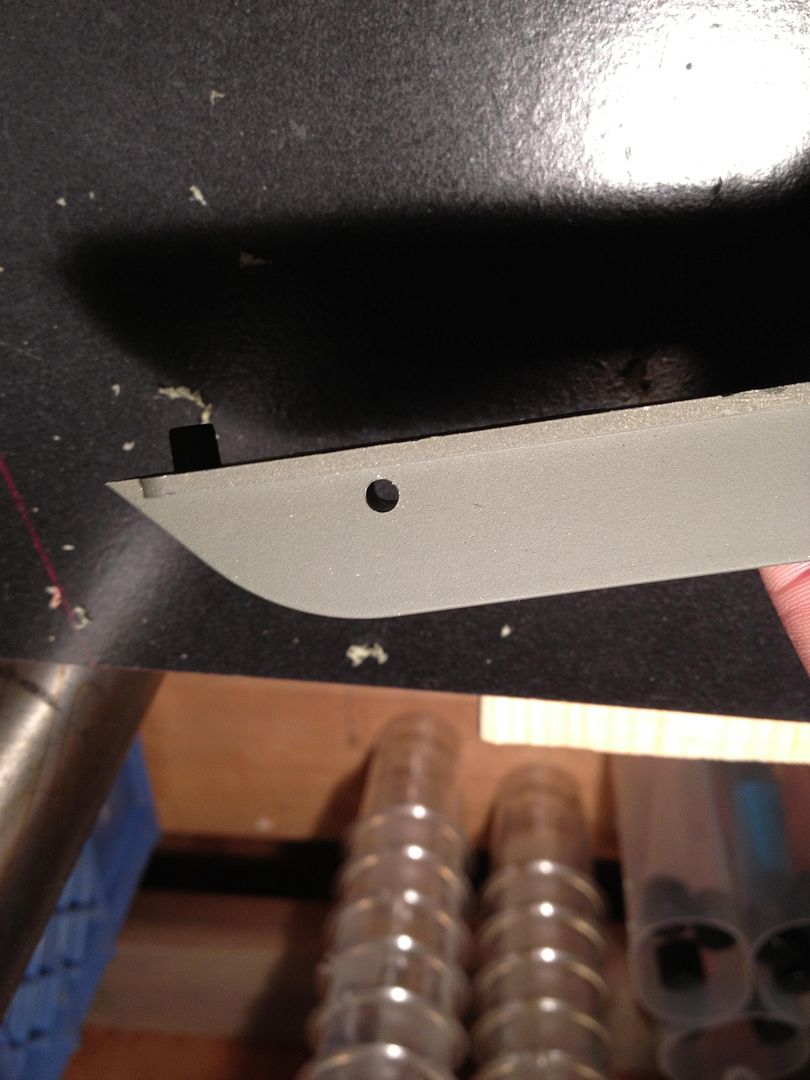
9/32" bit for a 8-32 bolt.

Image

The bolt is used to hold the sight in place; the ends were eventually cut off.

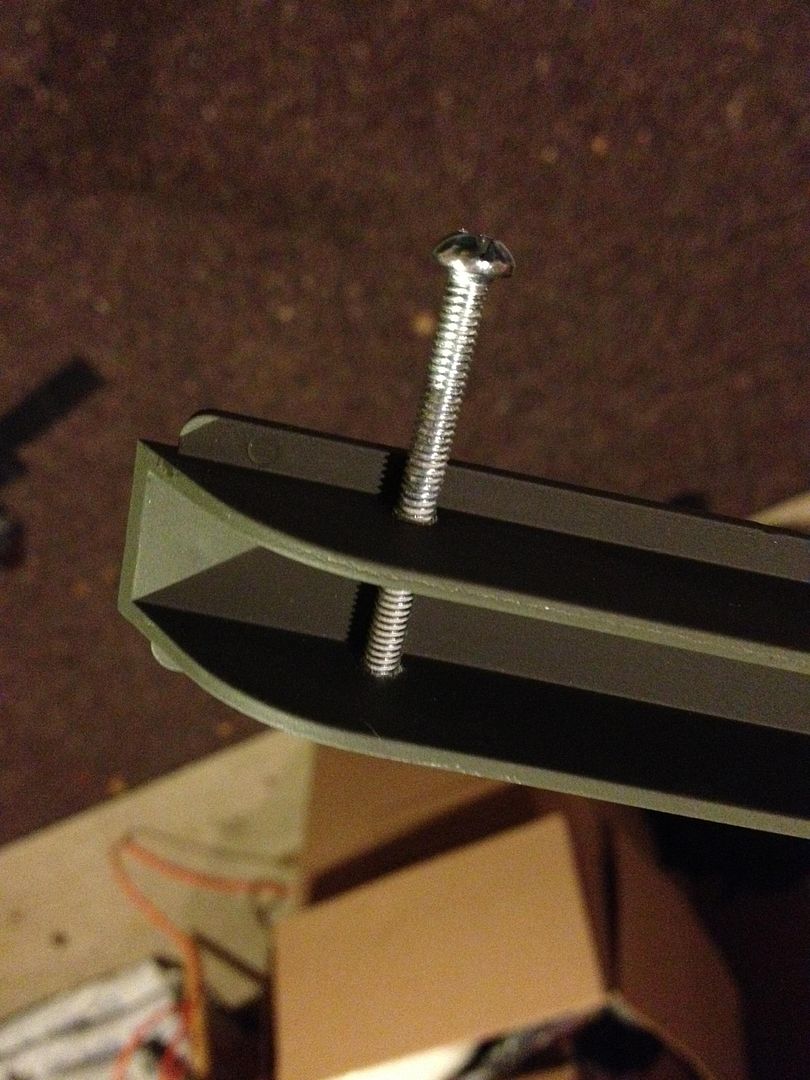
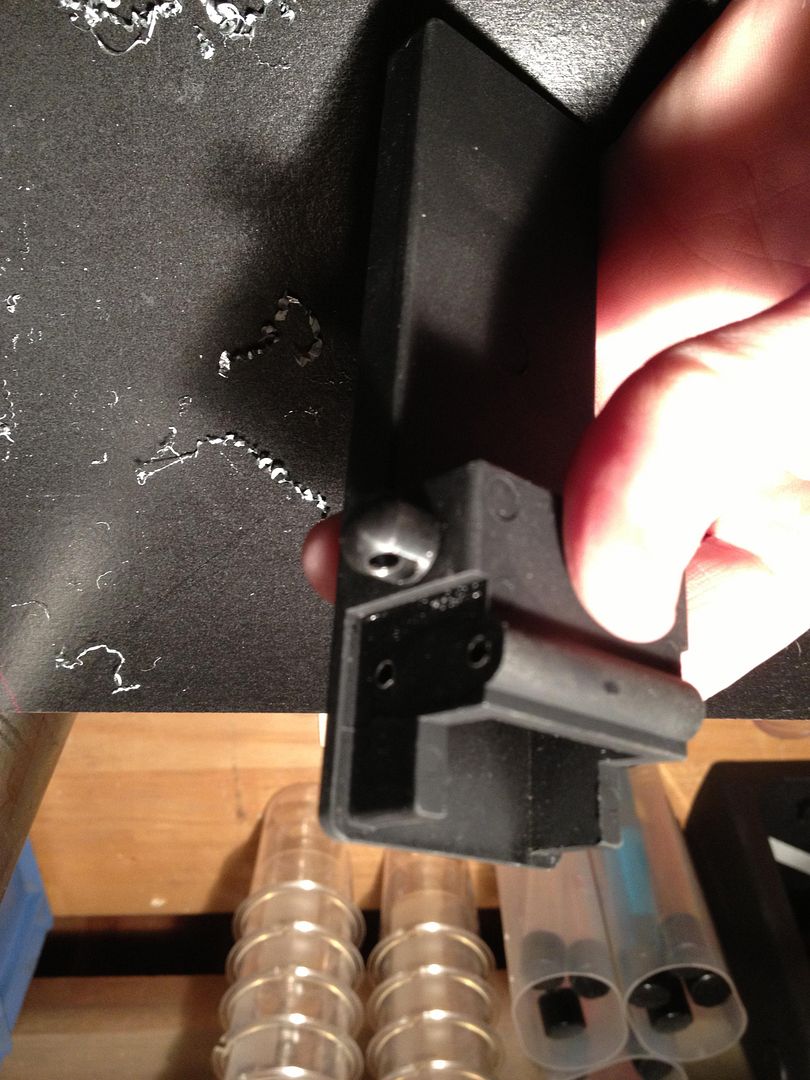
The front sight was a simple 9/32 hole in the centerline of the shroud.

Image

Image

Image

It was slightly threadable, but it was glued in place as well.
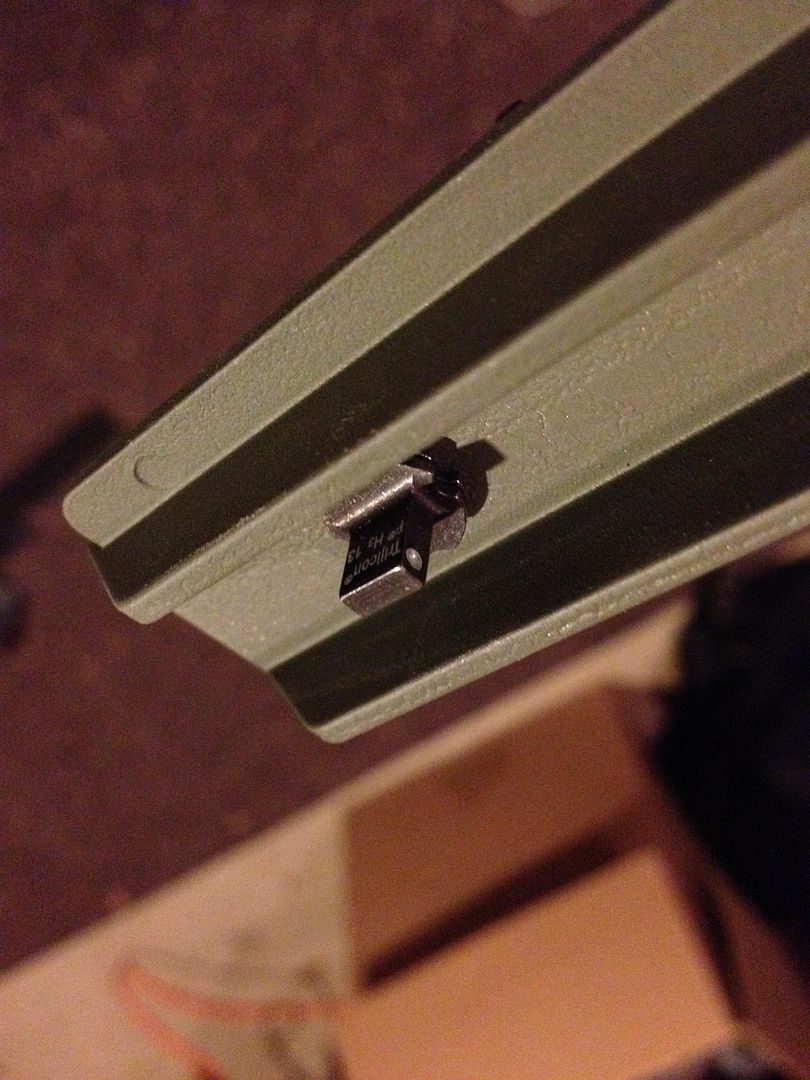
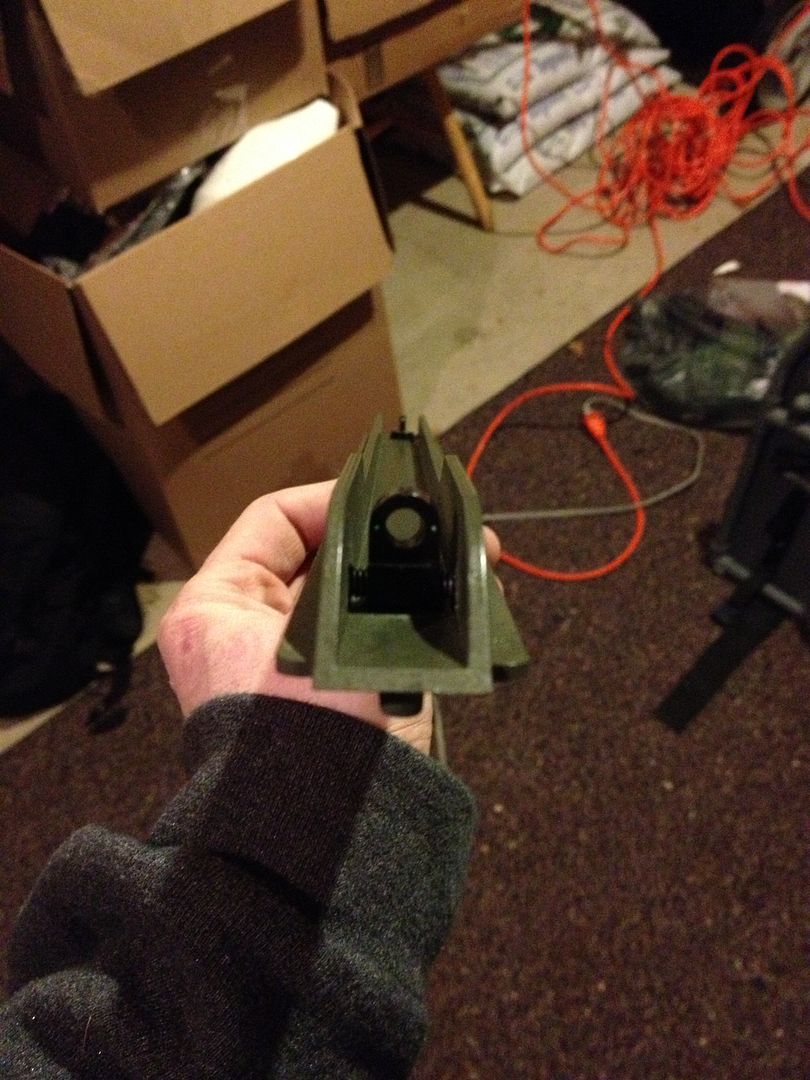
Both together:

Image

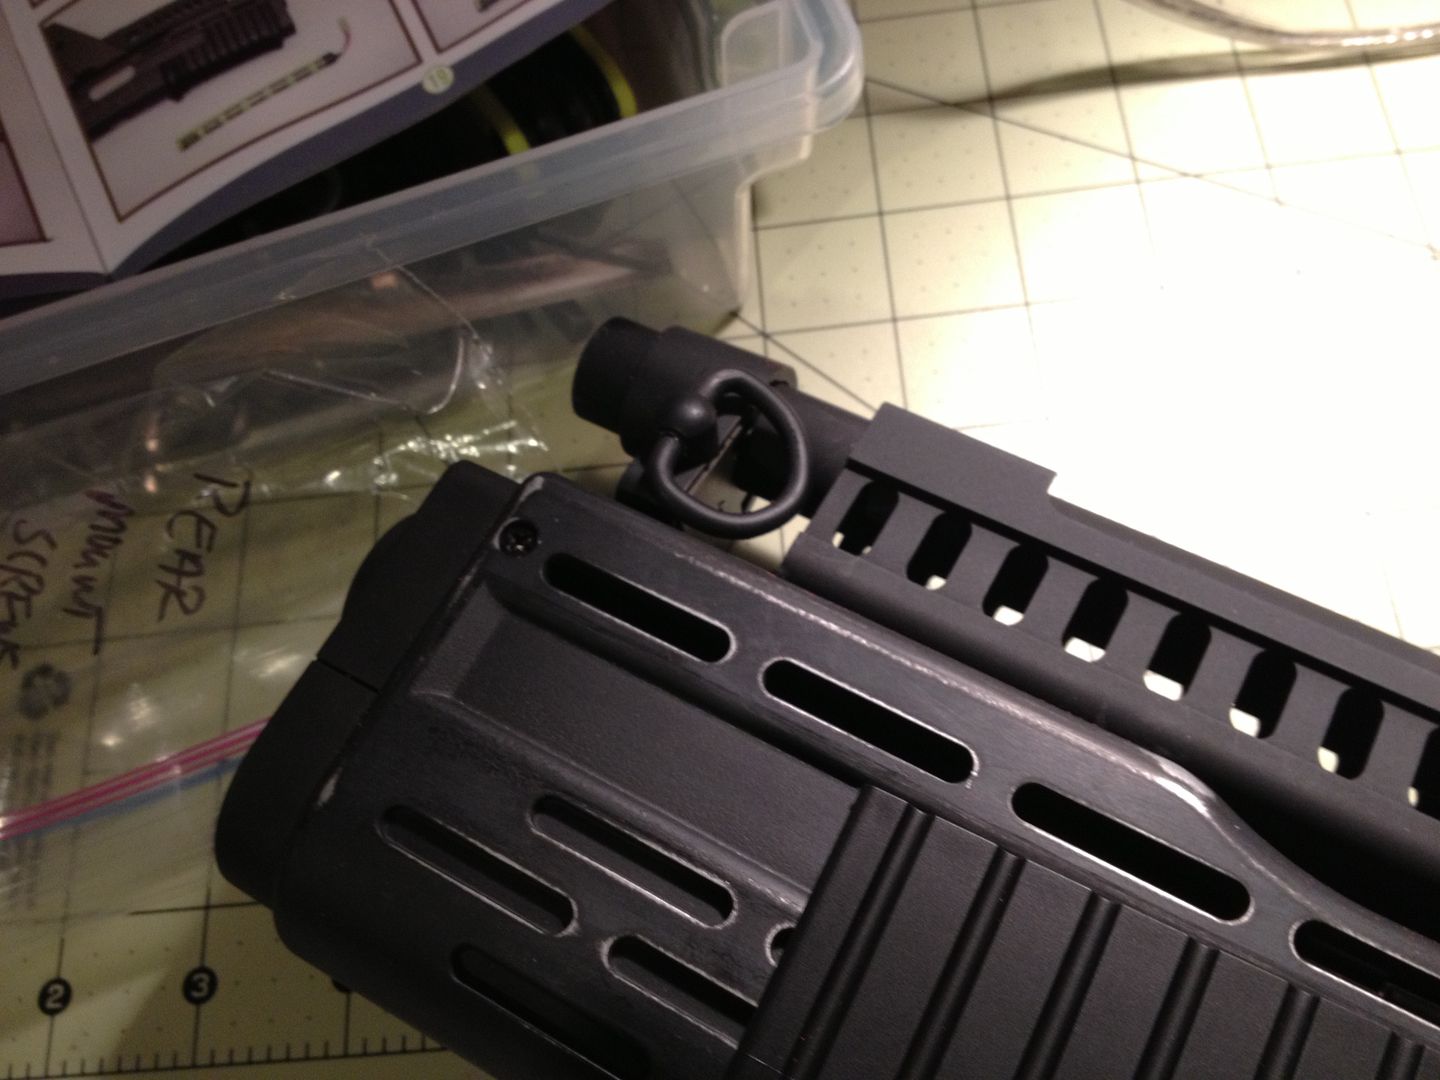
Next I drilled out the d-ring mounting points:

Image

Image

That was using a 7/8" swivel. Had a handy 10-32 nut to hold it in place. It was a supereasy mount. The front one....not so much. Same idea, I drilled a hold, but to get the nut to fit I basically had to thin down the two edges of the nut (on the inside and outside) with a dremel. Also dremeled a slight tunnel in the front sight interior to give the nut a seating surface. Once it was in, I dremeled the old light sensor mount to fit.

Image

The drings have a small amount of friction tape on the inside. The rings will move, but not easily. I had no problems getting them to stay in an upright position.

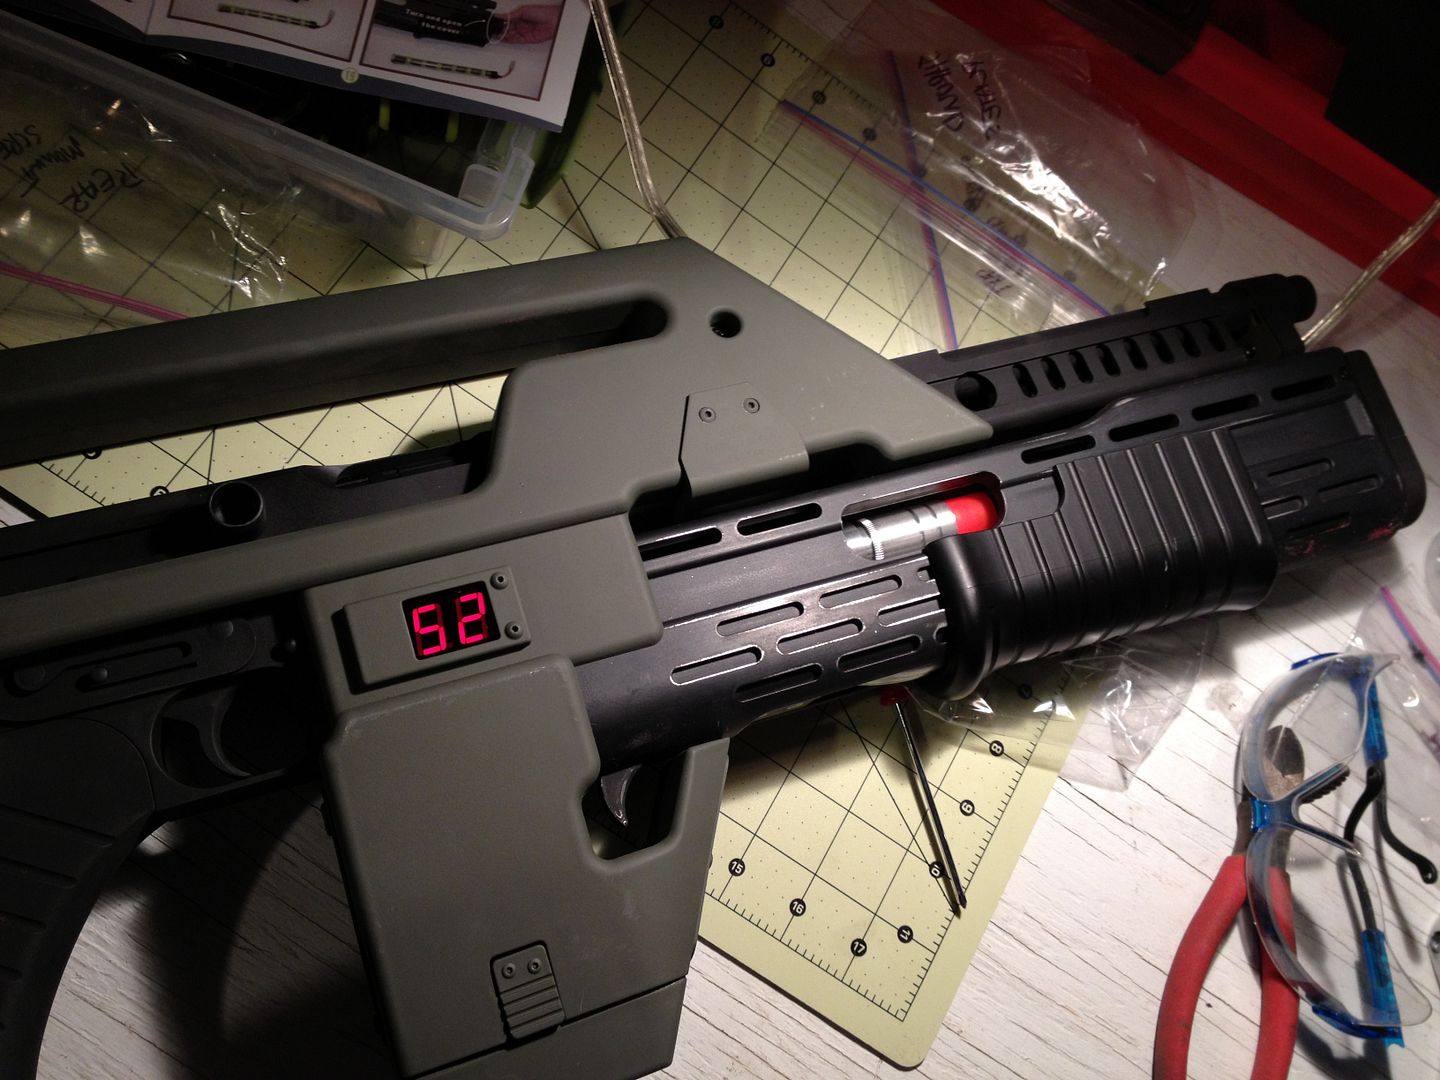
To redo the counter light, I had to go with a piece of 1/16" plexiglass. It was translucent red. I tried using the Staples plastic, but it was just too bright. I took a rough dimension on the old plexiglass cover, cut out the shape in red, and then filed it down to fit inside.

Image

A little dab of hotglue, plus pressure from the counter circuitry, and it's going nowhere.

After that, I just followed the instructions in the manual and put her back together.

Image

Image

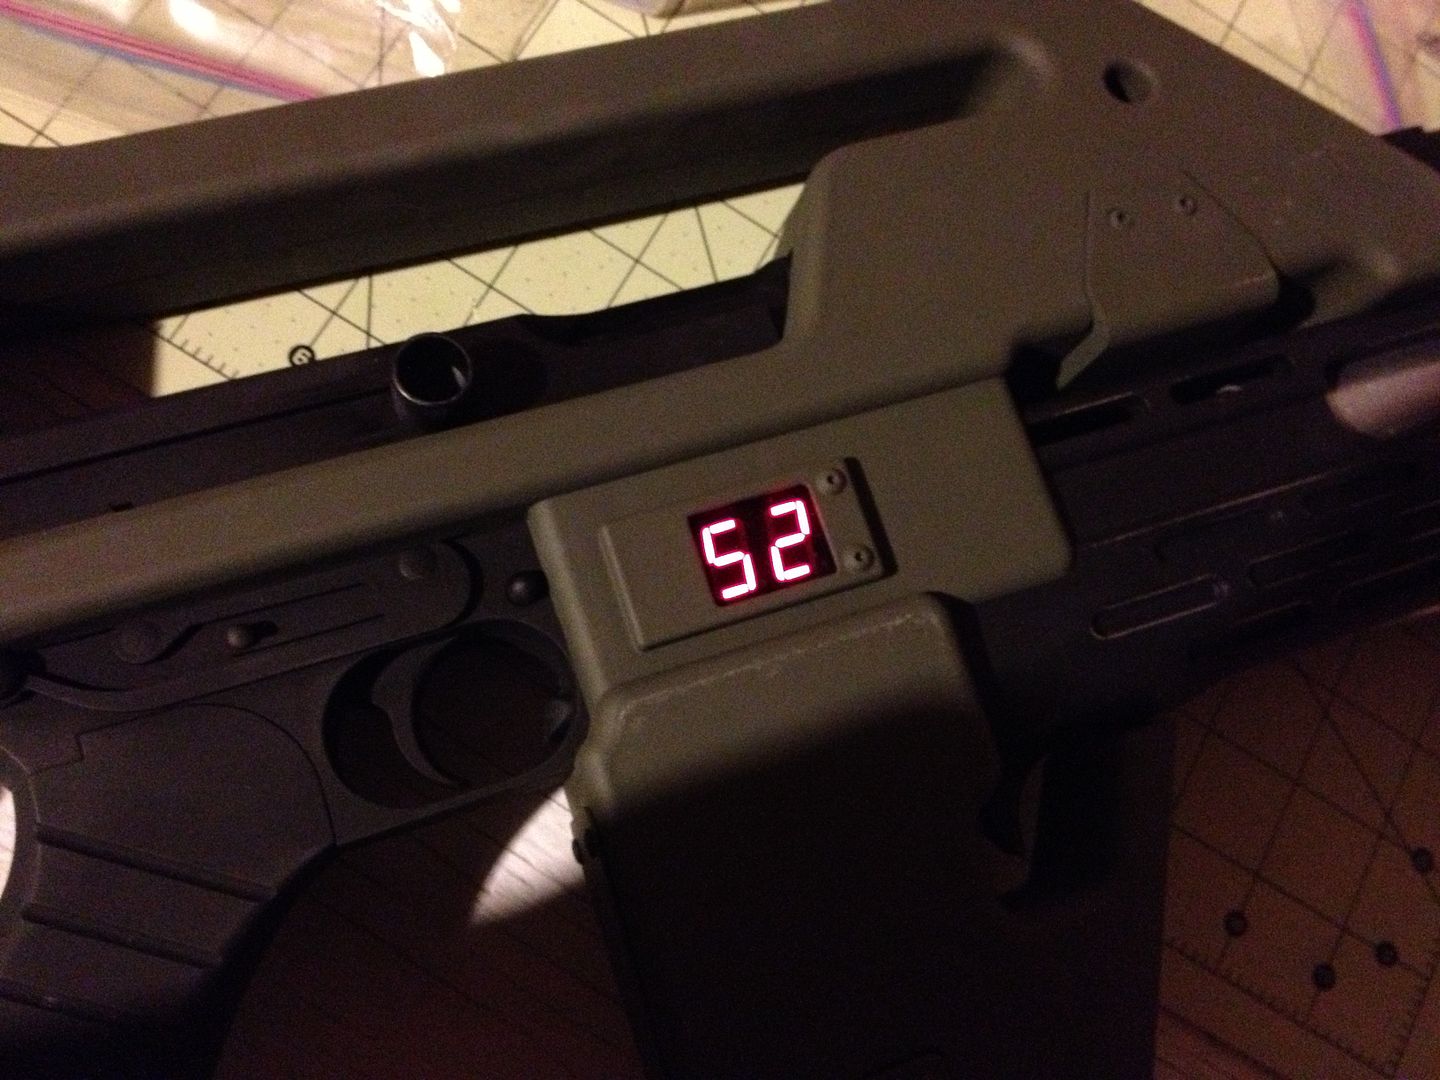
The new tint gives the number a better look, and the window is quite dark when the counter is off. It still counts down whenever you pull the trigger, so the soldering job is holding fine.

Oh, did I forget to mention the grenade?

Image

Installed d-rings:

Image

Image

Image

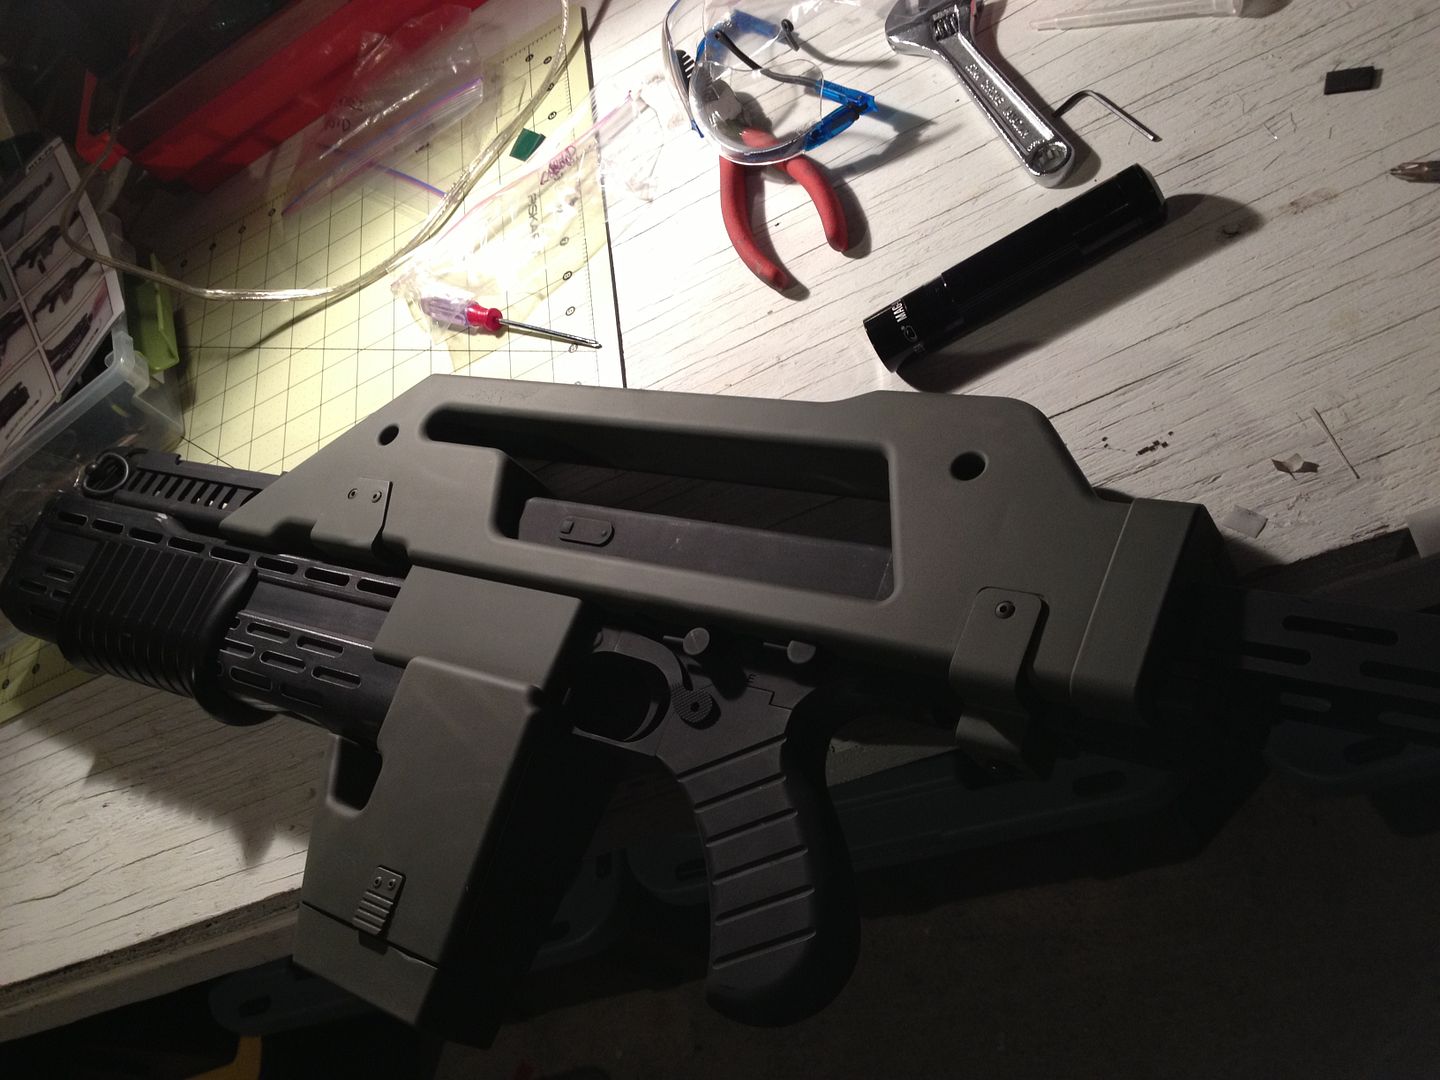
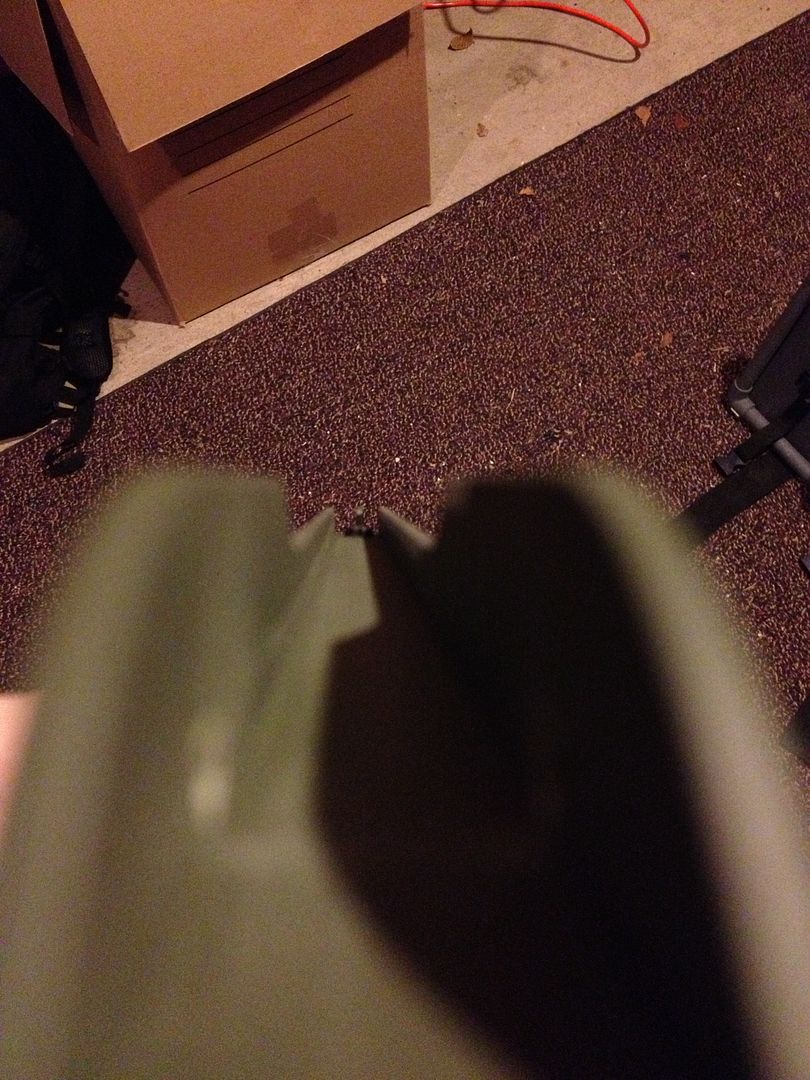
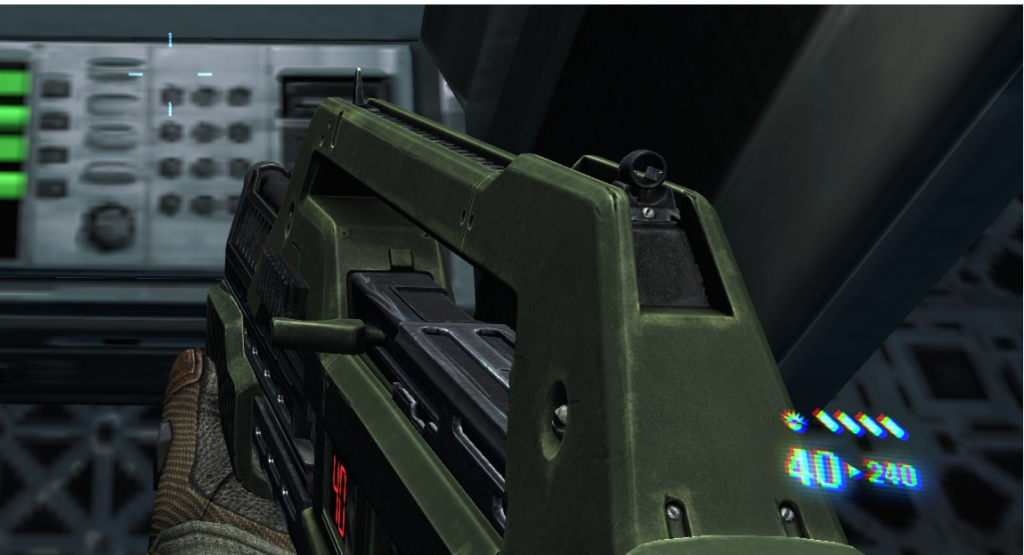
And here is the final sight picture:

Image

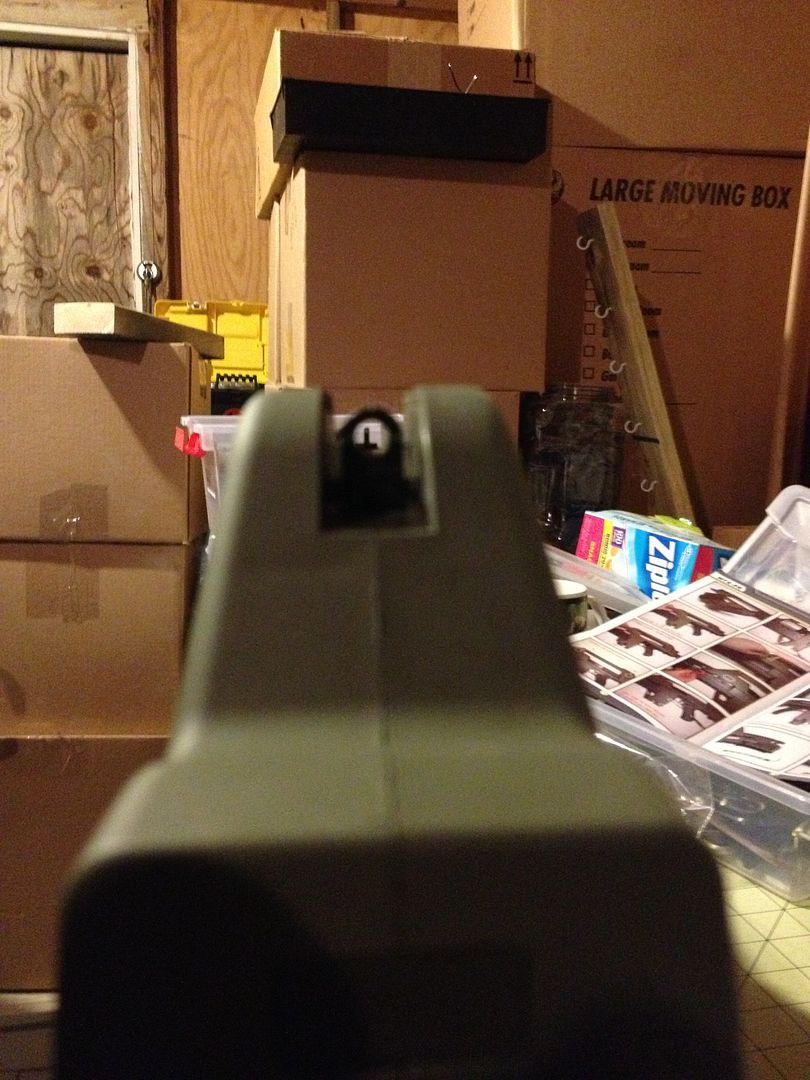
I have no problem seeing the sights in low/no light conditions, but I couldn't get a good picture of it.

I also ordered a bunch of parts from Matsu and Spat tonight. Looking forward to working on armor in a few months. :)

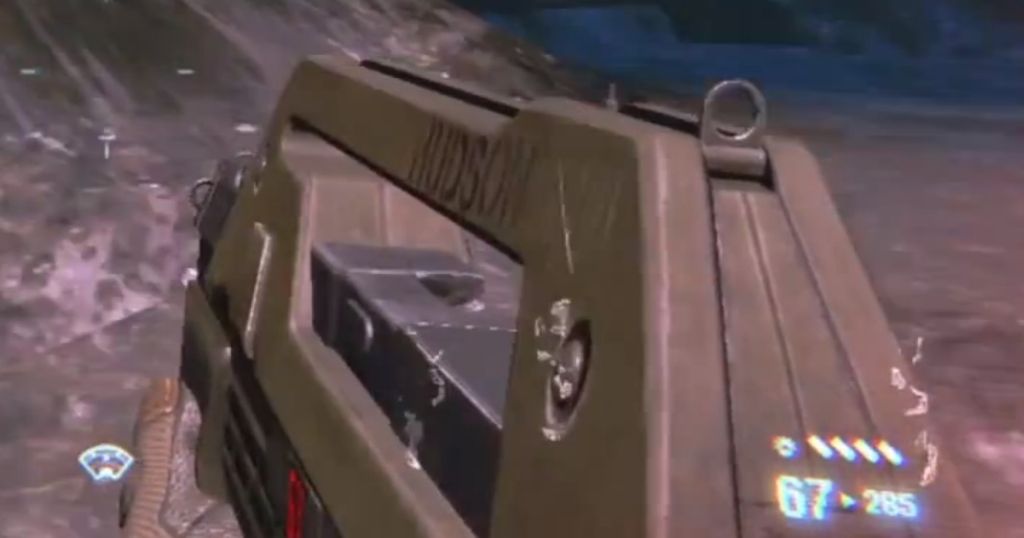
Also, I realized I need to figure out what/how to grafitti the rifle. If I do it at all.

Charlie

_________________
"There is a clause in the contract which specifically states any systematized transmission indicating a possible intelligent origin must be investigated. On penalty of total forfeiture of shares. No money."


Image


Top
 Profile  
Reply with quote  
 Post subject:
PostPosted: Fri Mar 15, 2013 11:39 am 
Prop Churner Outer
User avatar

Location: Bath, Maine
Service Number: A03/TQ1.0.12143G1
Country: United States
That looks fan-flippin-tastic Charlie. I really need to upgrade my PR at some point...

_________________
:delta: My entry-level prop and costume tutorials: viewtopic.php?f=3&t=12751 :delta:


Top
 Profile  
Reply with quote  
Display posts from previous:  Sort by  
Post new topic Reply to topic  [ 340 posts ]  Go to page Previous  1, 2, 3, 4, 5, 6 ... 14  Next


You cannot post new topics in this forum
You cannot reply to topics in this forum
You cannot edit your posts in this forum
You cannot delete your posts in this forum
You cannot post attachments in this forum

Search for:
Jump to: