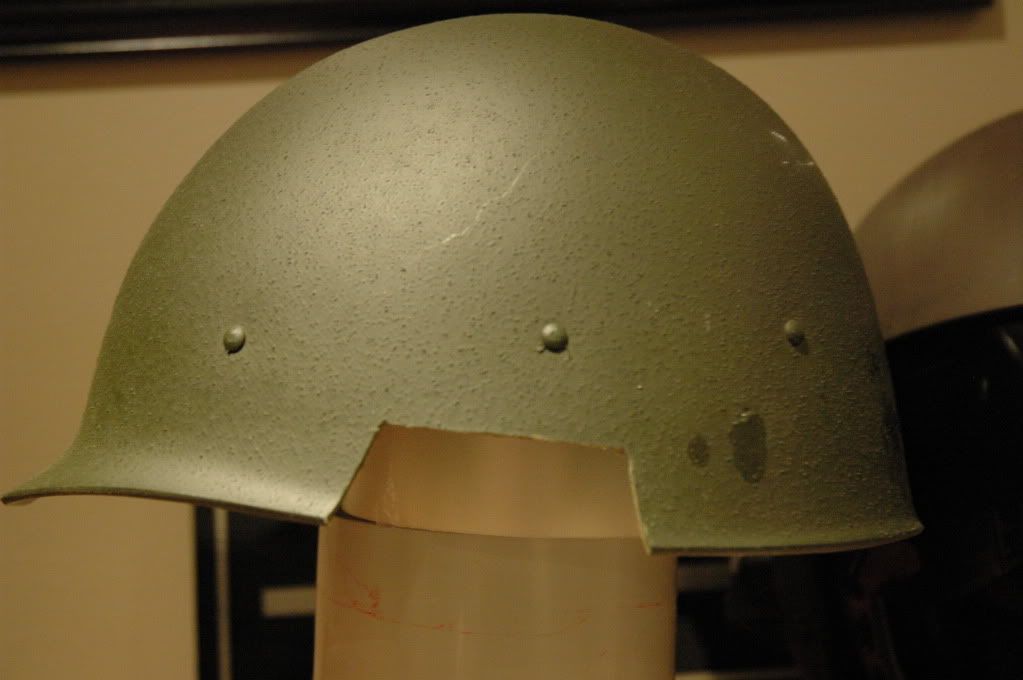
Well Dboz , if it only helps one......then that is enough for me!! besides always a good excuse to show off my work in progress helmet.lol
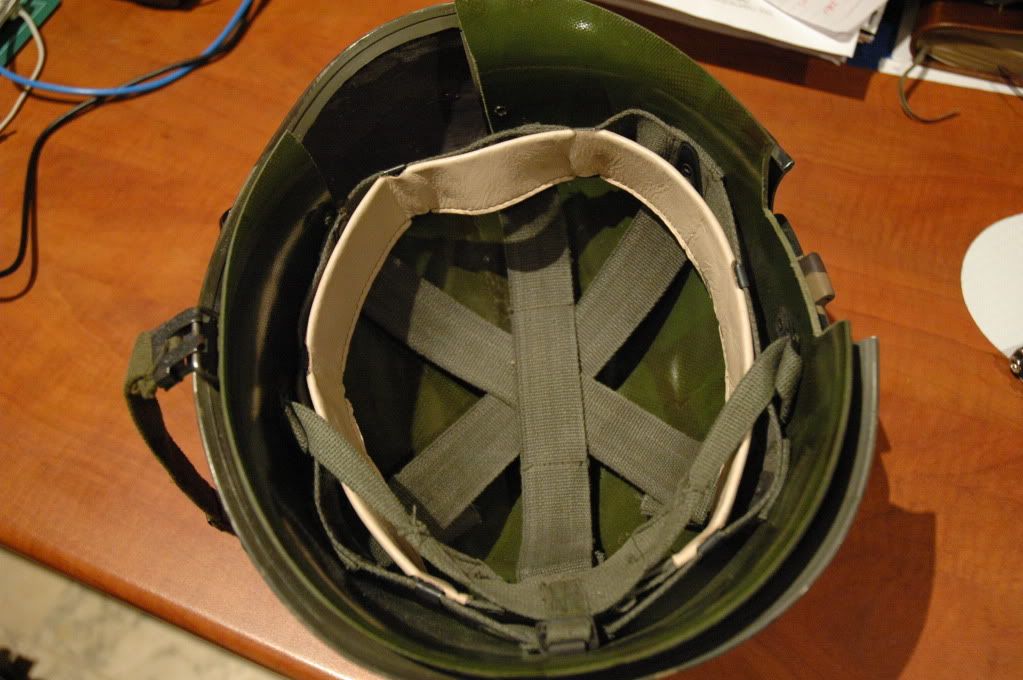
First remove the rivet from the centre of the liner and the one to the immediate right (looking from the inside) so the eyepiece cutout will be on the right side when you put the helmet on.This will make the head band system become loose.
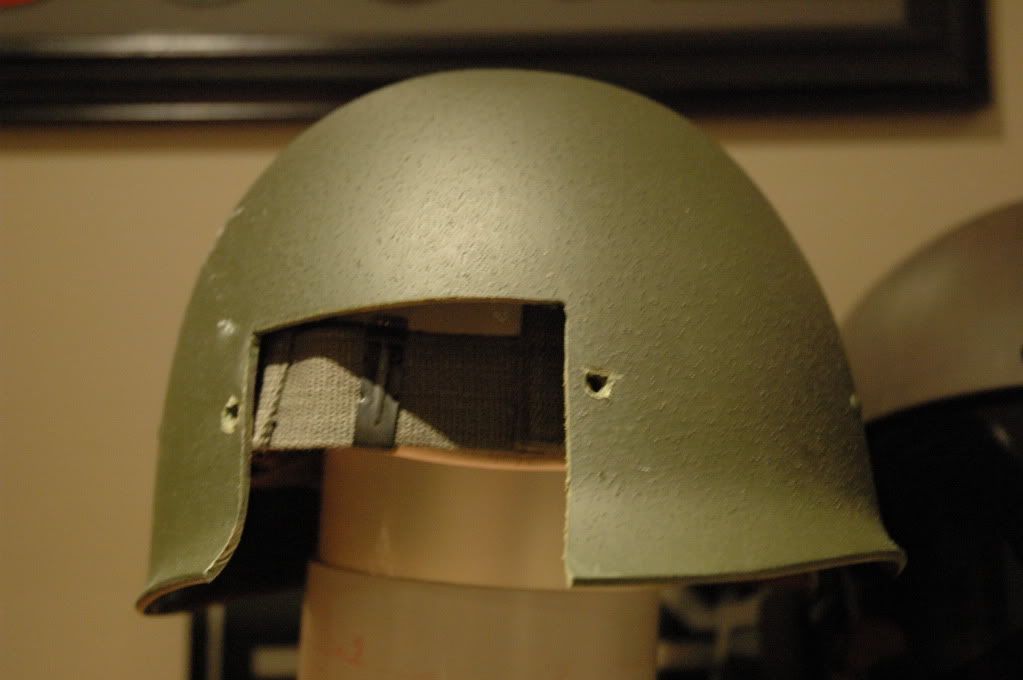
The cutout should be 8.5cm wide by 7cm high and should be measured straight from the middle of the liner as shown.
side view of earcup allowance cut
I cut out 7.5cm at bottom , 6cm at top and 2.5cm high as shown
Place the liner inside the helmet and trace all cuts to the steel, however for the Eyepiece I leave a border as pictured at the begining of this thread
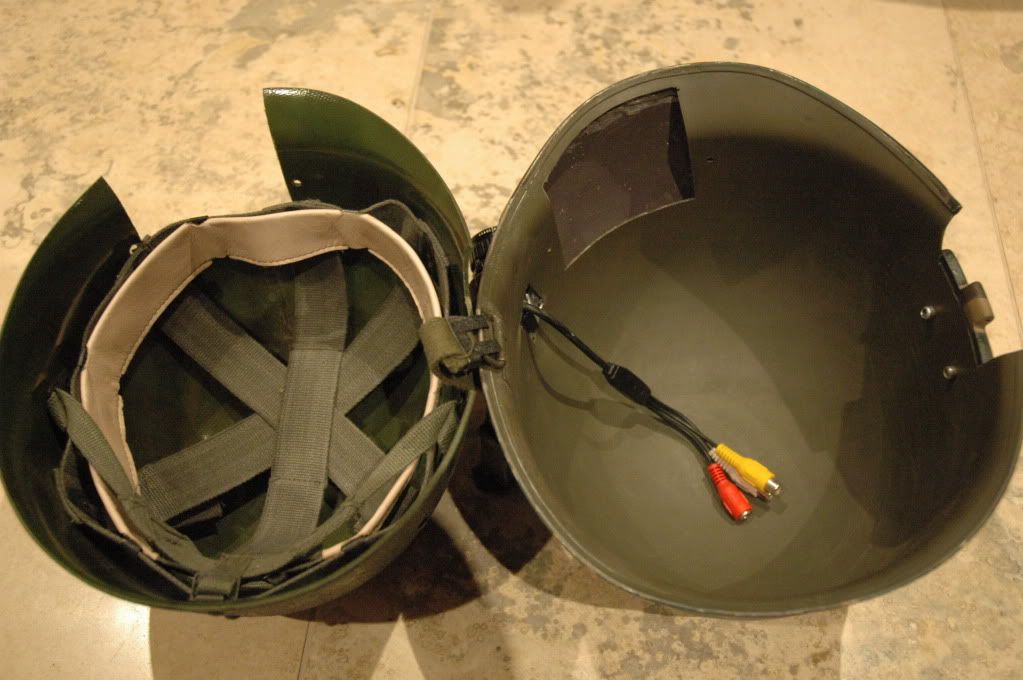
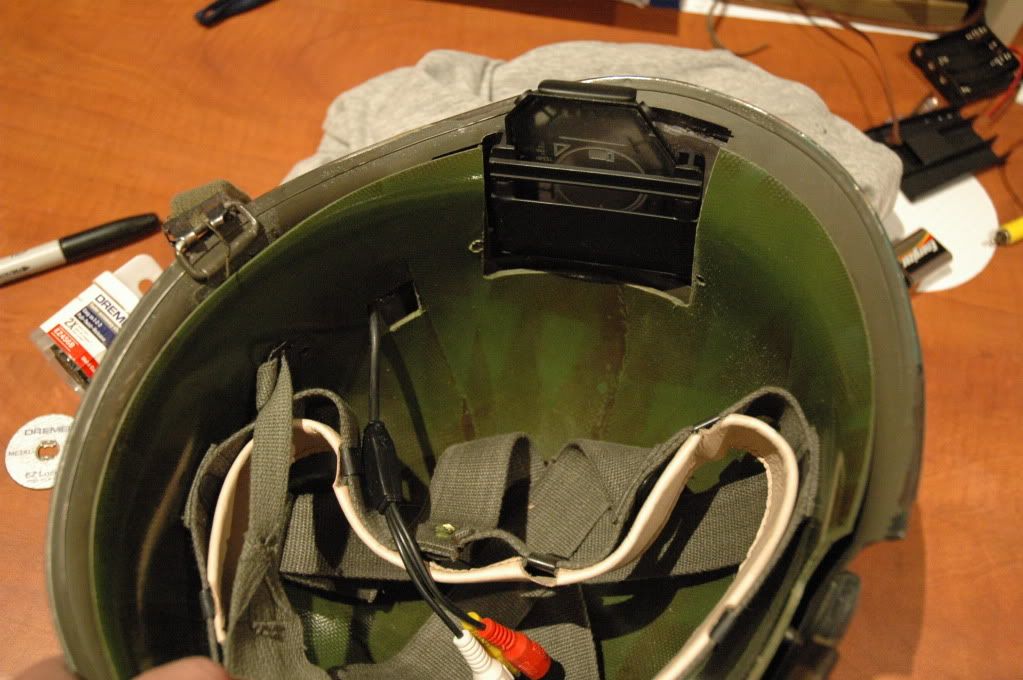
This is a good time to decide whether or not your camera will be equipped with any recording device as another small cut is required again on both helmet and liner to accomodate the wires.
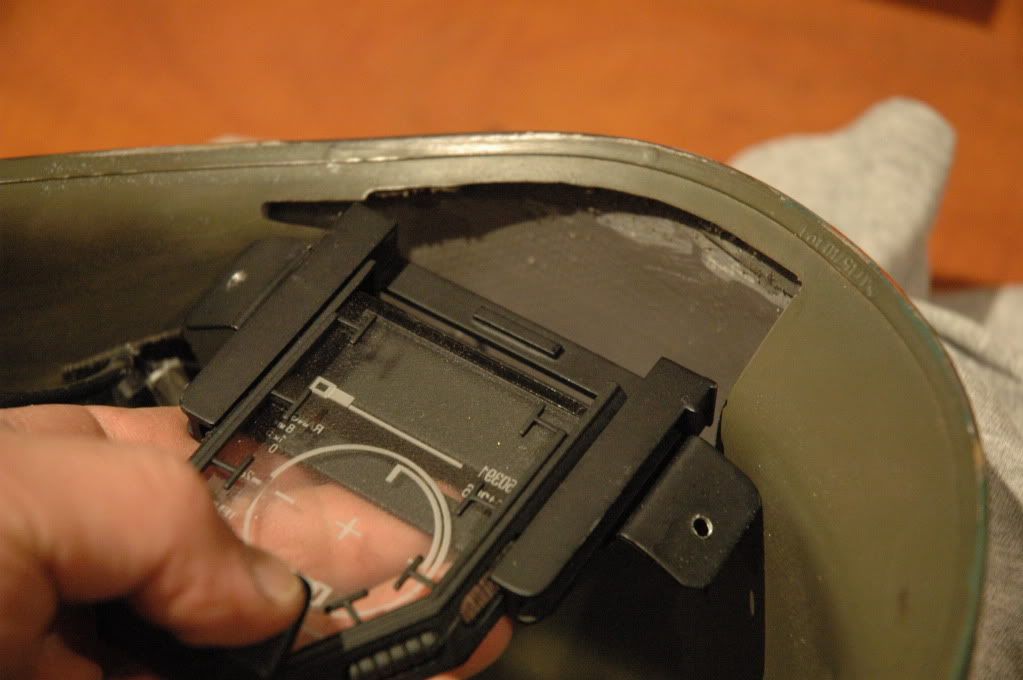
All my eyepieces went out with the tabs bent to shape to suit the liner , for this method the tabs/legs of the slider will have to be rebent to the outside of the helmet.
once in place , mark out the 2 holes , then drill.
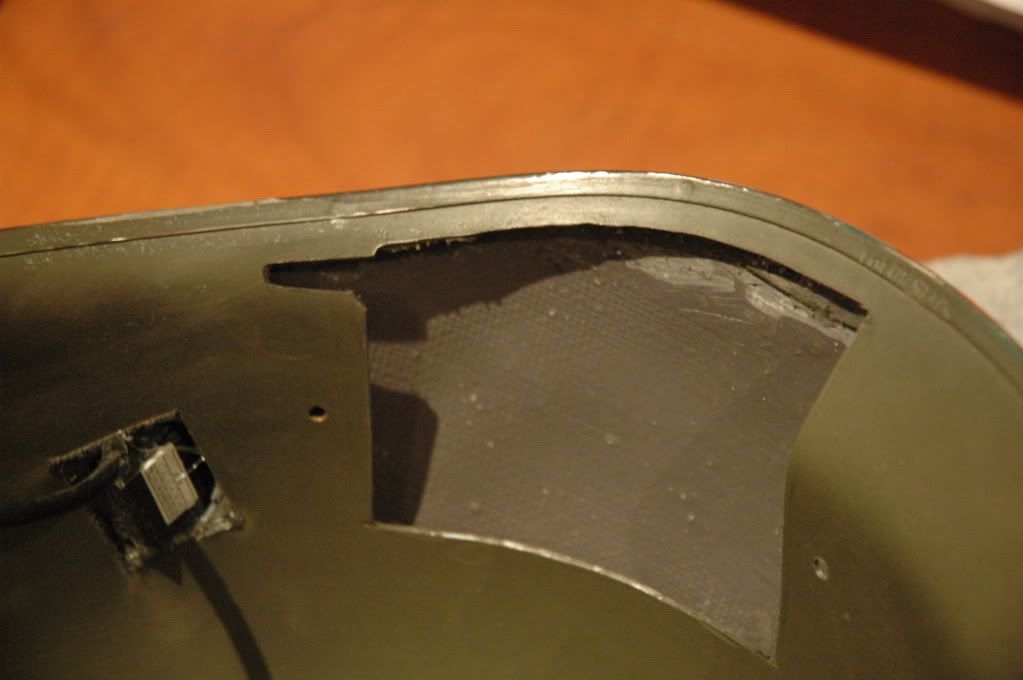
A further slot will have to be cut , this is because once the front plate is in and glued the eyepiece does not fit in as a whole.You may want to install it prior , but I noticed that too many things may go wrong during painting and assembly so its best to fit at the end.
All cutouts WILL be sanded and neatened up , this was to just show CUTS!
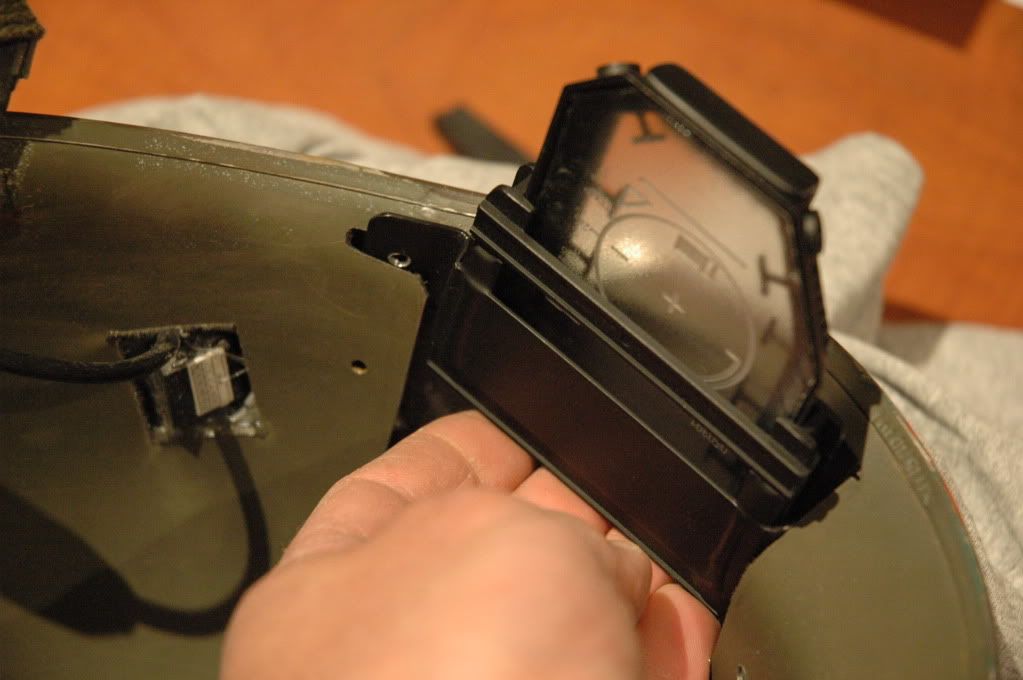
The three following pics should give you an idea of the way the eyepiece fits in:
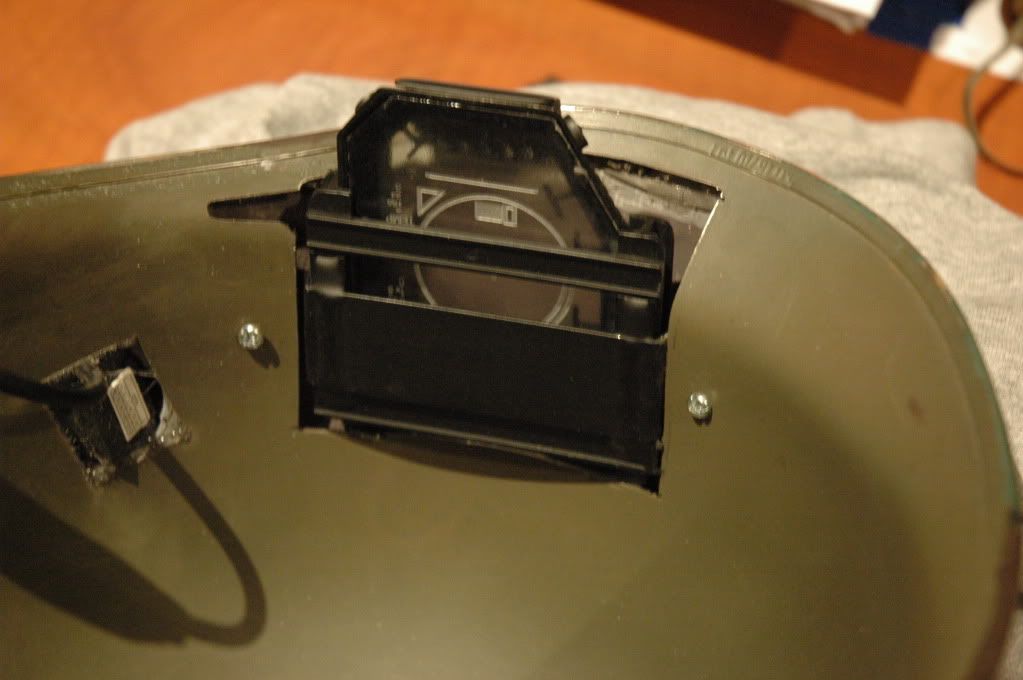
check to see if it works!!!
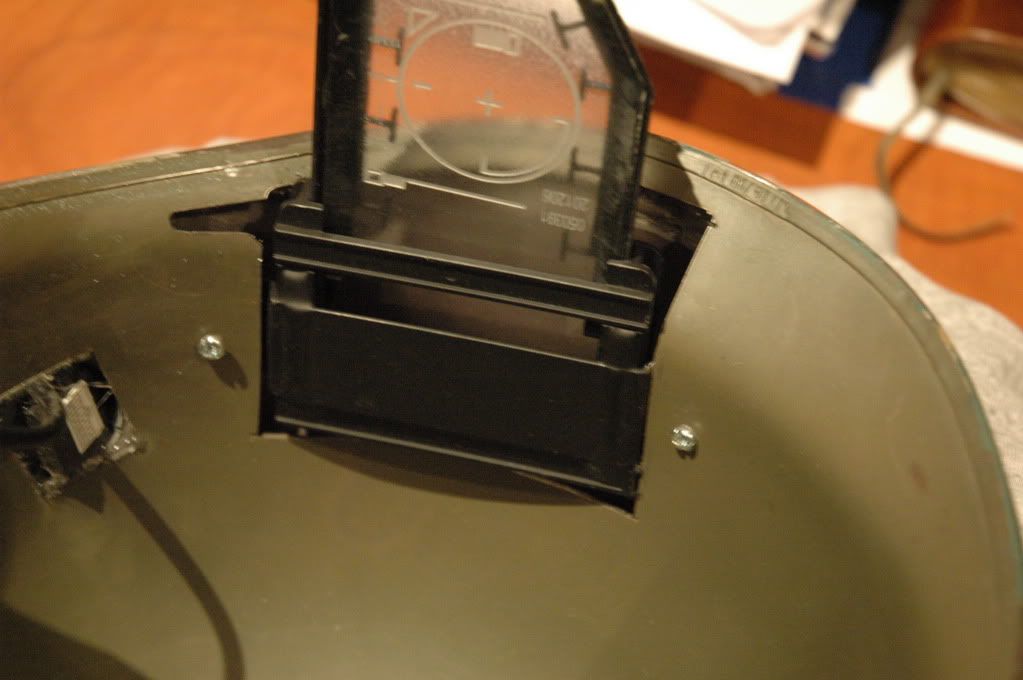
Install the liner , then make new holes on either side of the eyepiece , in the liner to refit the headband.
Also dremel wheels shown on side, these cut through EVERYTHING!!!
ONLY now remove the protective film at the rear of the eyepiece, wires here are not shown , but will do at a later stage.
I would recomend NOT glueing the eyepiece as it is always handy to remove or upgrade anything , besides it remains clean and neat!
and there you have it , some pics of my helmet.....

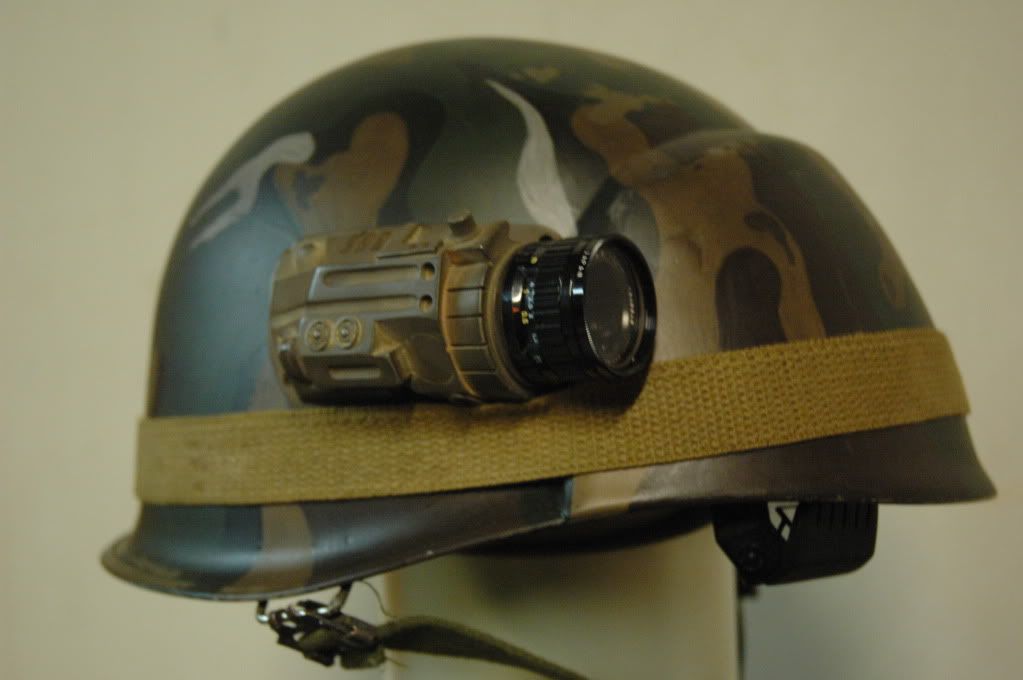
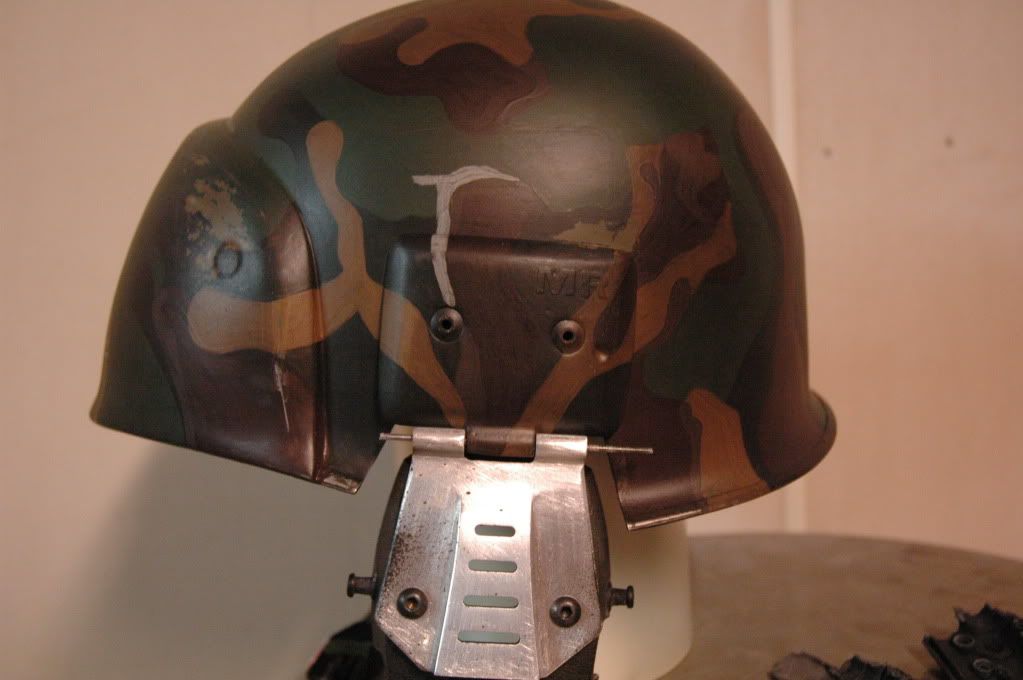
Although some of the colours I used may not be truly identified , they are as close as possible to my armour which I believe was painted by Terry......
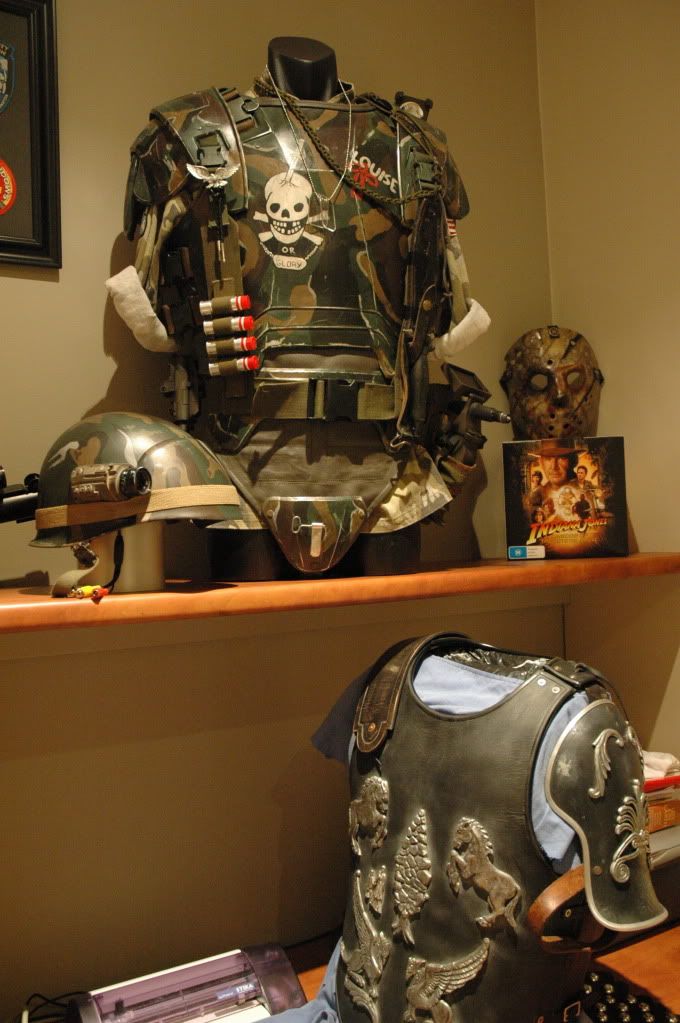
here is a pic ........amongst other goodies!
enjoy