The Aliens Legacy
http://forum.alienslegacy.com/

scratch built steel Spas cage . update finished and painted
http://forum.alienslegacy.com/viewtopic.php?f=3&t=3674
Page 1 of 2

Author:  Jester [ Thu Feb 21, 2008 1:42 pm ]
Post subject:  scratch built steel Spas cage . update finished and painted

further to my request for a spas template here is what i have so far the cage isnt cut to length as i am not happy with spacing on holes mark this one up to experience and get the next one right,has anyone else gone down this route ?any usefull idea's,comments welcomeImage

Author:  Sidewinder [ Thu Feb 21, 2008 2:32 pm ]
Post subject: 

Holes are 32mm long & 6mm tall. Spacing is 6mm lengthwise and 5mm heightwise. Total length is 332mm

The hole layout in your pic looks correct in comparison to my real cage.

SAS

Author:  michellejordi [ Thu Feb 21, 2008 3:51 pm ]
Post subject: 

hmmm not bad look's great to me.
is that a matel sheet?
ok l'm working on some pics of the cage with measurements. these will be put by the rest of my wip pulse rifle.

Author:  Jester [ Thu Feb 21, 2008 4:12 pm ]
Post subject: 

yes I am trying to make it all in steel I also include a picture of the top piece needs to be embossed yet I am not happy with the clearance of the loading slot on the main cage its to small so I will use this one for a practice and re make a better one when i can get a[ better template to work from Image

Author:  Glenn [ Fri Feb 22, 2008 11:46 pm ]
Post subject: 

are you going to do a run of these or just the one off?

Author:  Jester [ Sun Feb 24, 2008 2:41 pm ]
Post subject: 

sorry dude this is a one of for me, far to much work to make a run I wanted this to be as accurate as possible using basic and i mean basic tools I have a hammer 2 files a smooth flat one and a 6mm chainsaw file ,1 6inch engineers vice a hand drill and a 10 year old stick welder, lots of time and am just daft enough to belive i can do it I am more than happy to show /help anyone else that wants to try this route ,I come from a woodworking background so metal is all new to me I just hit it untill it does what i want it to, its up to you guys to tell me if i have pulled it off or not, i will take pics all the way through and will gladly share if anyone is interested

Author:  IndyTas [ Wed Feb 27, 2008 11:20 am ]
Post subject: 

:D Jester,

Awesome work mate. I had thoughts of doing the same thing myslef, well done!!!


Regards
Christian

Author:  IndyTas [ Wed Feb 27, 2008 11:24 am ]
Post subject: 

:D Jester,

Awesome work mate. I had thoughts of doing the same thing myslef, well done!!!


Regards
Christian

Author:  Xhiwar [ Wed Feb 27, 2008 7:49 pm ]
Post subject: 

Cool plan! Thought about this myself.

Do you plan on attaching the pump grip to the shotgun from both sides? Or is there another reason why you cut out the guiding channels on both sides?


Cheers


Roman

Author:  Jester [ Thu Feb 28, 2008 1:07 am ]
Post subject:  cage

Thanks for the kind words guys,i have some ideas for loading and ejection on this build but need to work out the mechanics first ,as I said earlier this was a prototype to work out if it was even possible for me to do it :shock: believe it or not it has done its job and is now a pile of twisted metal in the scrap bin :roll: if you try this DONT CUT THE HOLES UNTIL YOU HAVE BENT THE CAGE i can not stress this enough, as you put the bend in the cage the slots twist and deform there is no way to get them right once this happens" trust me I tried" so im on build 2 at the moment new pictures to follow

Author:  Jester [ Thu Feb 28, 2008 1:42 am ]
Post subject:  cage take 2

right take 2 , cut the steel to rough size I owe a big thank you to michellejordi for his help and drawings without his input this would be dead in the water. beat and fold in the slider tracks both sides .then make yourself a wooden form of the cage and bend the cage round this see pics (big thank you patrick for the idea)I hope the rest of the pics speak for themselves ,if you have any questions dont hesitate to ask, i'm more than happy to help in any way i can ,The pump handle in the pictures is the wrong scale for a 1to1 rifle,easy fix :shock: Image Image Image Image Image[/img]

Author:  Jester [ Thu Feb 28, 2008 1:51 am ]
Post subject:  cage 2

here are a couple of pictures I missed out how i formed the top to take the top plate once you have a wooden form its easy to just beat the metal into shape ,no heat needed it goes in fine cold .To turn in the end i cut a whole series of thin cuts every 2 to 3mm around the end and then tapped them over into place I ran a line of tape round the cage to get a straight line to cut and also to bend to Image Image

Author:  PVB [ Thu Feb 28, 2008 9:41 am ]
Post subject: 

Nice work. :)

Author:  IndyTas [ Thu Feb 28, 2008 12:48 pm ]
Post subject: 

:D Damn....that's awesom mate!

Keep going:)

Regards
TAS

Author:  IndyTas [ Thu Feb 28, 2008 12:49 pm ]
Post subject: 

:D Damn....that's awesom mate!

Keep going:)

Regards
TAS

Author:  michellejordi [ Thu Feb 28, 2008 1:05 pm ]
Post subject: 

wow looks good
better then i thought.
good job.

Author:  Jester [ Thu Mar 06, 2008 2:28 pm ]
Post subject:  latest work

here's what I been up to lately took three days to cut all the slots and holes, there are others on a genuine spas cage i know but for now will stick with the ones I need, got to add a trigger slot but working on that next :? today I welded the top plate to the cage and ground it all back only got an old stick /ark welder this way so its a bit rough but it isn't going anywhere" i'm no welder " :shock: all that is realy left to do is a skim of p38/body filler lots of sanding and a paint job, leave that for next update ,well what do you think ?ImageImageImageImageImage

Author:  Noble [ Thu Mar 06, 2008 3:55 pm ]
Post subject: 

Amazing work! The best scratch built metal cage I have ever

seen. I think you are the only one who has taken it to that level

with metal. Nice!

Author:  punkmarine [ Thu Mar 06, 2008 4:14 pm ]
Post subject: 

Excellent work. 8)

Author:  Sidewinder [ Thu Mar 06, 2008 4:19 pm ]
Post subject: 

That's a cracking bit o' metalwork. If you can do that, you gonna do a shroud set in metal too?

SAS

Author:  Jester [ Thu Mar 06, 2008 4:59 pm ]
Post subject:  shrouds ?

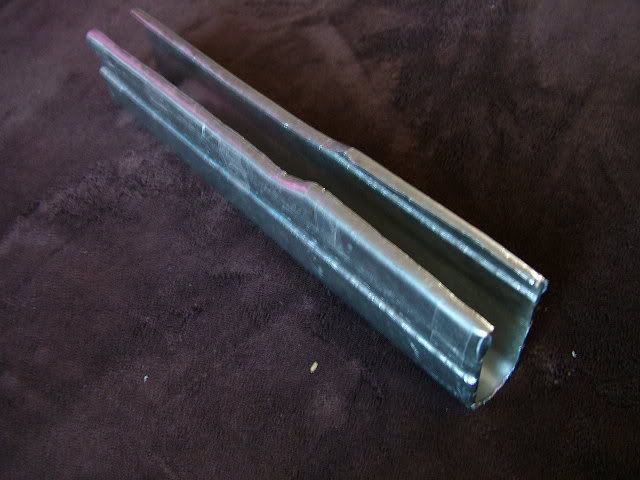
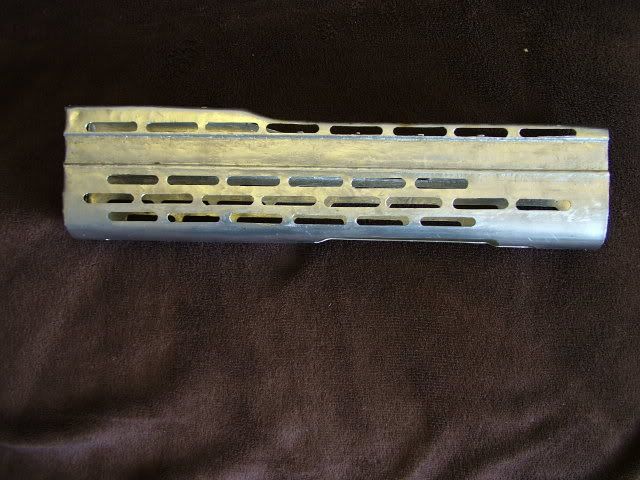
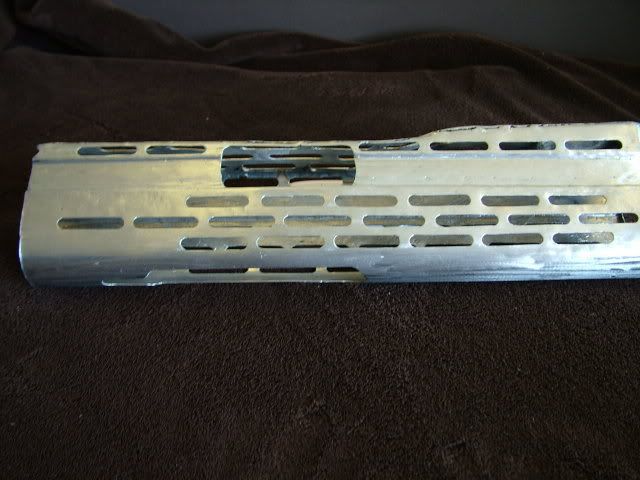
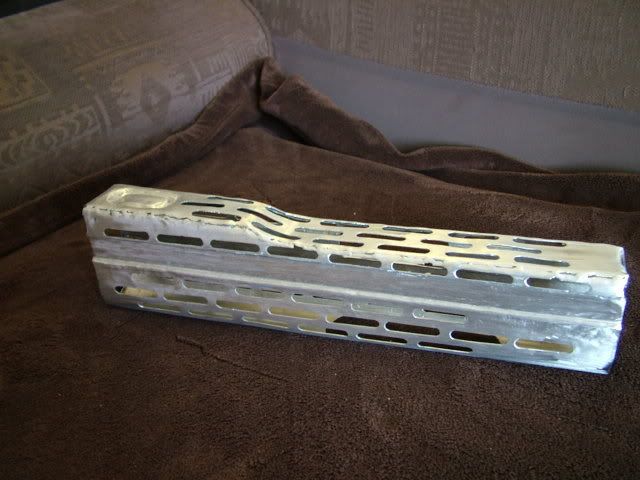
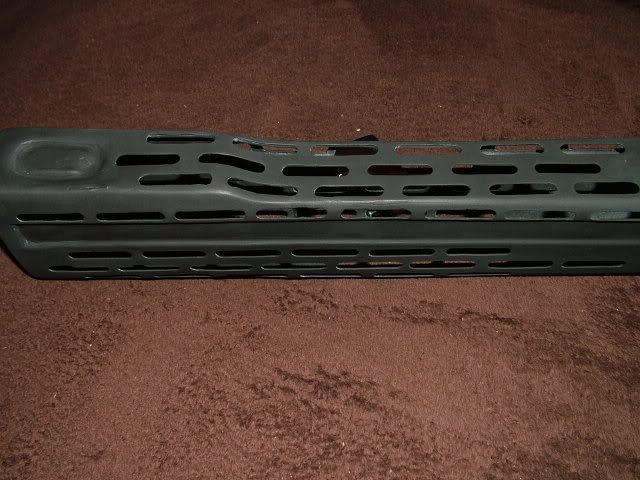
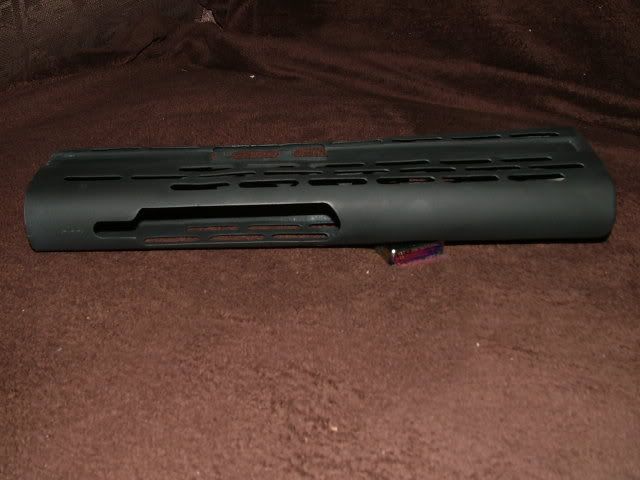
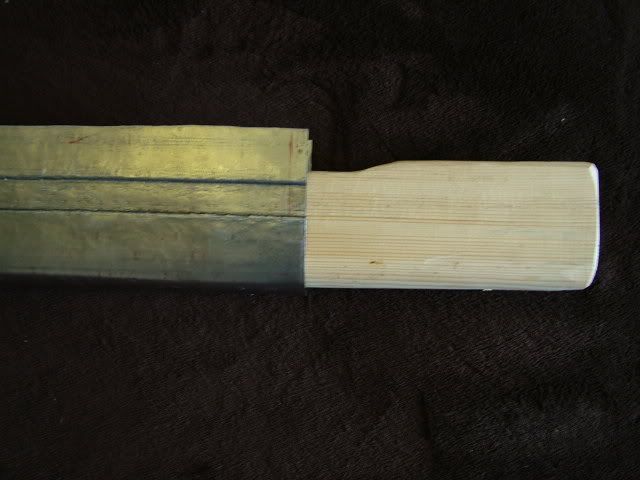
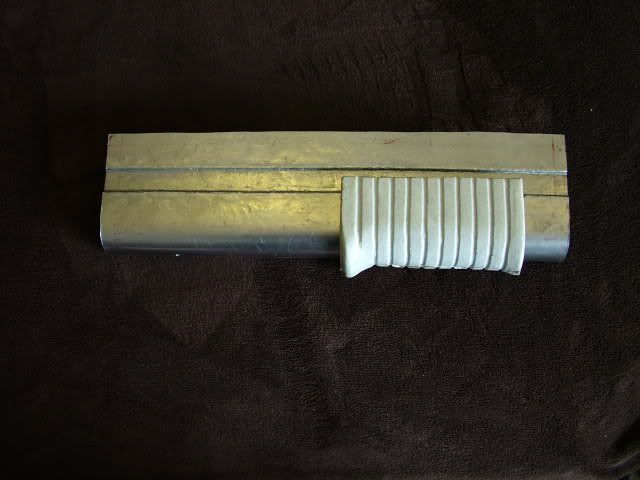
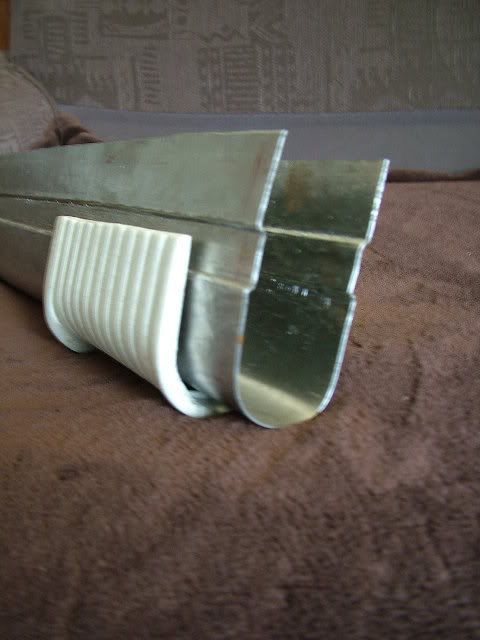
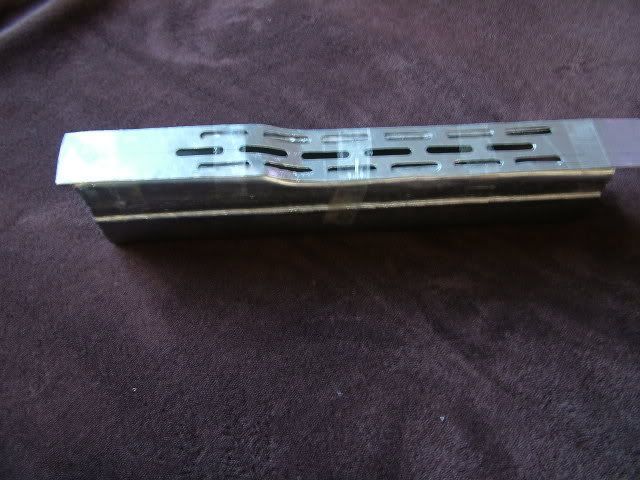
The thaught had crossed my mind, in a lot of ways it will be easier to make than the cage no bloody slots to cut for a start,i have a resin rifle to use as a base/pattern its just a matter of cutting pieces and beating buggery out of them untill they look the way i want them to, got a good friend who donated the metal for the cage build ,he told me I was wasting my time and it couldnt be done :shock: red rag to a bull , lol just had to see if I could do it , may need to make a former up out of timber, "my material of choice" to hammer the shrouds on to as the resin wont take that sort of abuse,but i have lots of time so may give it a go ,want to do a 10 hole vent next should be an easy make after the cage , :? i have allready made a practice one just to work out the details posted here at the moment http://aucm.freeforums.org/spas-cage-sc ... h-t53.html will stick pics up here sooner or later, thanks for the kind words marines :wink:

Author:  michellejordi [ Thu Mar 06, 2008 6:16 pm ]
Post subject: 

hey Jester that cage looks great fantastic job.
love it!!

Author:  Jester [ Thu Mar 06, 2008 6:46 pm ]
Post subject:  thanks

Thank you patrick for the nod :) ,without your help this wouldnt have happened it means a lot to me when someone with your obvious talent takes time to comment on my work, are you going to attempt the shrouds on your rifle ? how do you plan on doing it ?i think your idea of a wooden form is best , i think it would be easier to make them in 3 pieces a side and join them up at the end ,too complex to try and beat out in 1 bit, I think magazine ,main body and carry handle have to make up some paper templates and play for a while ,truly pushing the boundries of scratch building :shock:

Author:  michellejordi [ Thu Mar 06, 2008 7:59 pm ]
Post subject: 

:oops: :oops: thanks

3 layers of mdf forks the best for me. left, middle, right
but i cut the middle section smaller to create the sight in the carrying handle.
in the left and right shroud parts i made a groov for the tommygun resiver and the stock.
will show you some pics later.

Author:  Jester [ Fri Mar 07, 2008 8:12 pm ]
Post subject:  painted

This is it finally :D , skimmed sanded and painted only a blow over to stop rust untill i get the rest of the rifle built but im pleased with the way it turned out, its easy to see the detail with a coat of paint next job a vent to match :? ImageImageImageImage

Page 1 of 2 All times are UTC [ DST ]
Powered by phpBB © 2000, 2002, 2005, 2007 phpBB Group
http://www.phpbb.com/