The Aliens Legacy
http://forum.alienslegacy.com/

Weathering patches
http://forum.alienslegacy.com/viewtopic.php?f=3&t=2386
Page 1 of 1

Author:  SSgt Burton [ Sun Aug 05, 2007 2:16 am ]
Post subject:  Weathering patches

OK grunts-

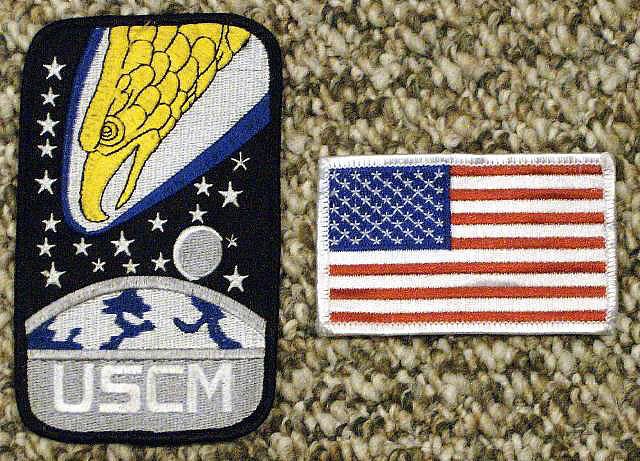
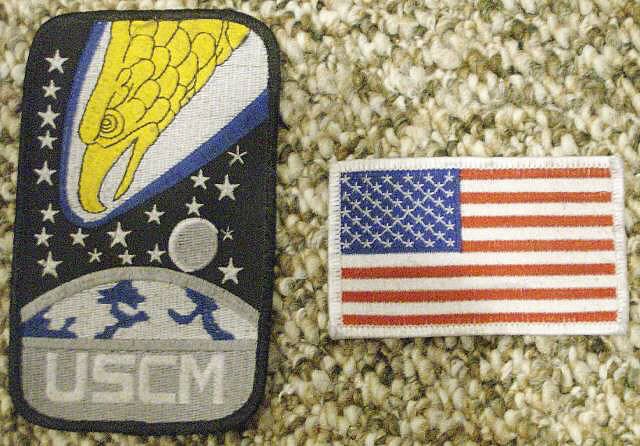
I'm nearly done with my new PIG gunner uniform, and I'm about to sew the patches to my M1969 flak vest.

The vest looks like it's been to LV-426 and back...

But the patches (off the former sleeves of my 1PAT BDUs) look brand new. I mean BRAND FRIGGIN NEW! :roll:

So does anyone have any advice on making them a little less BRAND FRIGGIN NEW looking?

They are the common embroidered patches- not silkscreened.

I'm looking for a permanent method- not just rubbing dirt on them. Image

I've considered using a light mist of spraypaint. However I want to get this right on the first try. So if any of you have done this- what colour did you use? Anything out of the ordinary... other than black paint?

Suggestions?

Author:  Cpl Smith [ Sun Aug 05, 2007 3:09 am ]
Post subject: 

Sarge...I weathered some pieces by mixing RIT (whatever color) in a spray bottle...and misting over the piece....worked great for me.


Derek

Author:  SSgt Burton [ Sun Aug 05, 2007 3:22 am ]
Post subject: 

Ok, that'll work.

Soooooo...


Any colour?

Black, brown, or green?

Author:  Russ Krook III [ Sun Aug 05, 2007 3:49 am ]
Post subject: 

I've dusted with black krylon from a distance of about 3 feet (did that with the decals on my Ghostbusters Proton pack) as well, but the rit dye sounds like a good call as well. As far as color, what "weathered" color is your flack jacket? Is it just dirty or otherwise?

Perhaps a mix of black and dark brown? I've never used the dye idea so I'm guessing on this one.

Russ

Author:  Airborne Mike [ Sun Aug 05, 2007 3:55 am ]
Post subject: 

Kev, as a young soldier, I was embarrassed with having a new rank badges on my combats (BDU's). I didn't want people think I was newly promoted so I would pour black coffee on them, then rub it in. Wrinkle the badges as much as you can (until your fingers are sore), rub some dirt in. Let air dry in the sun (UV rays) then wash in washing machine follow up with the dryer. Repeat if necessary. Seemed to work good. In no time you will be fitting in with the rest of us grubby grunts!

Mike

Author:  Cpl Smith [ Sun Aug 05, 2007 5:03 am ]
Post subject: 

Just wait for the coffee to cool down before you go pouring it on yourself :wink:


But Rook is correct..use "earthy" colors...maybe some black to simulate a presence of gun powder...or some reddish tint to show a little faded blood stain (maybe even put a simulated bullet hole near that part)


Derek

Author:  SSgt Burton [ Sun Aug 05, 2007 4:23 pm ]
Post subject: 

Thanks for the suggestions guys!

I'm going to test a couple of different methods on some old patches I don't care about first. I think I saw a CM Charter patch laying around here somewhere. Image

Author:  Outcry27 [ Sun Aug 05, 2007 6:09 pm ]
Post subject: 

let us know which methods work best, cause I need to weather mine too ;)

Author:  Adonis [ Sun Aug 05, 2007 6:27 pm ]
Post subject: 

Also look at craft stores for the fabric paint used for silk flowers. Those work nicely too.

Author:  SSgt Burton [ Mon Aug 06, 2007 1:15 am ]
Post subject: 

Ok they're done!

Here's what I did- because I'm a bit of a lazy guy I went with spraypaints. I used a light gray primer, Testors FS 30140 "Light Earth" and dullcote.

I practiced on a couple of old patches first. First coat was the primer. It is a very light gray primer so I was pretty aggressive with it. I sprayed continously back and forth from about a foot away for a few seconds at a time. This gave the patches a faded look and greatly reduced the contrast of the colours (especially the red and blue on the US flag).

Next was the Light Earth. This is a medium brown colour and was used very sparingly. I would quickly give shots about a split second each, from about two feet away (and not directly at the patches, rather just above them, so the mist would fall on the patches). Too much of this would make you look like you were just dragged through the mud- a very light mist gives it that ever so slightly dirty look.

Last was a strong coat of dullcote. This was sprayed from about 6 inches. This got rid of any remaining shinyness.

So here are the pics:

Before

Image

After

Image

I had to adjust the brightness settings to make this pics look as close as possible to how they appear in reality. The pictures really don't do this justice- the patches look thoroughly weathered now!

Author:  Russ Krook III [ Mon Aug 06, 2007 5:43 am ]
Post subject: 

Looks great kevin! Nice and broken in!

Russ

Author:  Hollis DZC [ Mon Aug 06, 2007 5:20 pm ]
Post subject: 

Nicely done Kevin! Reminds me I need to do this too! 8)

Page 1 of 1 All times are UTC [ DST ]
Powered by phpBB © 2000, 2002, 2005, 2007 phpBB Group
http://www.phpbb.com/