Ok they're done!
Here's what I did- because I'm a bit of a lazy guy I went with spraypaints. I used a light gray primer, Testors FS 30140 "Light Earth" and dullcote.
I practiced on a couple of old patches first. First coat was the primer. It is a very light gray primer so I was pretty aggressive with it. I sprayed continously back and forth from about a foot away for a few seconds at a time. This gave the patches a faded look and greatly reduced the contrast of the colours (especially the red and blue on the US flag).
Next was the Light Earth. This is a medium brown colour and was used
very sparingly. I would quickly give shots about a split second each, from about two feet away (and not directly at the patches, rather just above them, so the mist would fall on the patches). Too much of this would make you look like you were just dragged through the mud- a very light mist gives it that ever so slightly dirty look.
Last was a strong coat of dullcote. This was sprayed from about 6 inches. This got rid of any remaining shinyness.
So here are the pics:
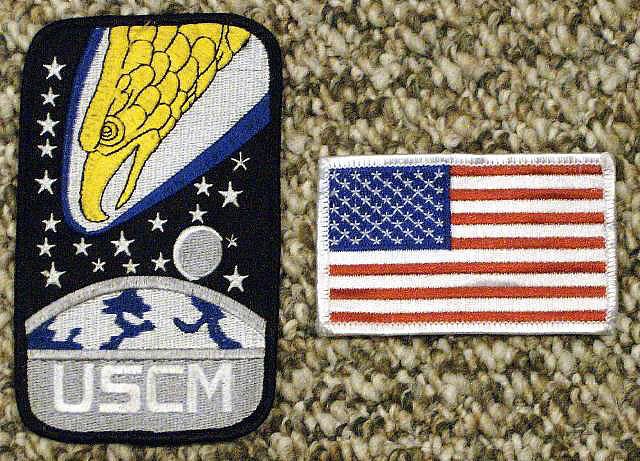
Before
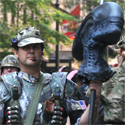
 After
After
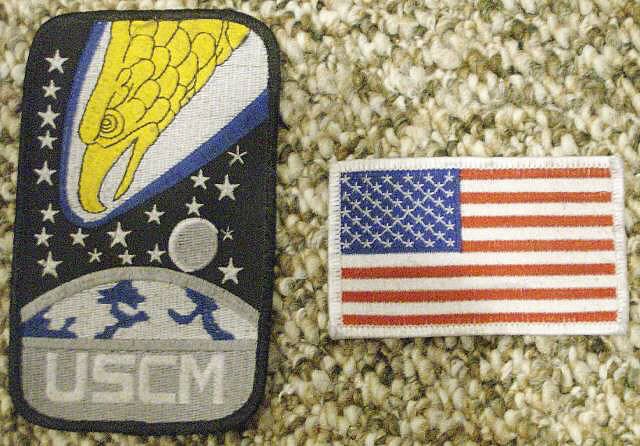
I had to adjust the brightness settings to make this pics look as close as possible to how they appear in reality. The pictures really don't do this justice- the patches look thoroughly weathered now!