The Aliens Legacy
http://forum.alienslegacy.com/

Mini alien warrior build
http://forum.alienslegacy.com/viewtopic.php?f=3&t=16973
Page 4 of 6

Author:  Red_2 [ Mon Sep 25, 2017 3:51 am ]
Post subject:  Re: Mini alien warrior build

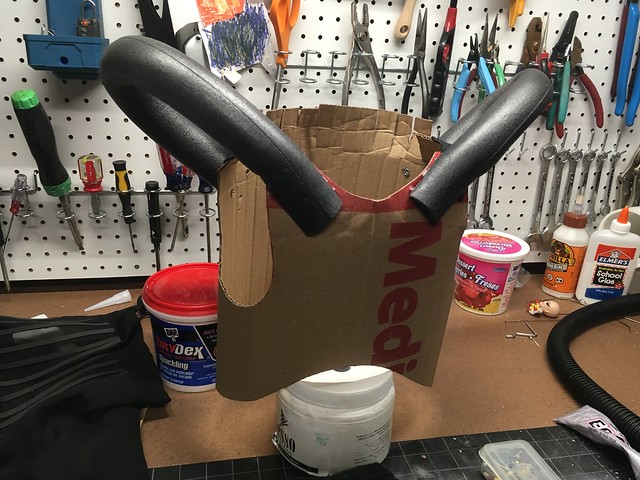
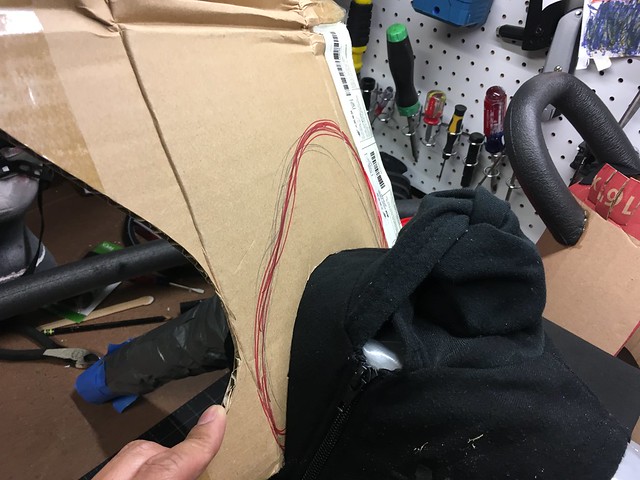
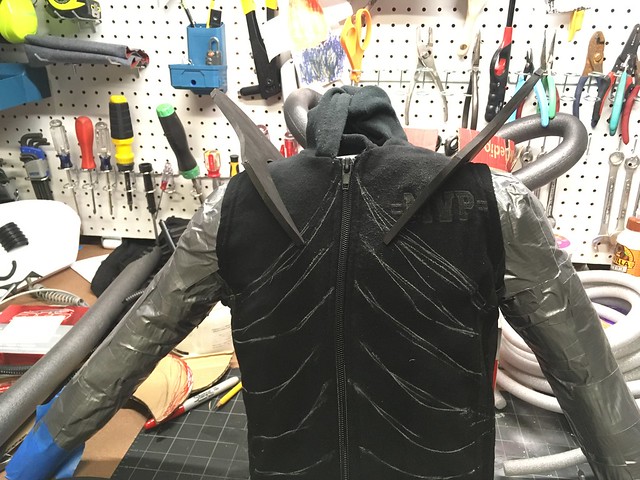
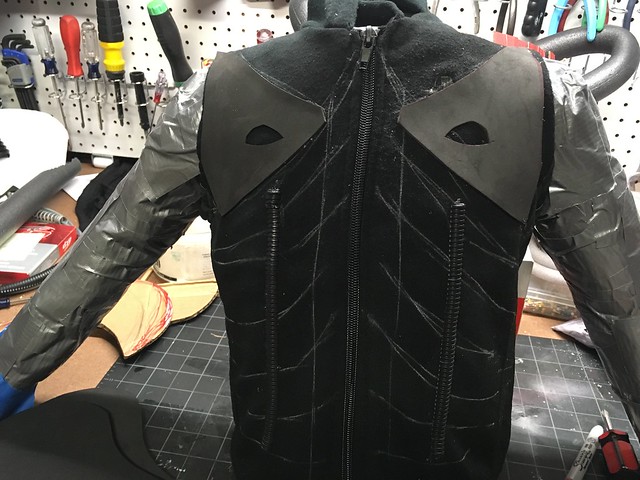
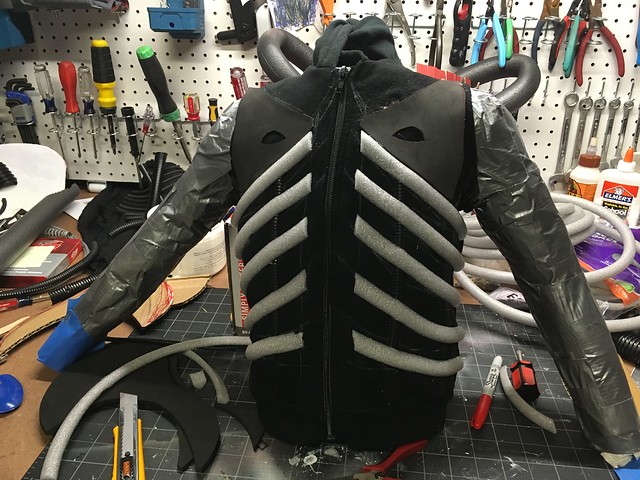
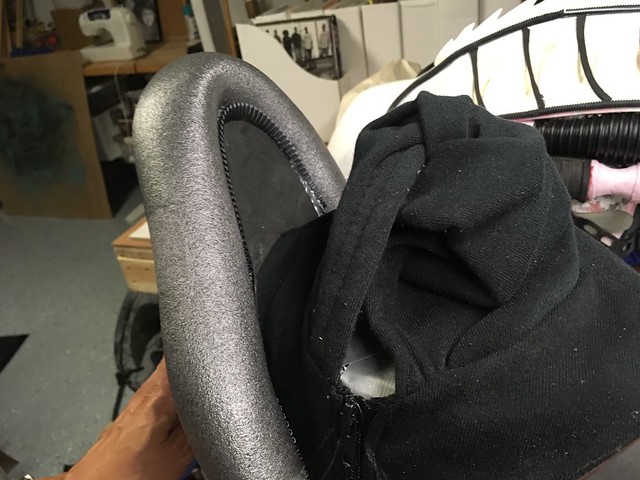
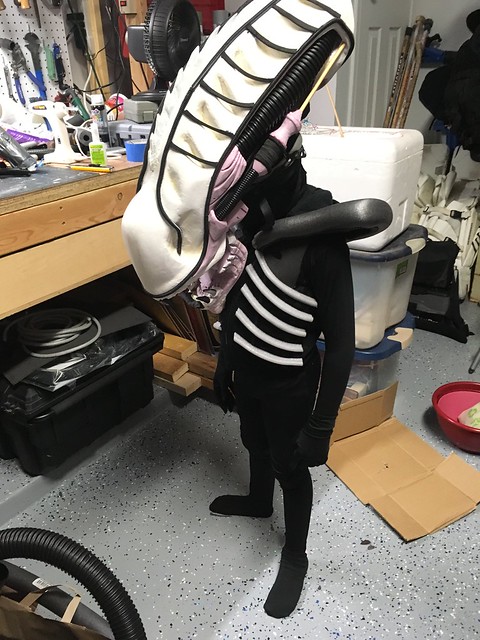
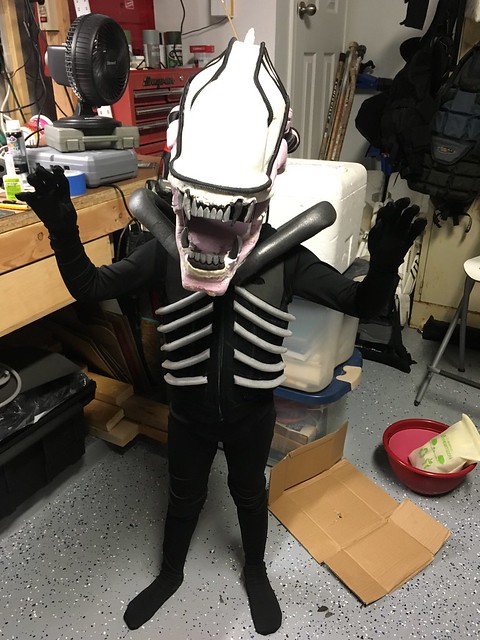
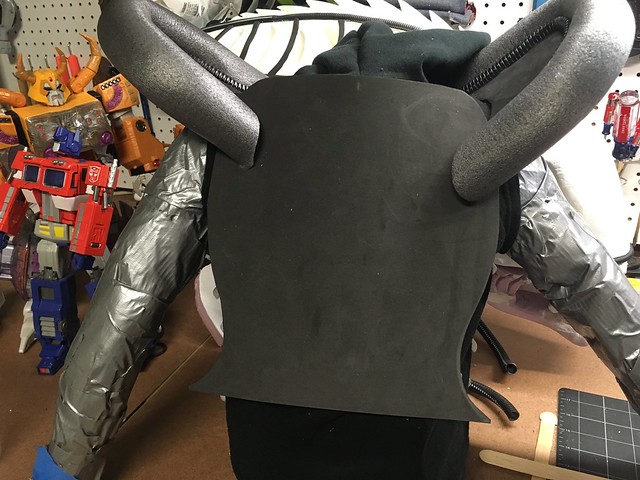
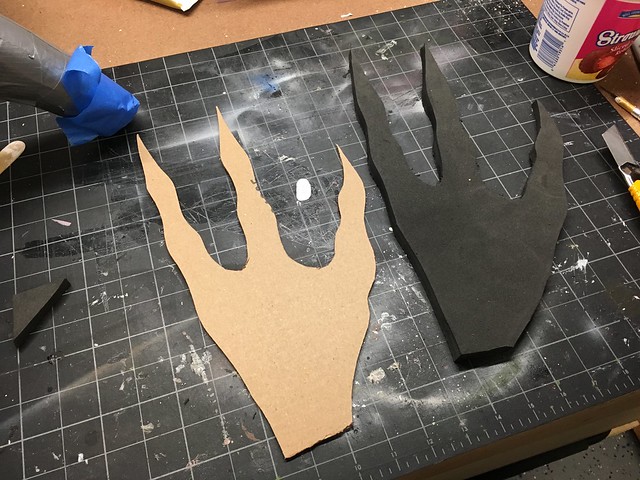
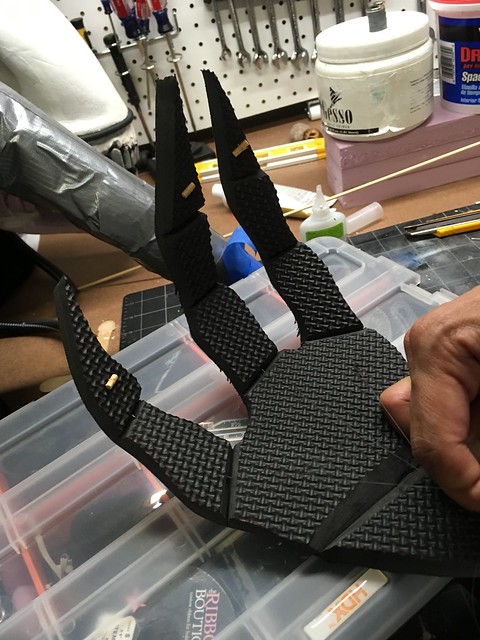
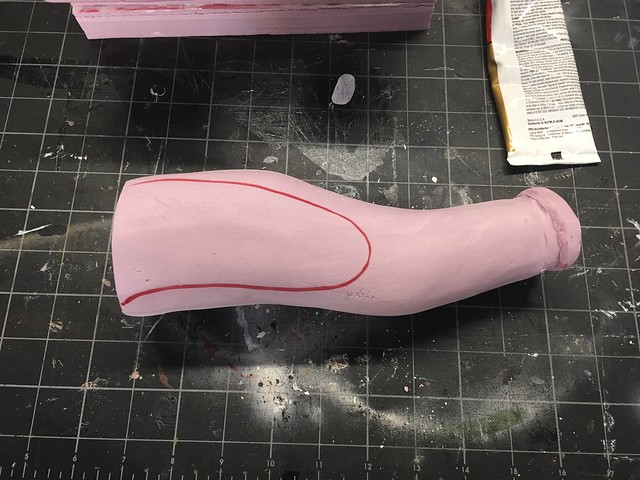
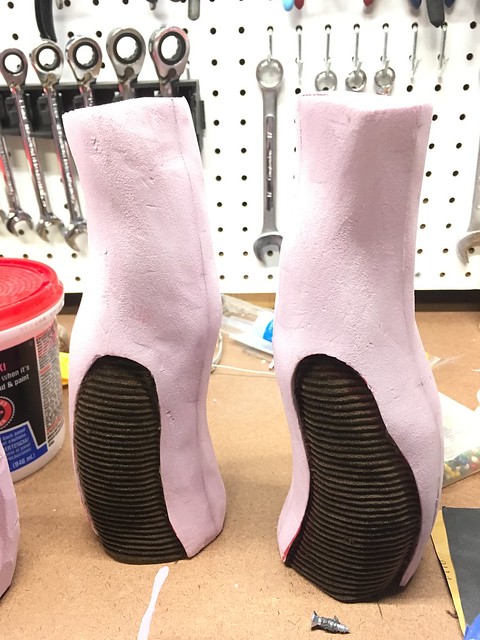
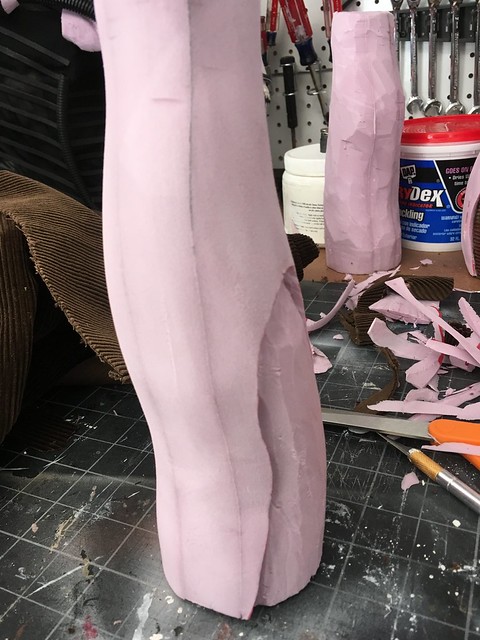
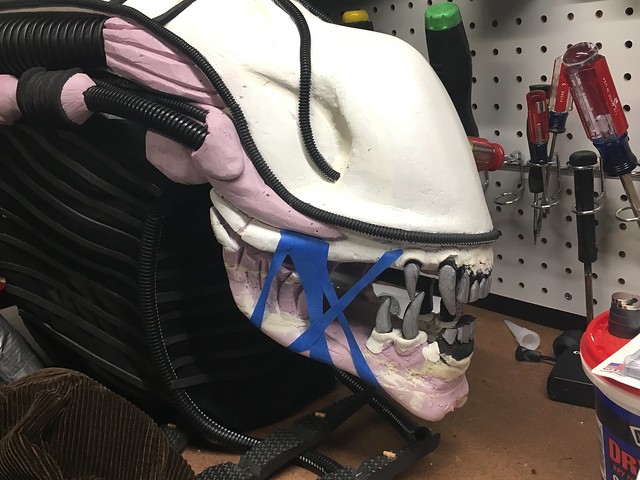
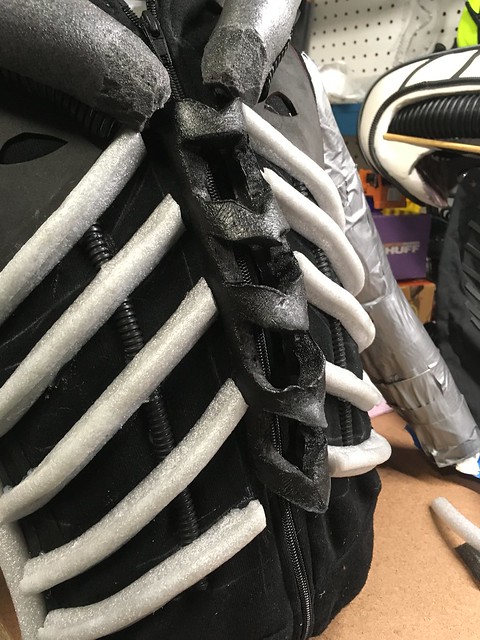
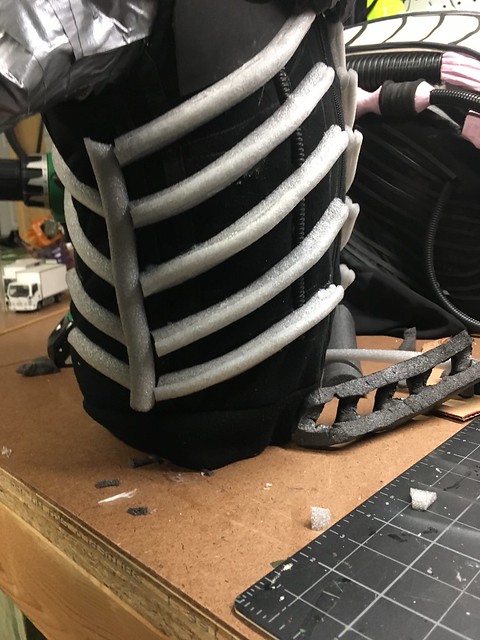
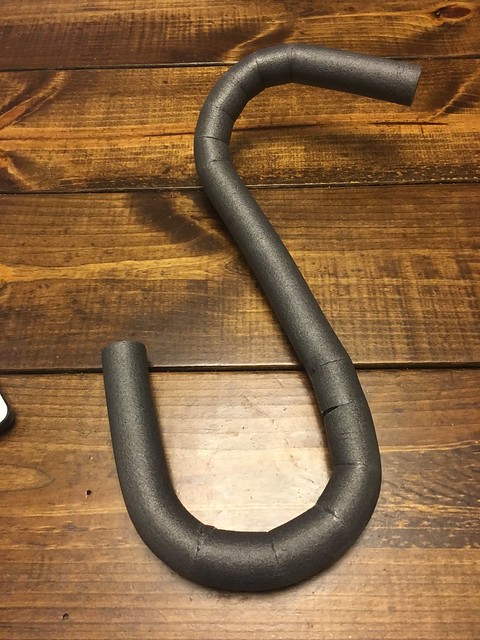
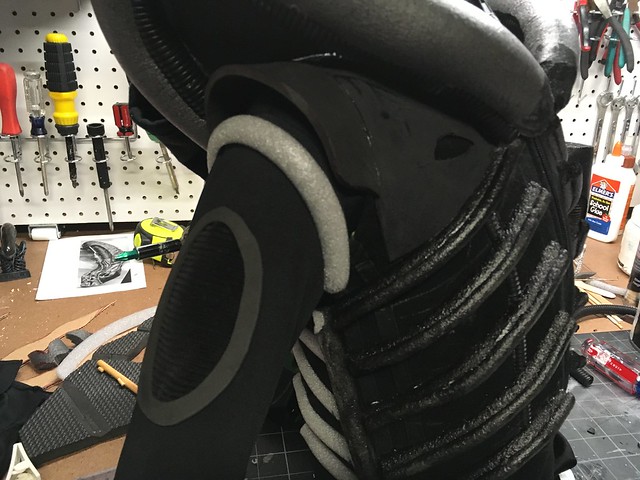
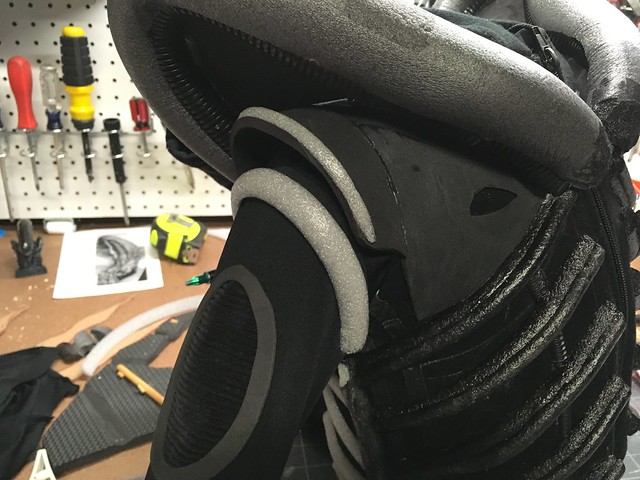
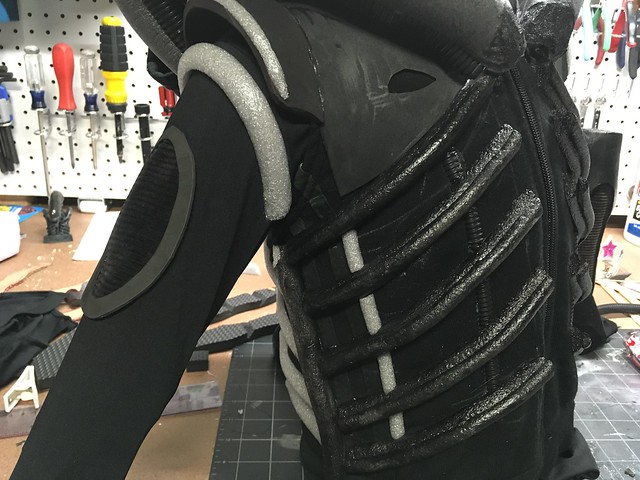
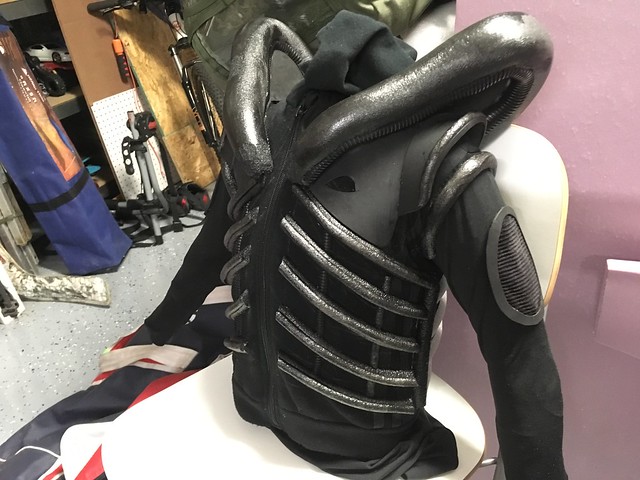
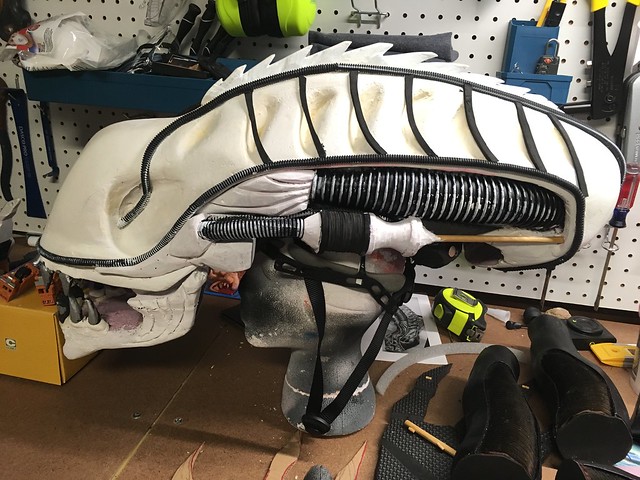
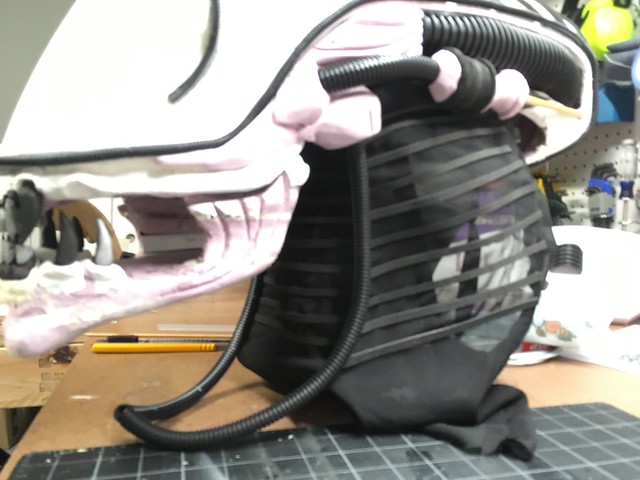
More neck/veil work.

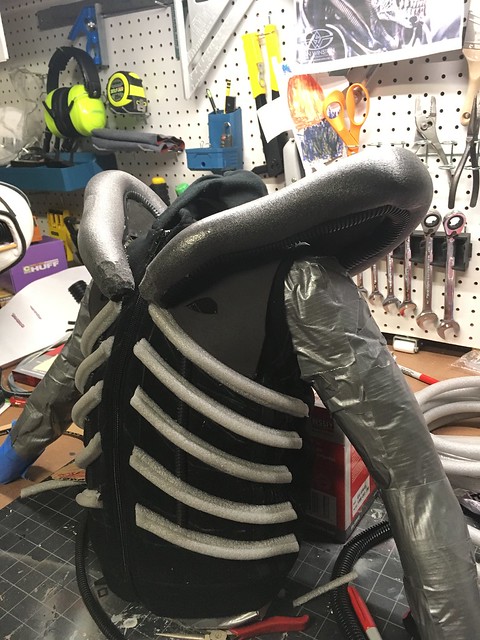
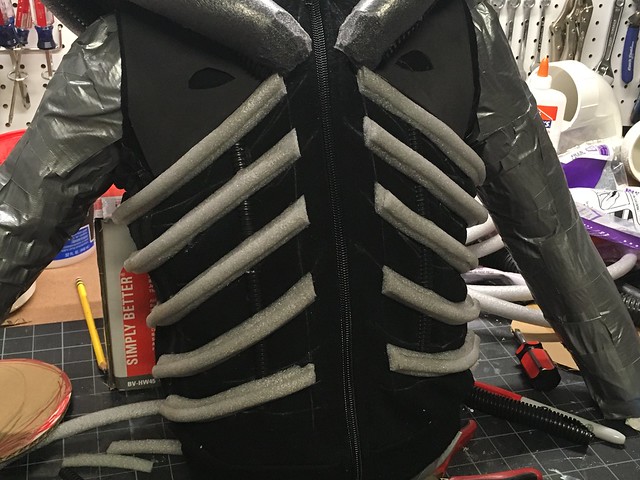
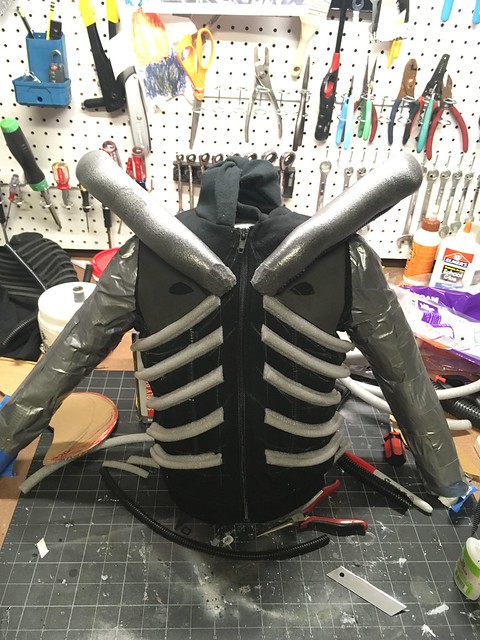
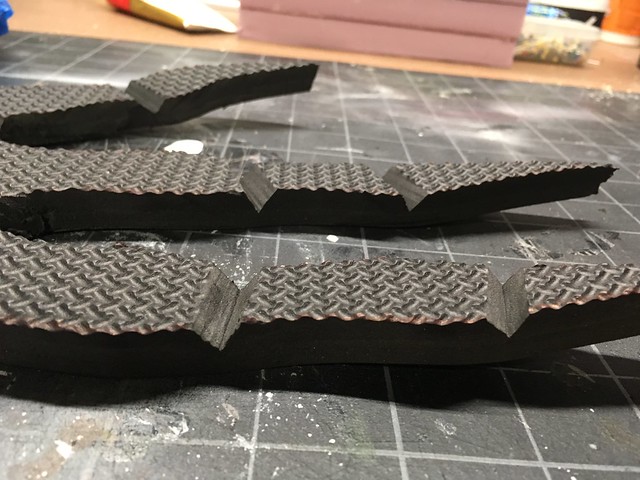
Added side ribs and tubes along the front corners. (Sorry, for the blur in that second shot. Need better lighting in the garage.)

Image

Image

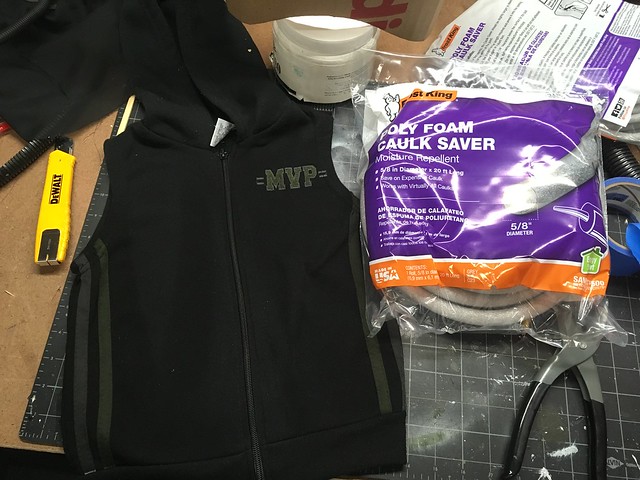
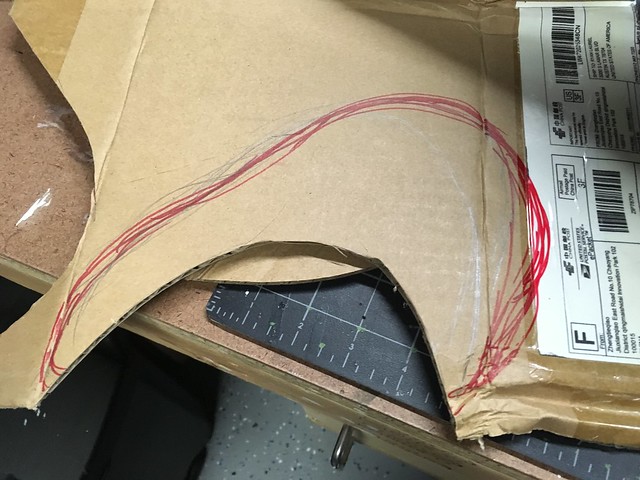
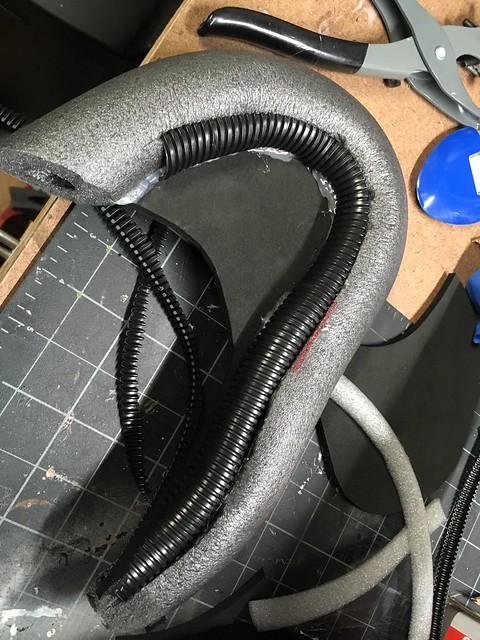
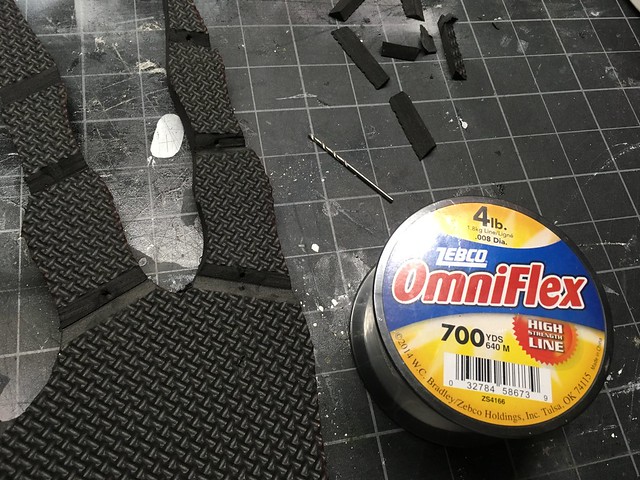
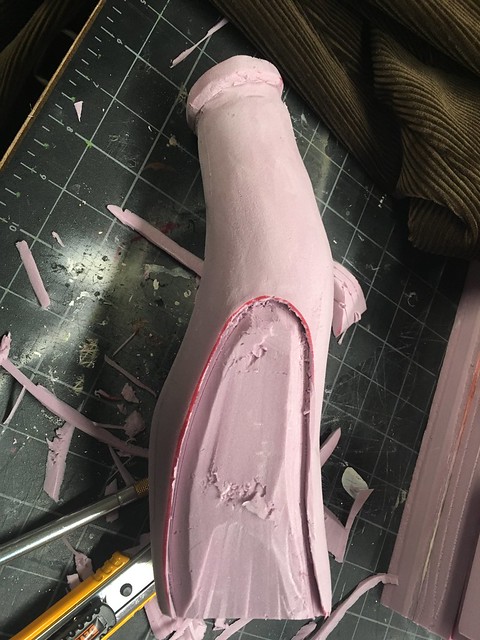
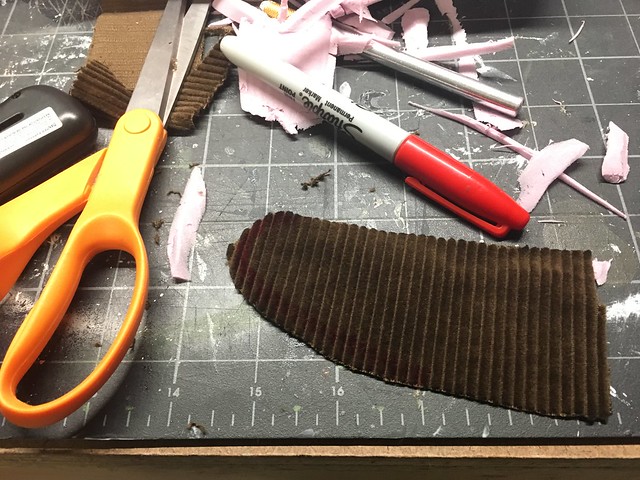
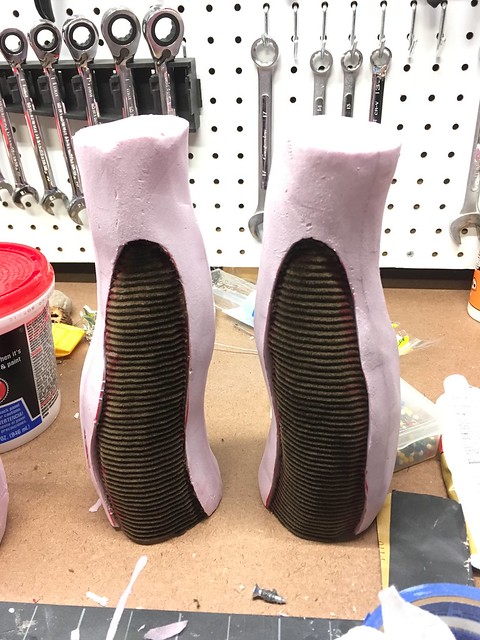
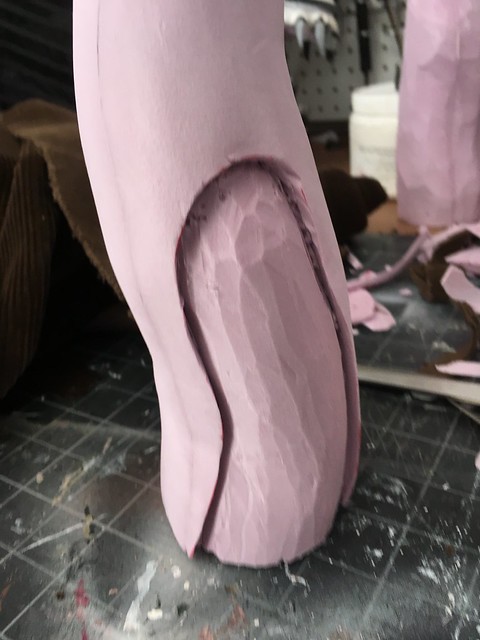
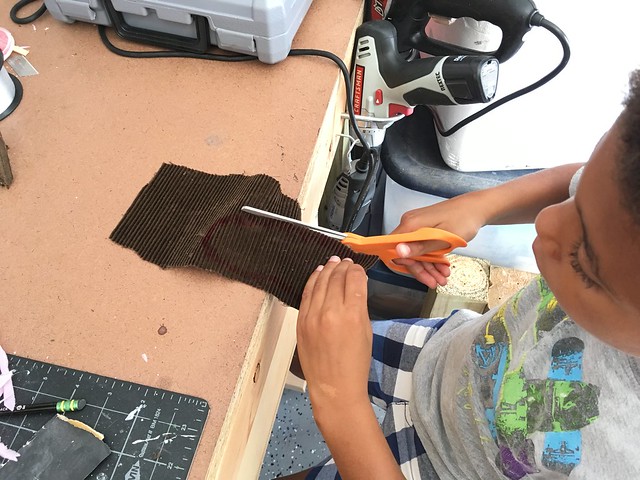
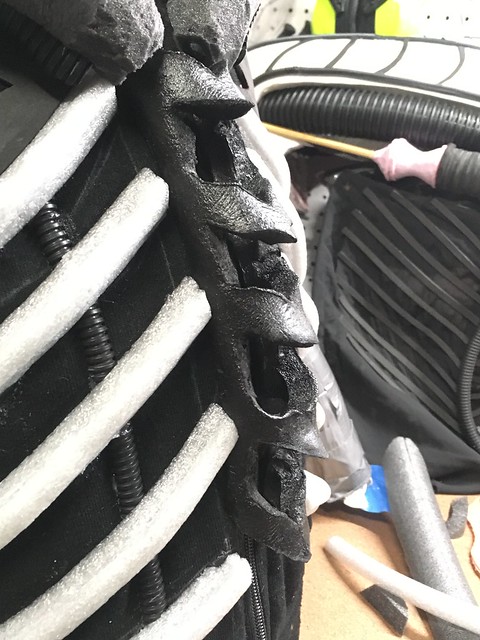
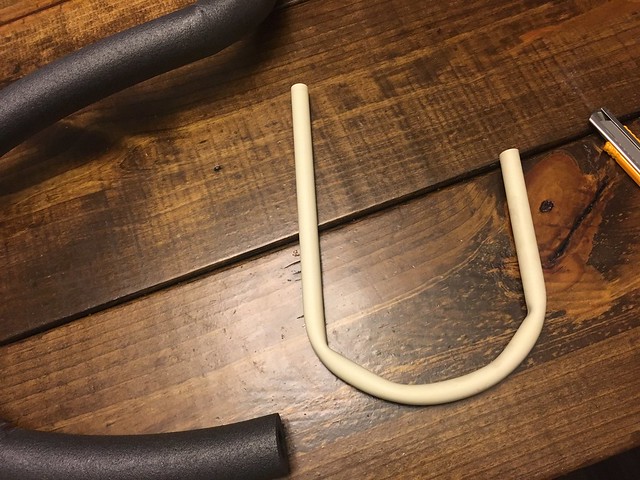
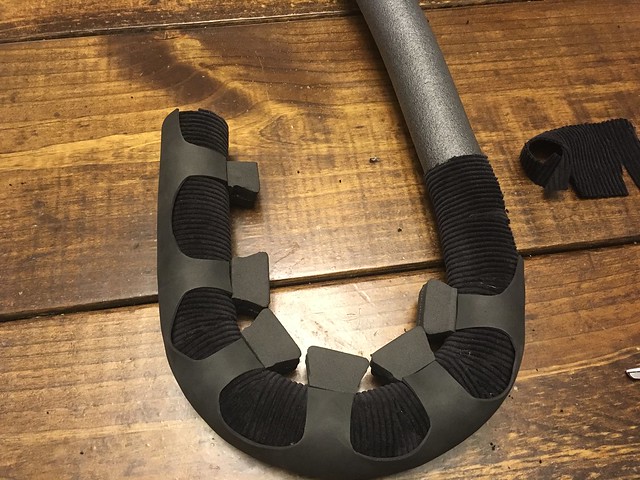
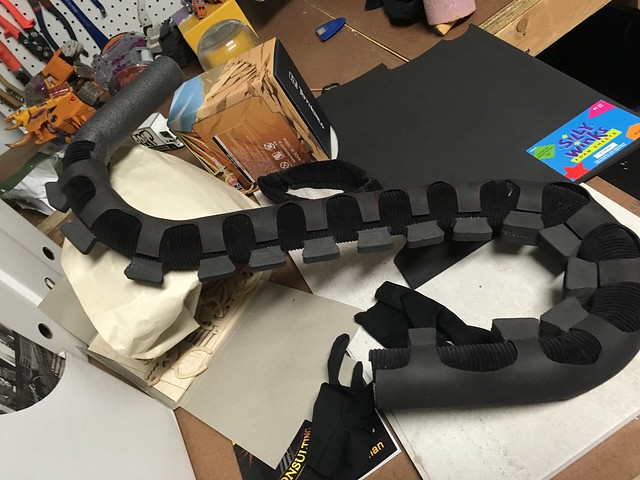
So neat way I attached the tubes.

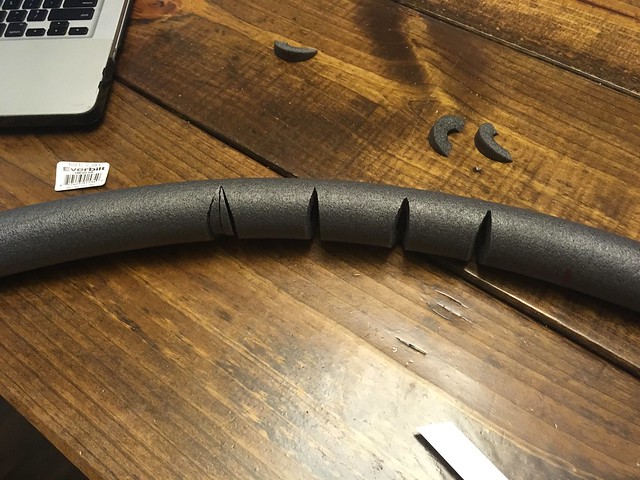
I cut some 2 inch long dowels.

Image

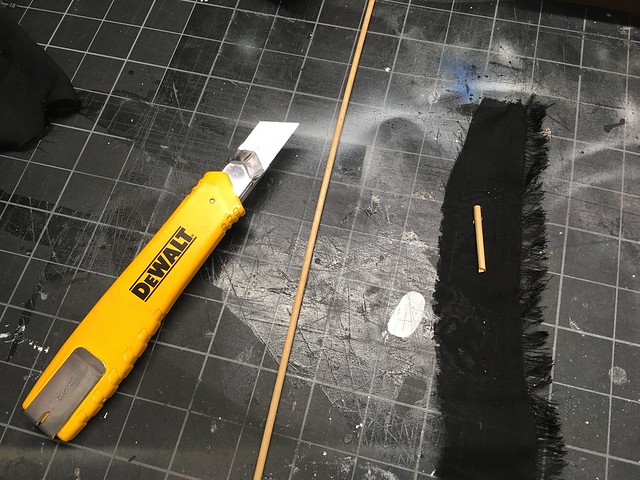
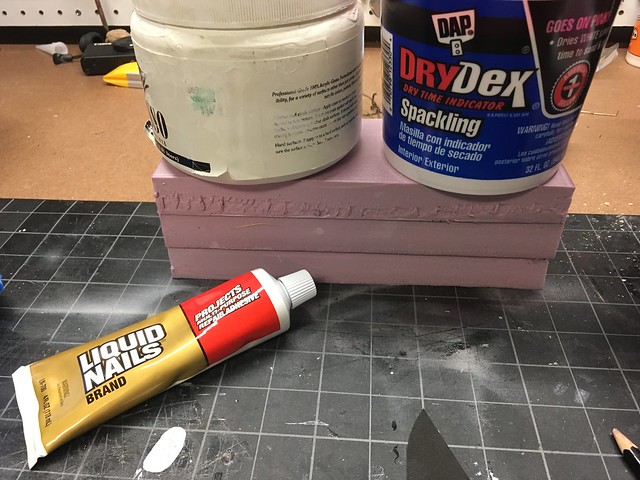
I then trimmed a wide popsicle stick so that it wedged the tube open.

Image

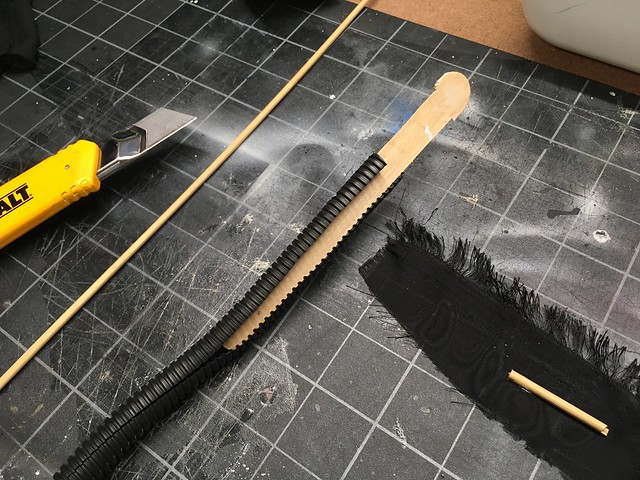
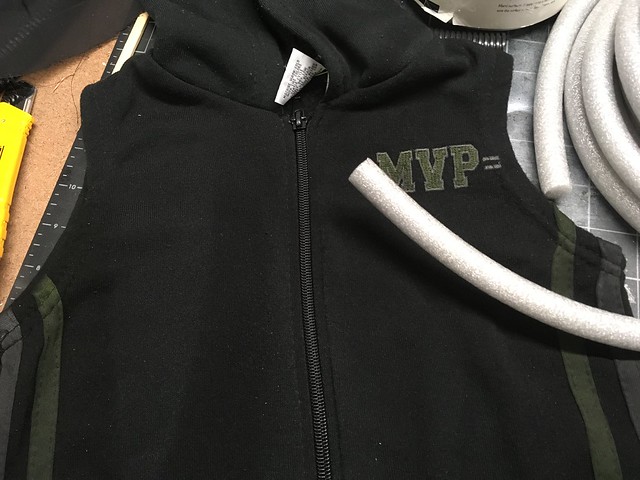
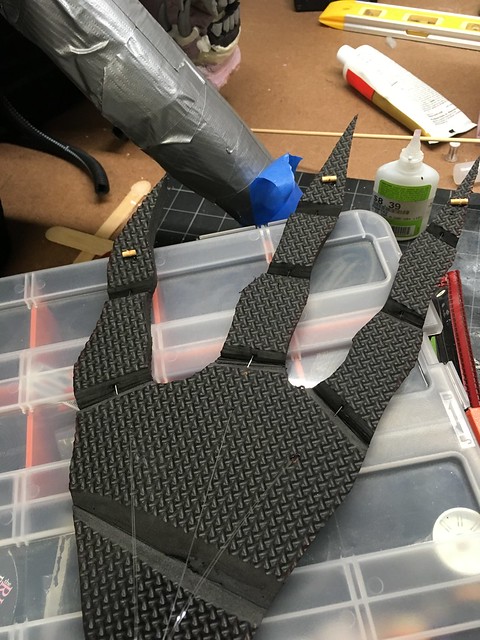
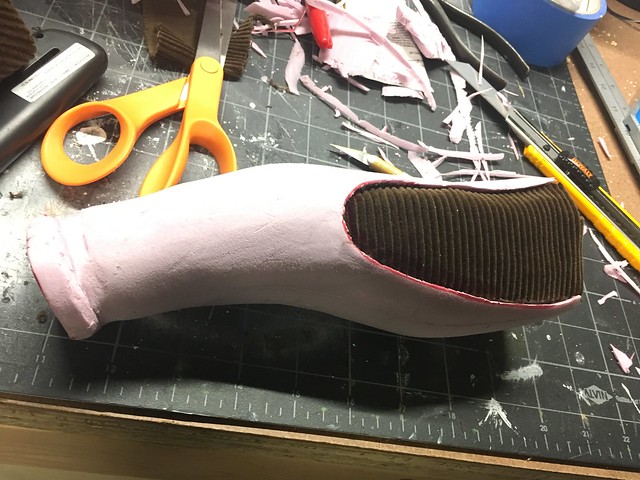
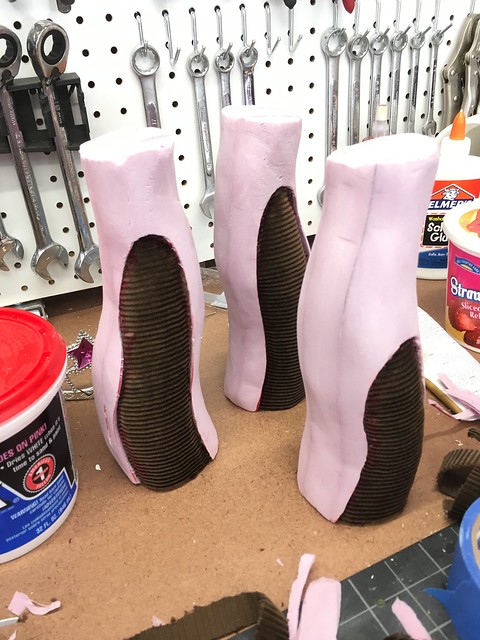
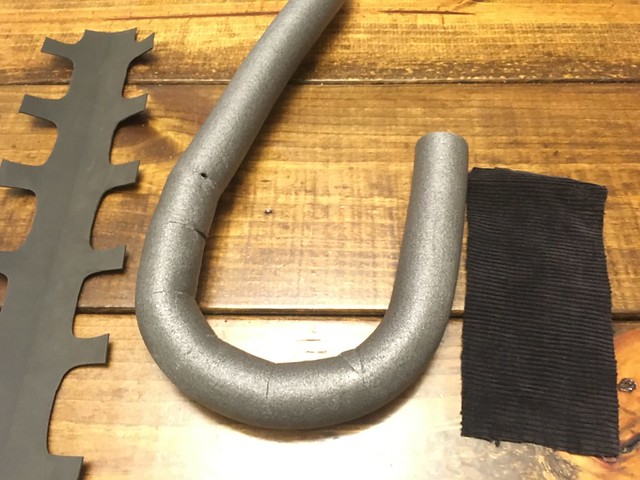
On the actual neck piece I laid three of the 2 inch dowels along the corner seam, equally spaced (about a 1/2 to inch gap between). Laid the opened tube underneath and pushed the dowels against the popsicle stick.

Image

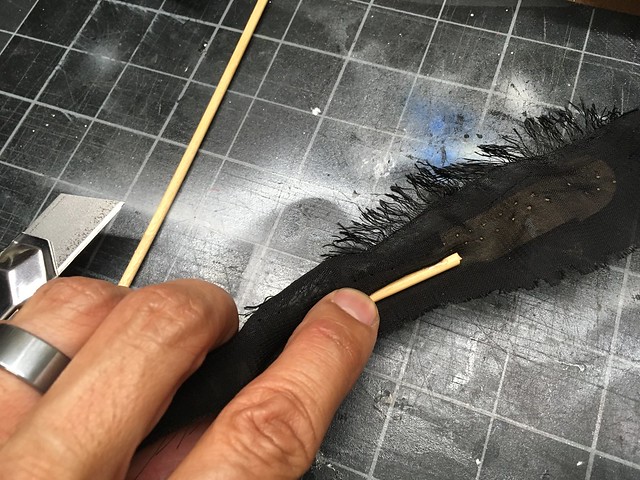
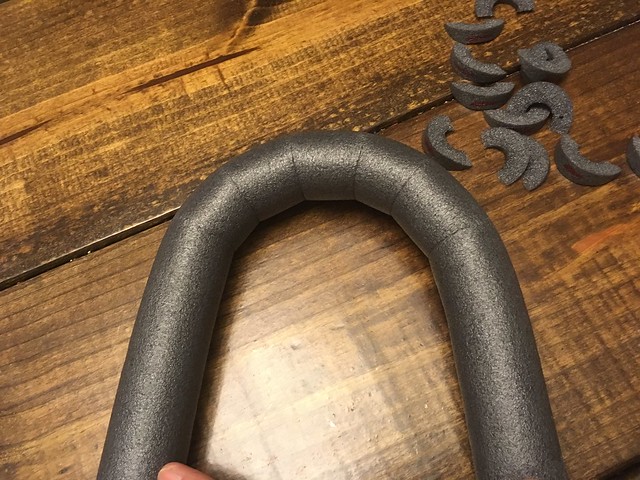
Then pulled the popsicle stick out while holding it in place!

Image

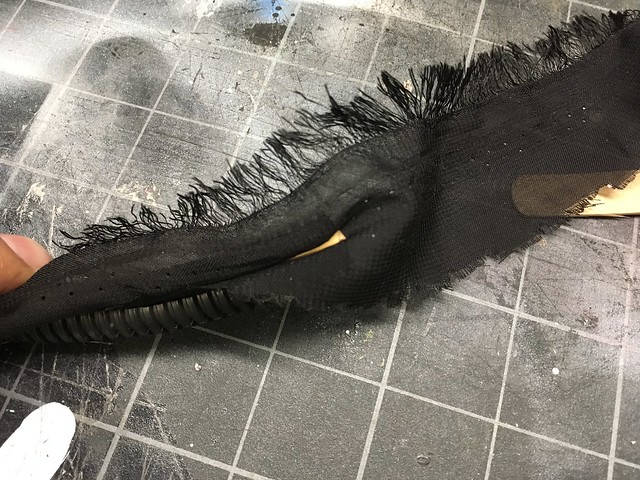
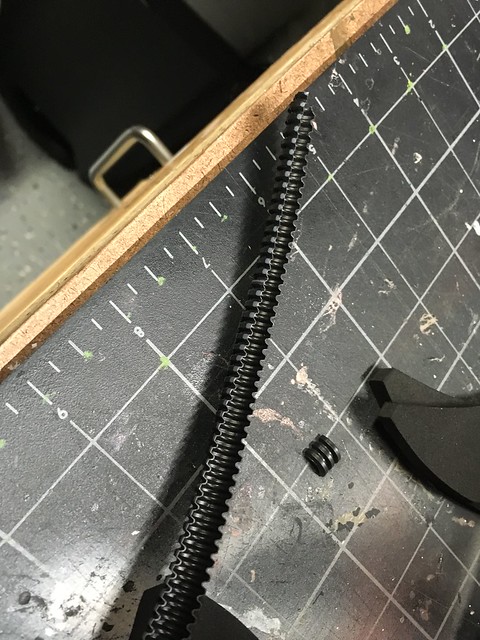
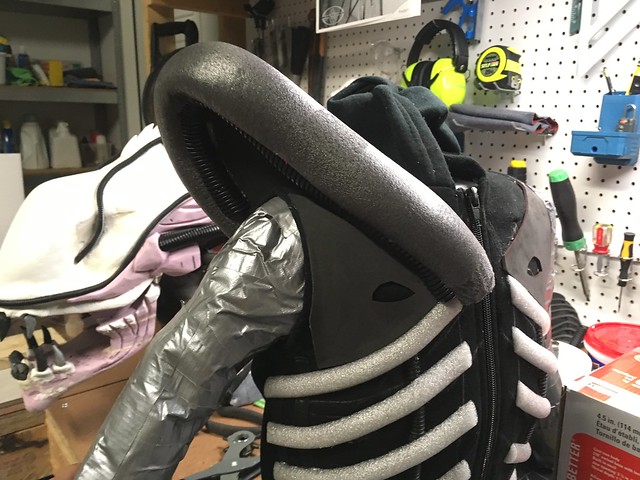
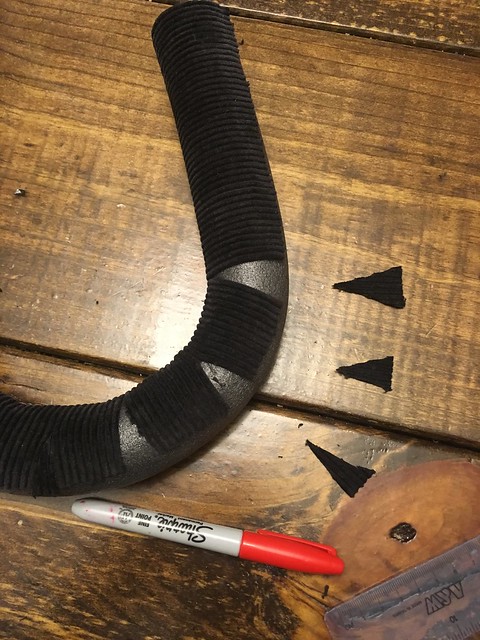
It grabs the dowel and the fabric for a great hold. It WILL NOT slide against the fabric since the plastic seam is ribbed and bites down on it like teeth. Worked great. No glue!


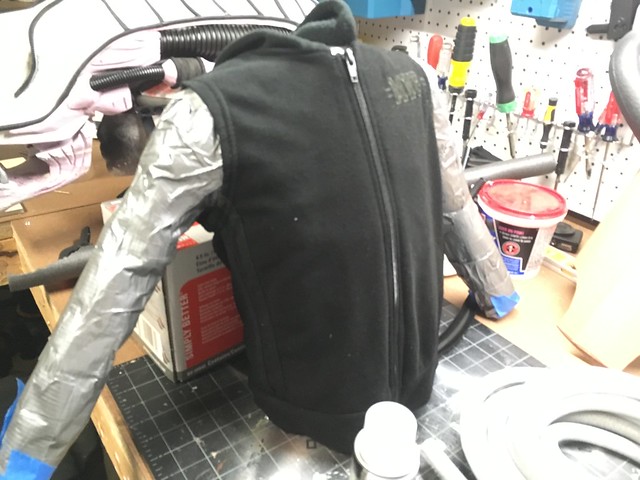
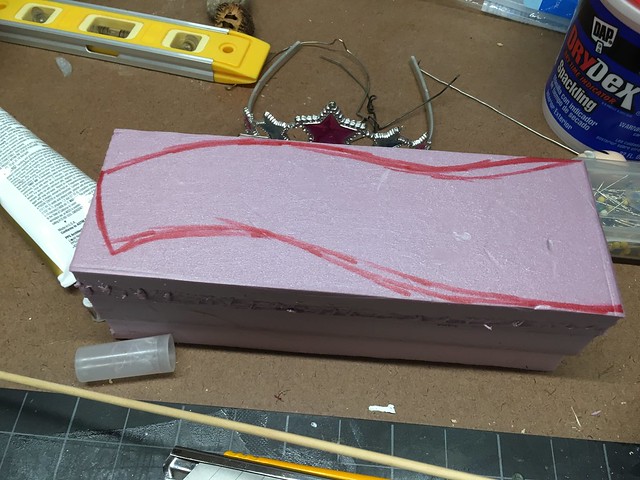
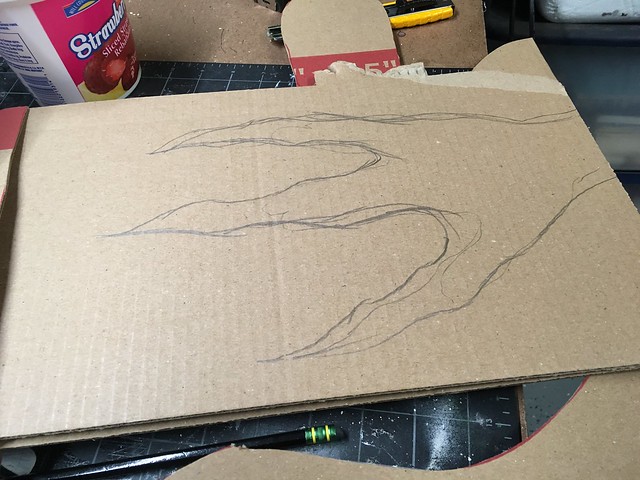
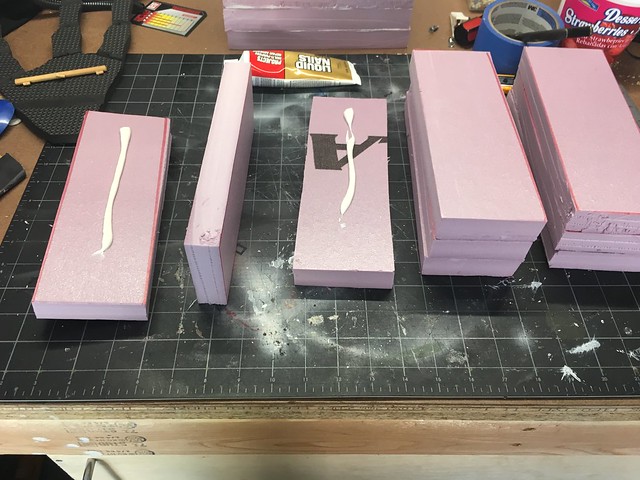
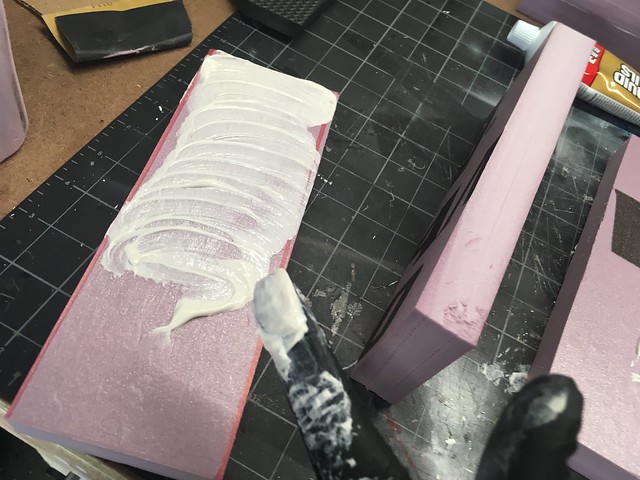
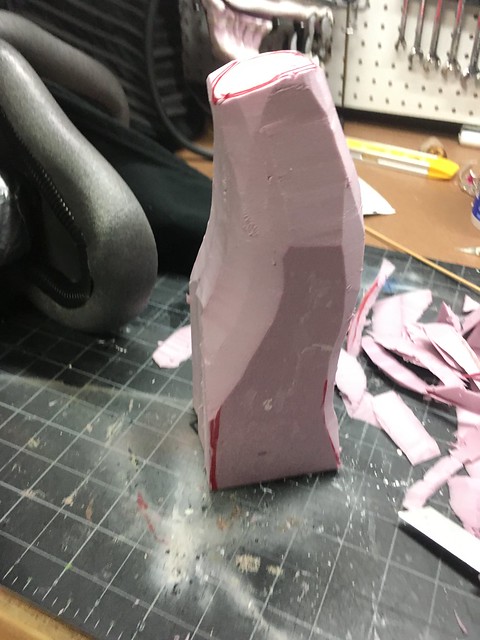
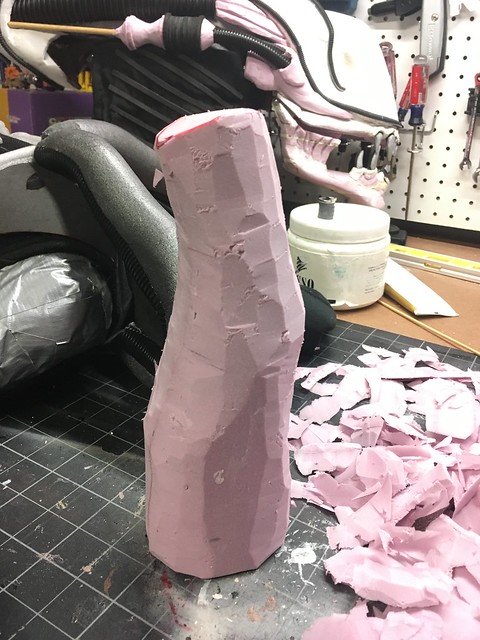
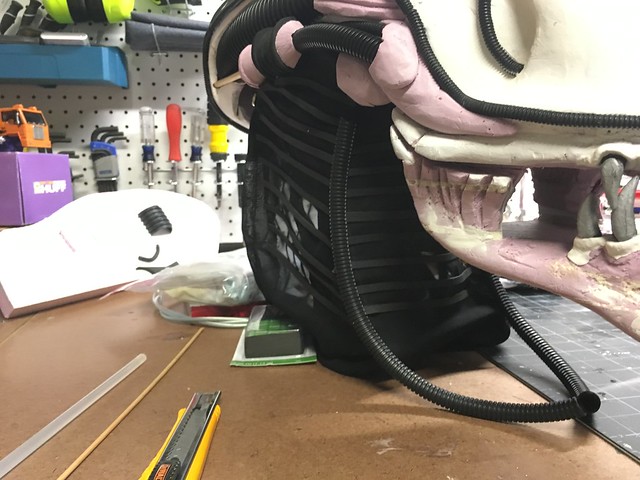
I also got some headway on the chest piece, I'll be trying to start gluing pieces to it tomorrow. I'll have pics up of that also.

Author:  MattRendar [ Tue Sep 26, 2017 4:01 am ]
Post subject: 

Looking great !!

Author:  Red_2 [ Tue Sep 26, 2017 2:55 pm ]
Post subject:  Re: Mini alien warrior build

Thanks, Matt!

(I'm originally from Medford, LI!)

Author:  Red_2 [ Mon Oct 02, 2017 4:04 am ]
Post subject:  Re: Mini alien warrior build

Not much progress the past week.

I redid the cardboard chest piece again and glued elastic straps to it. But I test mounted the shoulders, and it was a mess and not very sturdy. I also worried that the cardboard would get cumbersome.

Image

I really want those shoulder tubes to follow the screen shape and not just be semi-circles.

Using this great build as a reference: http://www.instructables.com/id/Alien-Xenomorph-Costume-1/, I found a vest at Goodwill and covered up the details with fabric paint. Gonna us this 3/4" foam tubing for the ribs.

Image

Image

Image

Author:  Fuzzball [ Mon Oct 02, 2017 10:38 pm ]
Post subject:  Re: Mini alien warrior build

Love your build! I opened this page 3-4 times every day to see your updates. Your progress is amazing so far and I tried to mimic your head in my build. You got this! Keep up the great work!!

Here is my completed mini Xeno for my 3 year old:
Image

Author:  Red_2 [ Mon Oct 02, 2017 11:42 pm ]
Post subject:  Re: Mini alien warrior build

AAAHHH, Fuzzball!! That's amazing!! So jealous yours is done!

Appreciate the feedback!

Author:  Red_2 [ Tue Oct 03, 2017 3:43 am ]
Post subject:  Re: Mini alien warrior build

Attacking the vest tonight with some renewed inspiration provided by Fuzzball above! (Great stuff!)

First I traced out a template for the shoulder blade/tubes out of cardboard (didn't want to waste foam).
Once I got the curve going over the shoulder, then I drew in the shape that I'd like the tubes to follow.

Image

Image

Test fit after cutting them out of EVA foam. I ended up changing the shape just slightly. Traced in the ribs with chalk.

Image

Cut some loom in half, maybe a little less for some of the detail under the ribs. Also made some shoulder details out of foam which I'll add to later. Used hot glue to lay it all down. Plain jane glue sticks seem to be grabbing the cotton vest fine.

Image

Image


I then cut the 3/4 foam in half also and started gluing it down. I left space in the middle for the bone protrusions which will be velcroed later. That way the vest zipper can be used.

Image

I may have narrowed the space in between to fit a sixth rib or possibly raise it a rib, but it looks okay.
Really want to knock out the shoulder tubes next and get those fixed and sturdy.

Author:  Red_2 [ Wed Oct 04, 2017 5:12 am ]
Post subject:  Re: Mini alien warrior build

Got one shoulder done tonight. :/

So I basically forced this insulation tube on to the foam using a ton of hot glue. Not the cleanest execution but I can clean it up or, whatever, he's gonna be mostly black and not sitting still. :D

Glued a portion, held it down. Glued a portion, held it down. Glued a portion, burned myself, held it down.

Image


I cut the loom to almost a flat portion and glued it down along the edge where the tube meets the foam, covering up most of the hot glue also.

Image

The EVA looooves CA glue. So I temporarily glued it down where the chest details and the shoulder blade shape meet.

Image


I got that curve shape of the tube just the way I wanted it!

Image

Covered up the hot glue with a thin strip of loom on the inner portion. Don't have a reference pic of the inside shoulder but I think it's mostly smooth.

Image

The one shoulder almost took an hour. Sheesh.

I also decided I want the ribs to have a bit more depth so I've got a solution to that.

Author:  Red_2 [ Thu Oct 05, 2017 4:30 am ]
Post subject:  Re: Mini alien warrior build

Added other shoulder!

Also added smaller diameter tubing to ribs.

Image

Image

Image

Author:  Red_2 [ Fri Oct 06, 2017 1:21 am ]
Post subject:  Re: Mini alien warrior build

Test fitting!

Image

Image

Image

Author:  retrogarde [ Fri Oct 06, 2017 2:57 pm ]
Post subject: 

YES YES YES YES YES!!!

That is looking so good!

Author:  Red_2 [ Sat Oct 07, 2017 5:15 am ]
Post subject:  Re: Mini alien warrior build

^^^ :D

Started a few things tonight.

Spooge tube set up. Cut out three planks of pink foam (I measured out 3"W x 9"L) and glued together with Liquid Nails. Ran out of spray foam. (Or used enough that the nozzle no longer worked.) I'll wait for this to dry then start carving tomorrow. If this size works out then I'll do it three more times all at once so they're ready to carve.

Image

Image


Then I measured out and cut a back panel to glue to the back of the vest. I'm thinking this will give some added support that way I'm not gluing/velcroeing the, back of the shoulders, tubes, back ribs, and spine/tail to just the fabric. I'm planning on hot gluing it on. The shoulders will be symmetrical in the back once fixed.

Image

Image


Then I started on the hands. Drew out on to cardboard using my hands (Spock style) as a guide, then just lengthened the fingers. Used the template to trace onto the EVA floor mat foam.

Image

Image


I then notched out the inner knuckles so they fingers can curl.

Image

Image


Once notched I channeled small tunnels through (used a tiny drill bit) and then threaded some fishing line through. Anchored the line with a tiny notched piece of wooden dowel, which I crazy glued down.

Image

Image

Image

I'm hoping I can attach the line to a single rod that he can pull back with a few fingers. I was originally thinking it could be individual rings but that may be too precise/clumsy for him to find with his gloved fingers.

https://youtu.be/oIFGqFIC24w

I'll shape and fine tune the hands once they work simply.

Author:  Red_2 [ Mon Oct 09, 2017 4:33 am ]
Post subject:  Re: Mini alien warrior build

Spooge tube making:

Notes:

- Liquid Nails is waaaaaaayyyy better for joining the XPS/pink foam. Applies like white glue, is kinda spackly when drying, cleans off super easy, sands and cuts like a breeze!

- Found a pair of thick ribbed corduroy at Goodwill to mimic ribs. Typical corduroy is not a pronounced, this thicker ribbed (found on a pair of XXL pants) looks great.

- This one will be a prototype. Want to lessen the taper to the opening, and form less of a ridge.

Image

Image

Image

Image

Image

Image

Image

Image

Image

Image

Author:  Red_2 [ Wed Oct 11, 2017 6:34 pm ]
Post subject:  Re: Mini alien warrior build

So I'm looking at the date and am realizing I have 19 days to get this done. :O

I took foam to work to carve on my lunch break. :D

Author:  Red_2 [ Thu Oct 12, 2017 4:30 am ]
Post subject:  Re: Mini alien warrior build

Pedal to the medal!

Image

Image


Little doodle from family art time. :)

Image

Finish tubes.
Finalize ribs and back detail.
Start tail and attachment point.
Finish tail.
Cut and apply details to legs and arms.
Paint and finalize.

I think the jaw actuation may not make it to Halloween. Darn.

Author:  Red_2 [ Sat Oct 14, 2017 3:58 am ]
Post subject:  Re: Mini alien warrior build

Progress!

Outer left side, top and bottom tubes.

Image

Inner.

Image

Author:  retrogarde [ Sat Oct 14, 2017 3:36 pm ]
Post subject: 

You can do it!

Great progress man. This is a stellar build.

Author:  Red_2 [ Sat Oct 14, 2017 5:04 pm ]
Post subject:  Re: Mini alien warrior build

Thanks for the encouragement, retro! Getting there!

Three down, one more to go. A few more pics to illustrate the process.

Image

Image


Helping with his own costume. :)

Image

Only need the bottom right side now. Woo hoo!

Image

Author:  Red_2 [ Sun Oct 15, 2017 4:54 am ]
Post subject:  Re: Mini alien warrior build

Primed and ready to paint.

Image


Messing with masking tape ...

Image

Author:  Red_2 [ Wed Oct 18, 2017 4:05 am ]
Post subject:  Re: Mini alien warrior build

Formed the middle chest ... vertebrae? (shrug)

Sliced the pipe insulation in half and cut out a repeated pattern (I drew what looked like whale tails, then cut those sections out). Used the heat gun to form. Painted with black latex house paint.

This method was born out of concern for time. It was relatively quick and gets the point across. :) I'll velcro this piece to the chest so the zipper is still functional.

Image

Image

Image

Image


Also added ribs to the sides/back.

Image

Author:  Dropshipbob [ Wed Oct 18, 2017 3:15 pm ]
Post subject: 

Wow...VERY impressive work you've done!

Author:  MattRendar [ Thu Oct 19, 2017 1:19 am ]
Post subject: 

Keeps looking awesome ! Keep up the great work !

Author:  Red_2 [ Thu Oct 19, 2017 5:13 am ]
Post subject:  Re: Mini alien warrior build

Thanks, guys!

Started the tail tonight. I'm gonna go with an S shape and make sure it's secured not only at the start of the tail but up towards where it would get close to the spooge tubes. Again, 6 year old. Needs to be close to his body.

Took pipe insulation foam and estimated the S shape I wanted.
Then cut wedges out to facilitate the curve. Hot glued the gaps to keep the bend in place.

Image

Image

Image


Had a short PVC pipe laying around and used the heat gun to bend it to shape. Since I'll be gluing more corduroy and foam to the tail, it'll need some support at the base.

Image


Cut a pattern for the tail ribs out of craft foam. I've seen this done with 1/4" or 1/2" upholstery foam for better depth, but I'm trying to use what I have laying around and also to keep the tail light in weight. The gist of the tail is what I'm going for apparently. lol.

Image


Gonna glue the corduroy on first. Then the rib pattern.

Image


I slit the corduroy so it would go around the bends, then cut small darts to fill in the gaps. Hot glued to the foam.

Image


Hot glued the ribs on and then used the interlocking portion of the EVA mats as the spine tips. Scraps for the win! :) If I have time and some foam left over I can later the rib pattern for some added depth.

Image


I'll minimize the rib spacing and spine tips as it gets closer to the tip.

It's late. Probably lots of late nights coming up.

Author:  Red_2 [ Sun Oct 22, 2017 5:21 am ]
Post subject:  Re: Mini alien warrior build

Added some detail to the shoulders, extra detail on the ribs, painted stuff black (black latex paint), primed the head a bit, also finished more of the tail.

Cuff around shoulder and tube detail on actual shoulder.

Image

Trim detail added to cuff.

Image


Added rib detail.

Image


Black paint. Rib detail on biceps.

Image


Tail almost done. I think I'll add a bit more detail to this once I'm closer to all done.

Image


Less visible pink foam.

Image


Found a mini blue siren light at Goodwill a couple weeks back. Turned it on in the dark and saw this ...

https://www.youtube.com/watch?v=L-0PvwUzjYg

Author:  bigbisont [ Sun Oct 22, 2017 6:01 am ]
Post subject: 

This really great, man. Love it.

Page 4 of 6 All times are UTC [ DST ]
Powered by phpBB © 2000, 2002, 2005, 2007 phpBB Group
http://www.phpbb.com/