That's right Christmas came early this year!
Attachment:
IMG_0267 (640x480).jpg [ 99.59 KiB | Viewed 8976 times ]
Attachment:
IMG_0272 (640x480).jpg [ 174.97 KiB | Viewed 8976 times ]
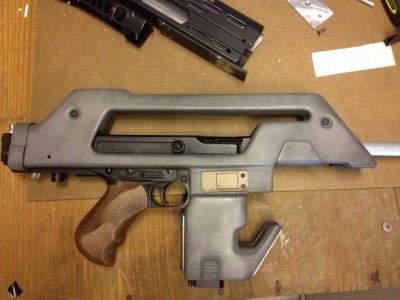
I was a good little boy saved some money and Matsuclause sent me Shrouds grip and counter!
Attachment:
IMG_0280 (640x480).jpg [ 159.73 KiB | Viewed 8976 times ]
Attachment:
Test fitting shrouds
IMG_0275 (640x480).jpg [ 129.04 KiB | Viewed 8976 times ]
IMG_0275 (640x480).jpg [ 129.04 KiB | Viewed 8976 times ]
Attachment:
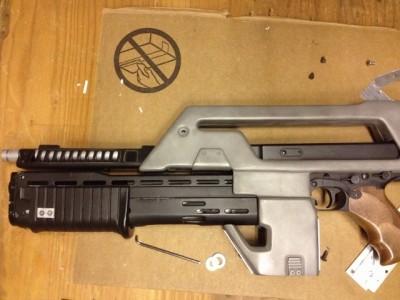
Test fitting parts
IMG_0281 (640x480).jpg [ 132.85 KiB | Viewed 8976 times ]
IMG_0281 (640x480).jpg [ 132.85 KiB | Viewed 8976 times ]
Having a hard time fitting up my gl and barrel shroud! But some more work and Ill get it. May have to tweak the parts a little. More to come!