| The Aliens Legacy http://forum.alienslegacy.com/ |
|
| Building the apc...... Pic heavy http://forum.alienslegacy.com/viewtopic.php?f=3&t=12429 |
Page 1 of 3 |
| Author: | who45 [ Sat Jan 12, 2013 8:04 pm ] |
| Post subject: | Building the apc...... Pic heavy |
This was one of ray22's resin casts I picked up, or should I say had hand delivered by ray himself whilst I took a holiday in New York in August 2012. Initial impressions were this looked a great resin kit online in his for sale thread, and upon closer inspection in real life I could see very minor work would be needed..... Rays done a great job in casting and prepping this to the buyer. Now there is nothing wrong with how this kit was made by ray, but e dry keen modeller likes to make things there own and modify or decide to tinker with some parts..... And yes I tinkered some bits even tho I said to myself I wouldn't :doh 
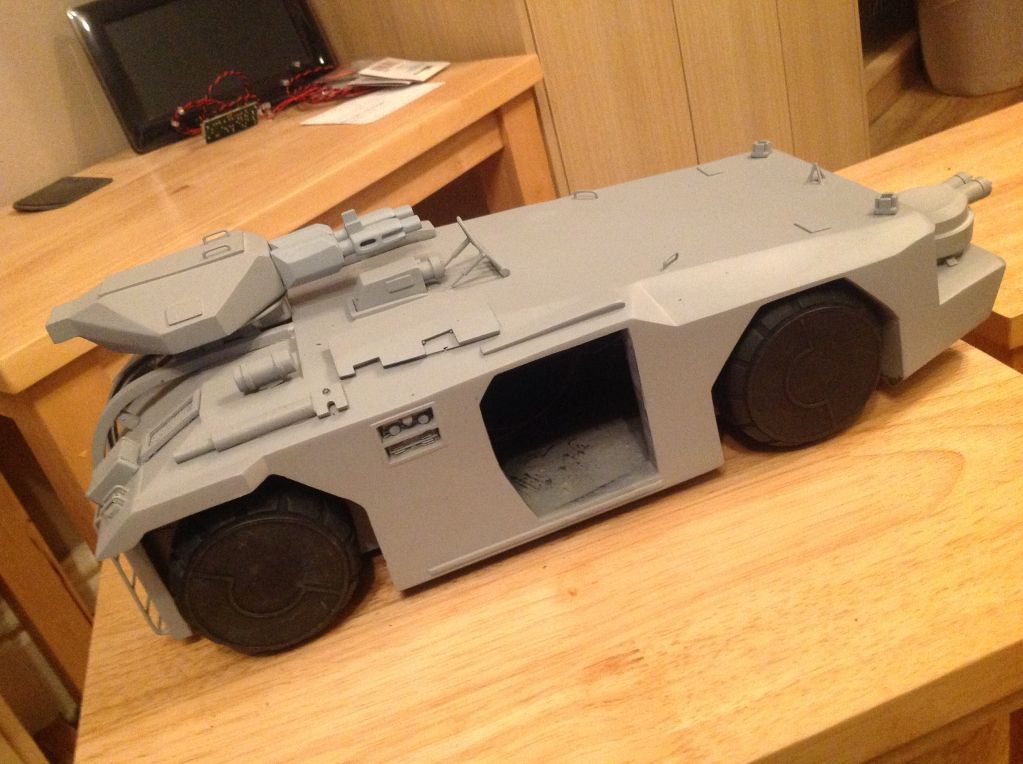
So lets begin, this kit is very much still being worked on. 
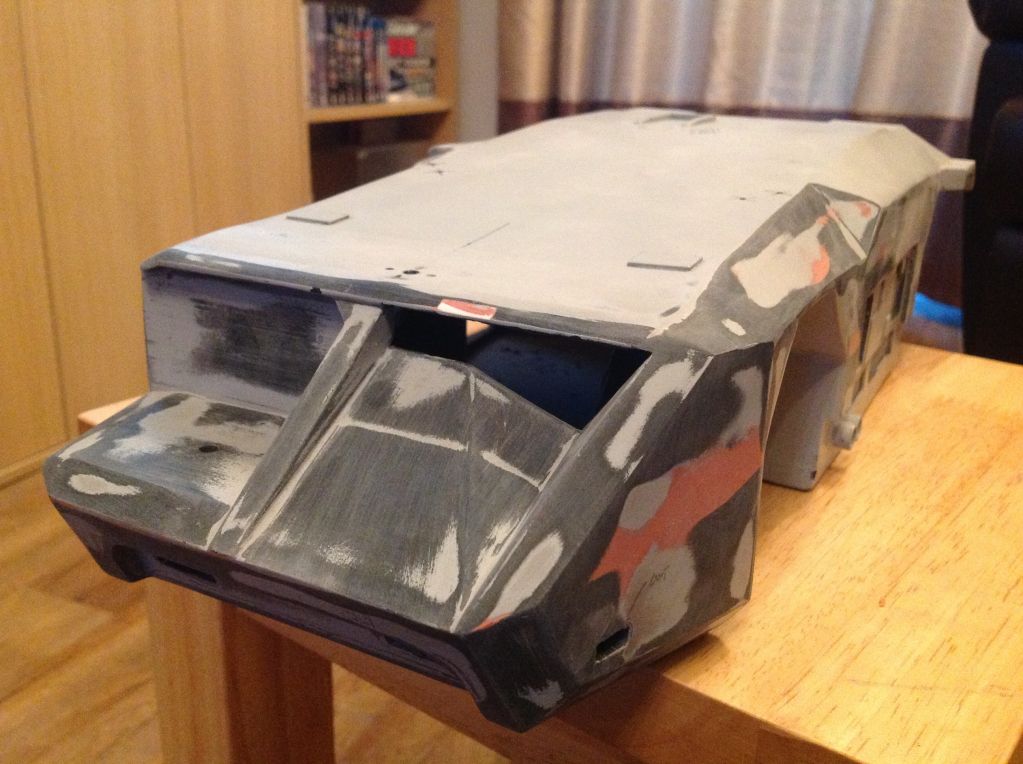
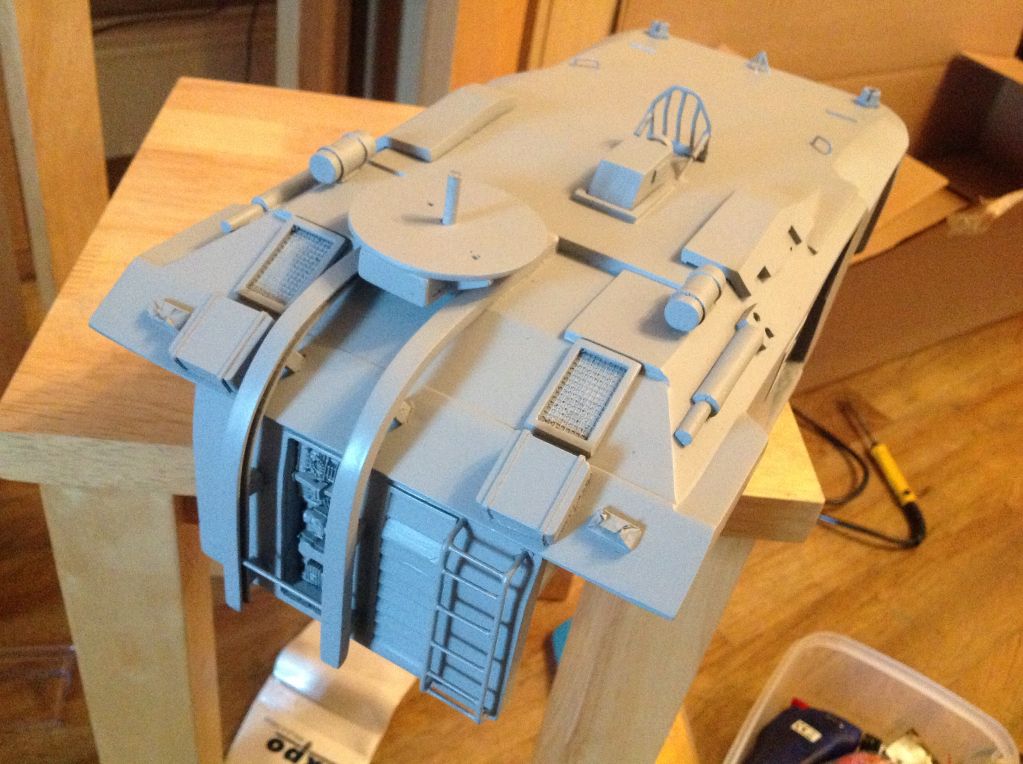
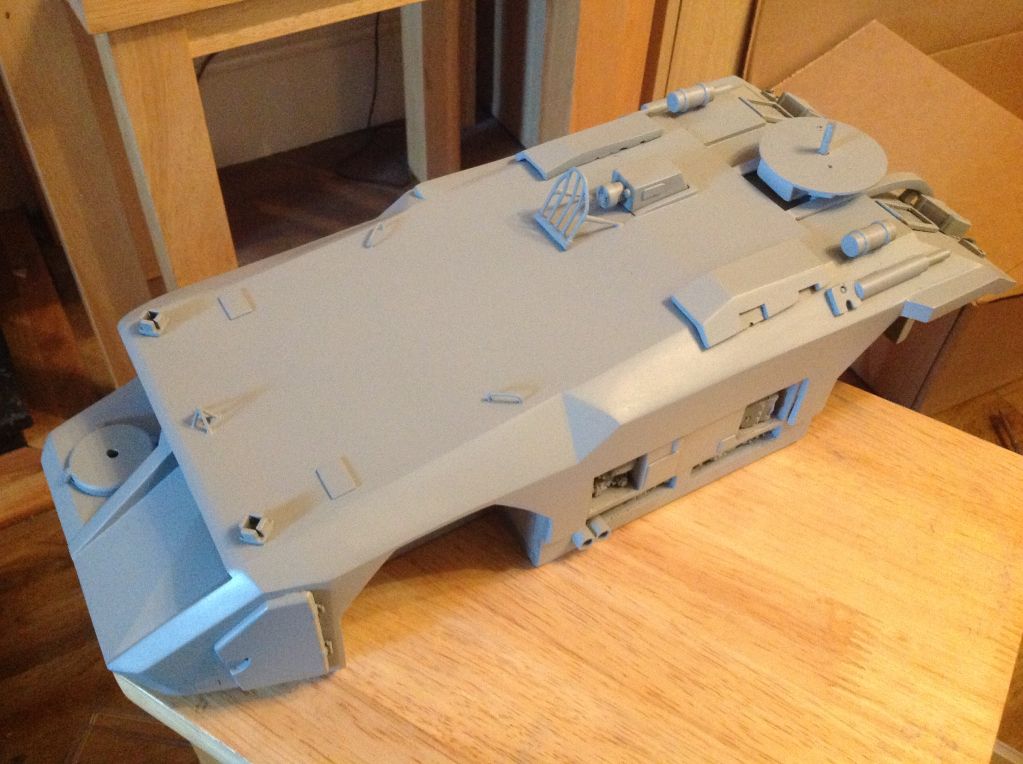
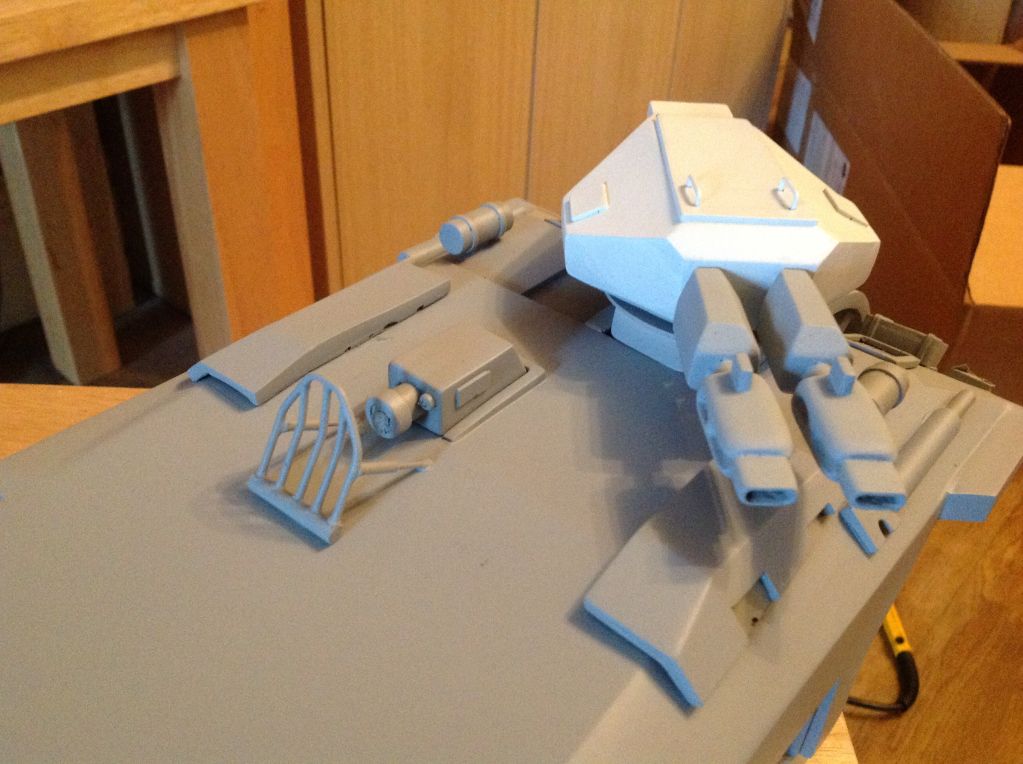
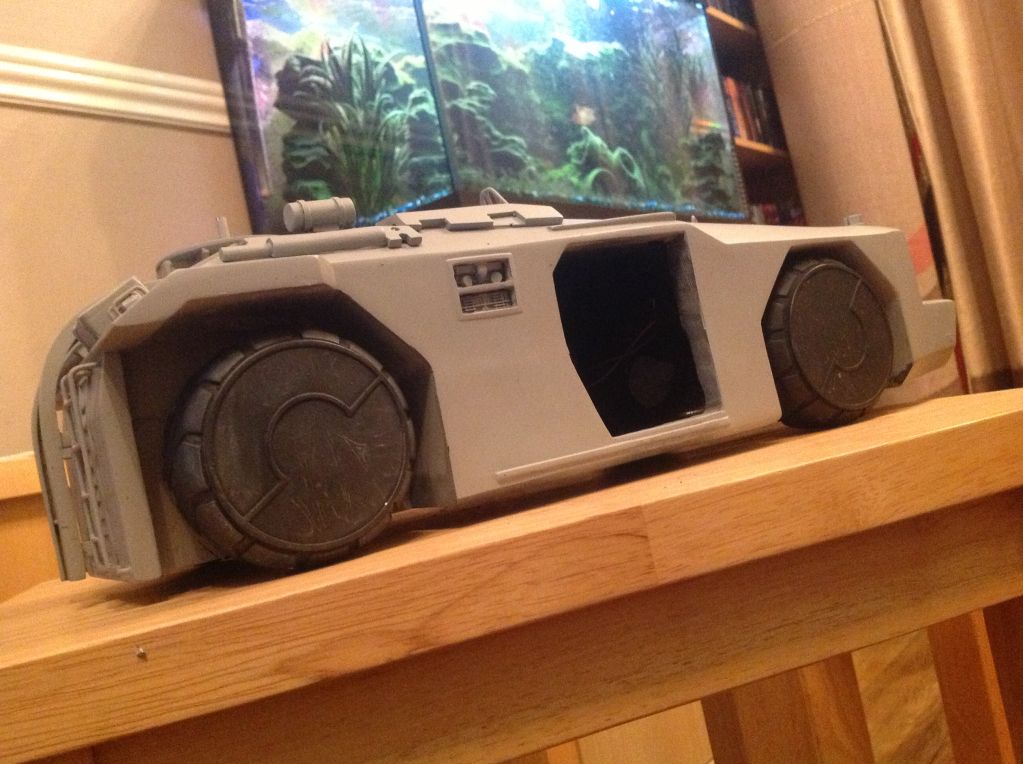
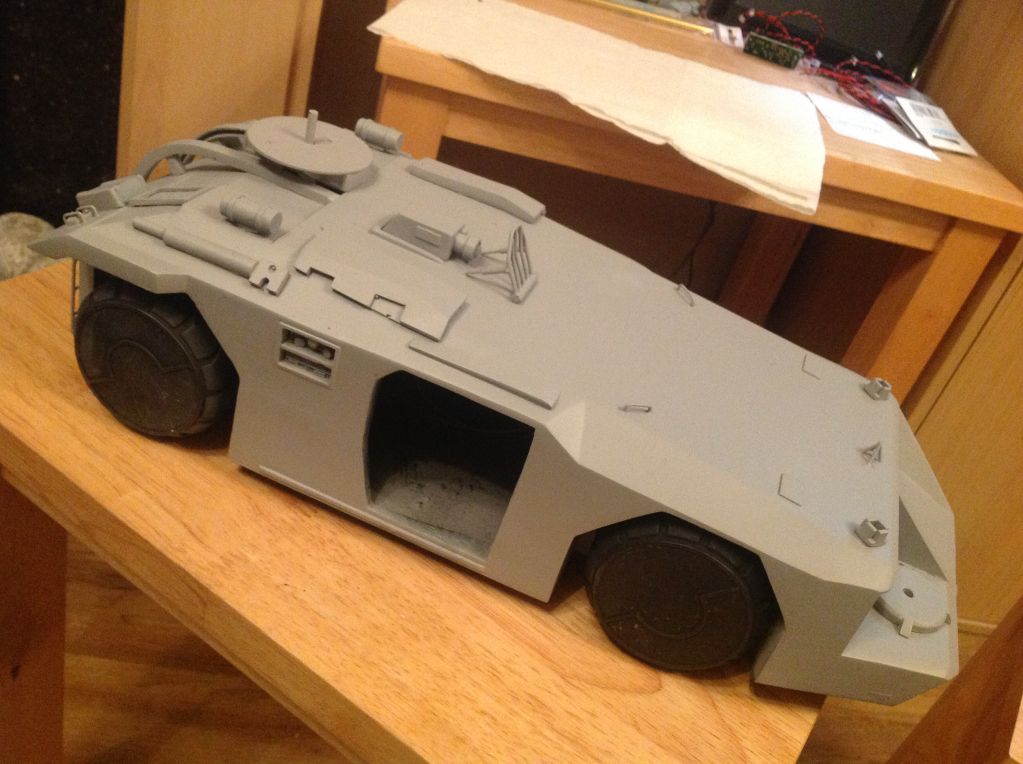
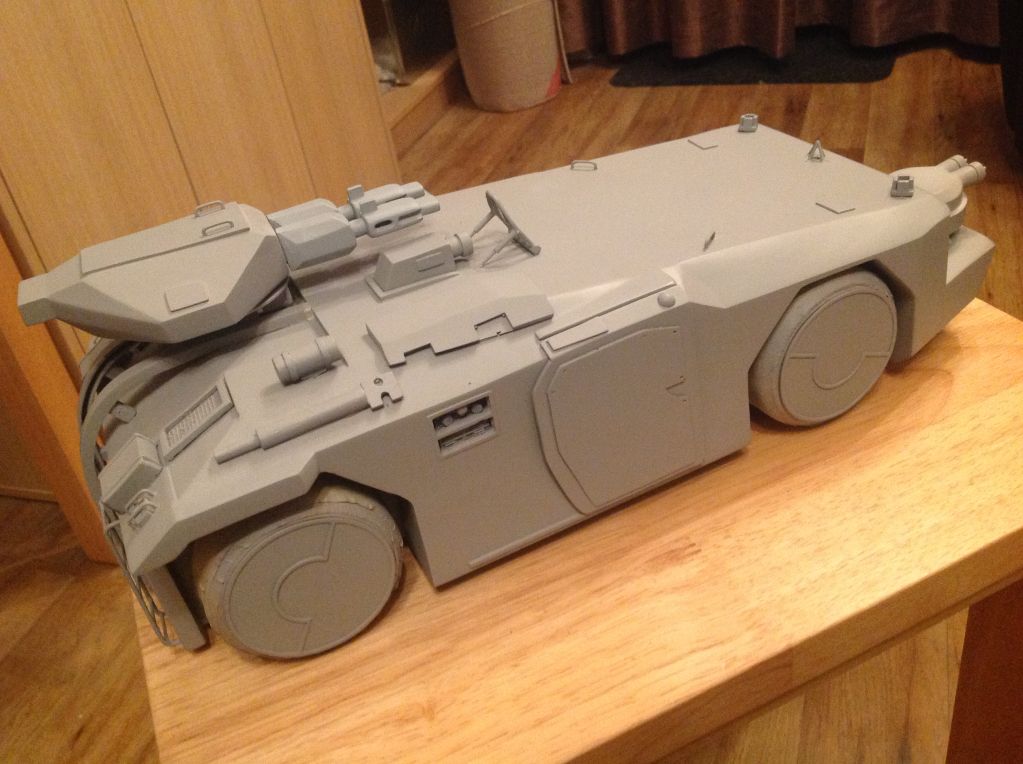
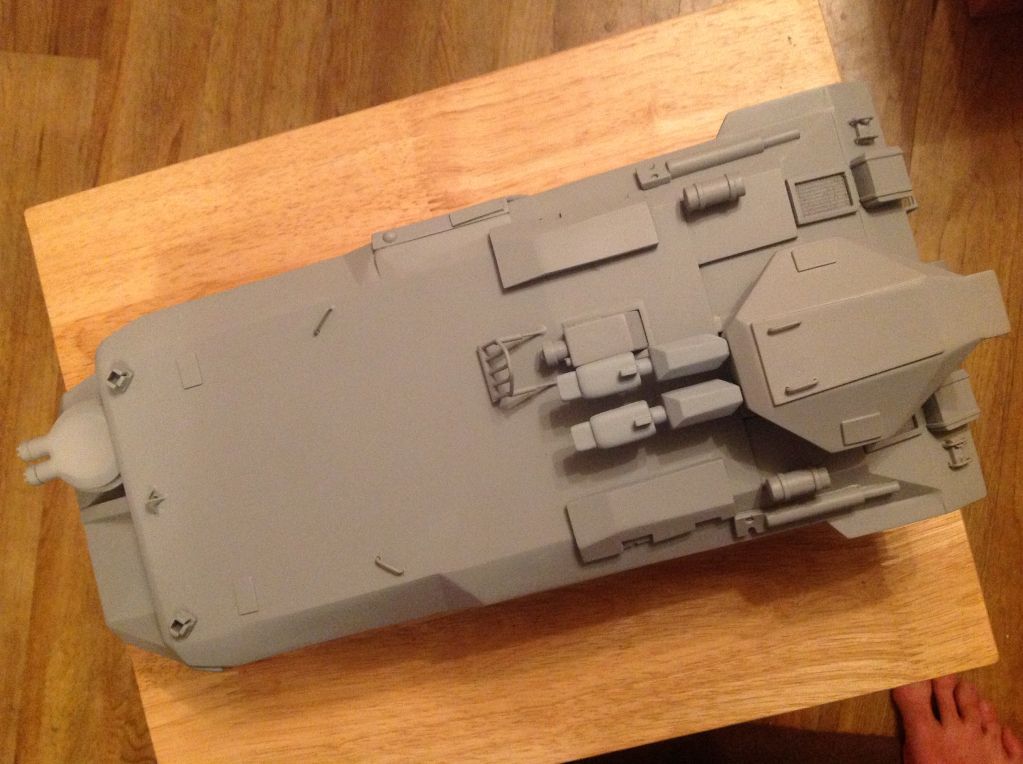
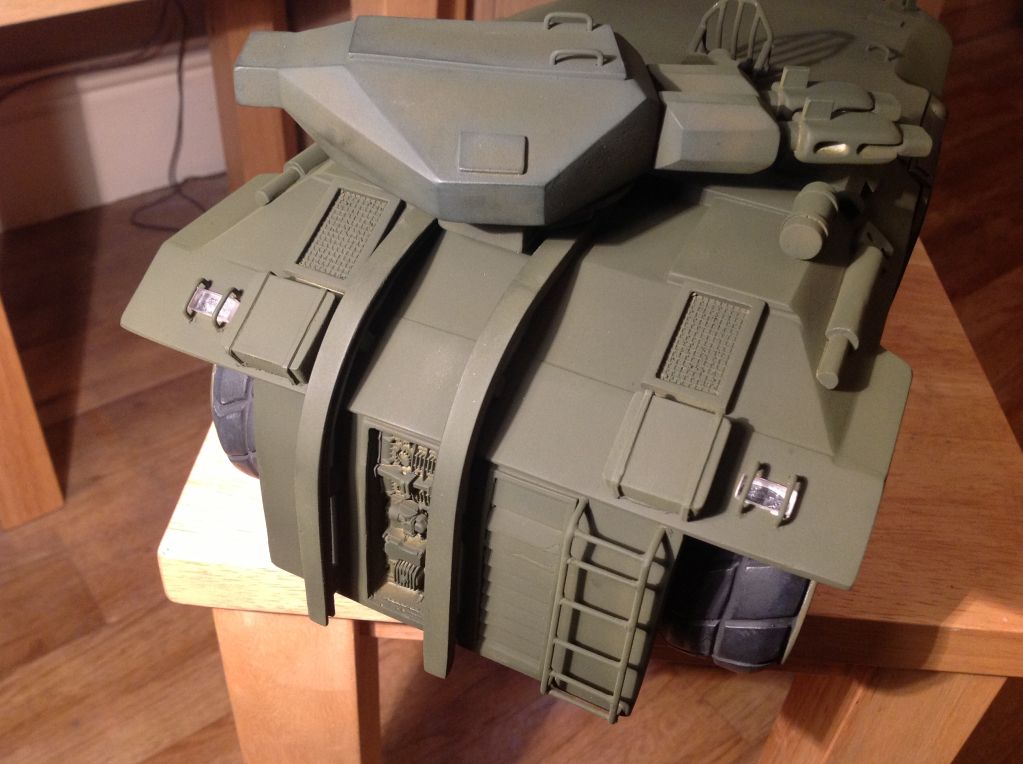
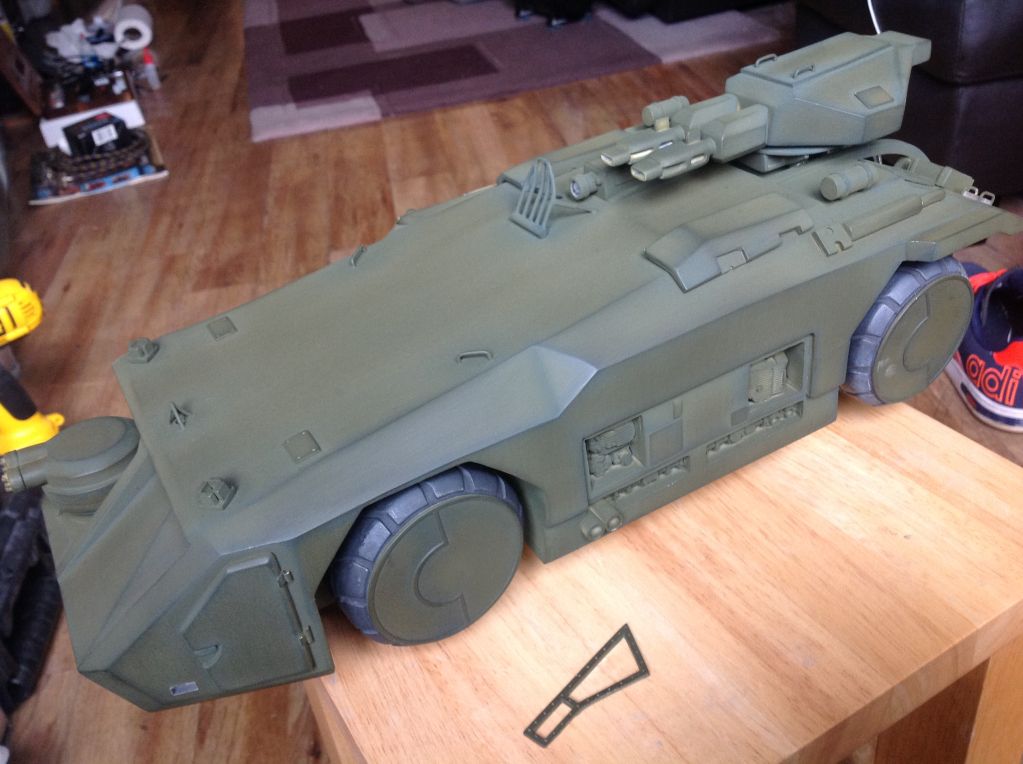
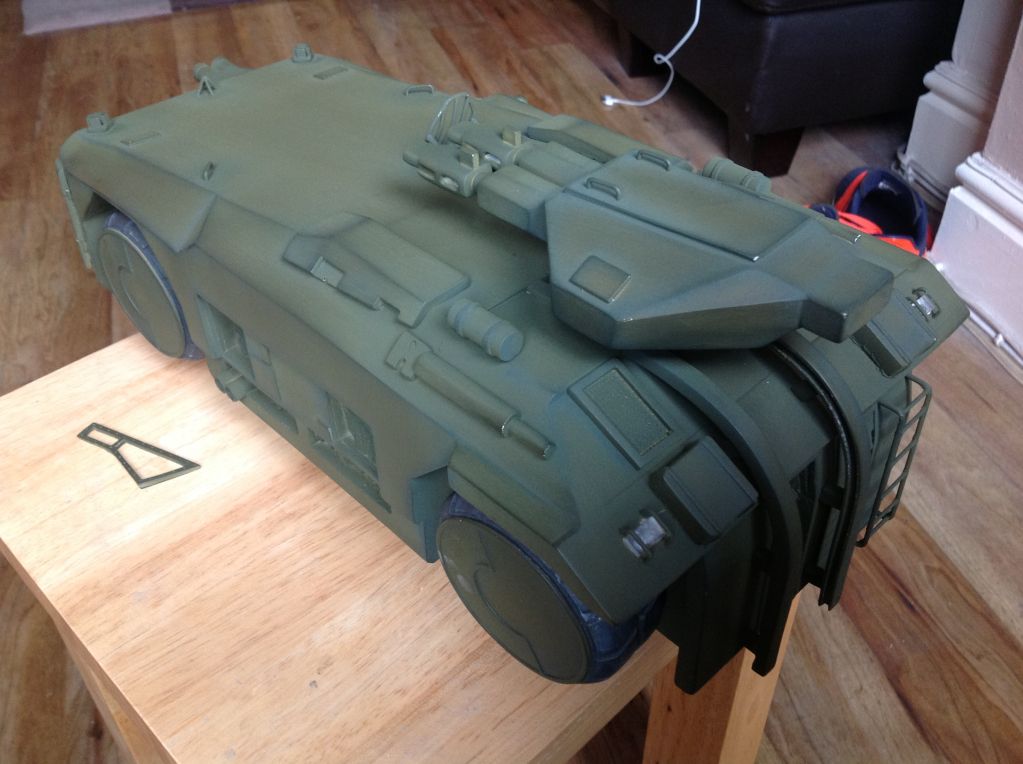
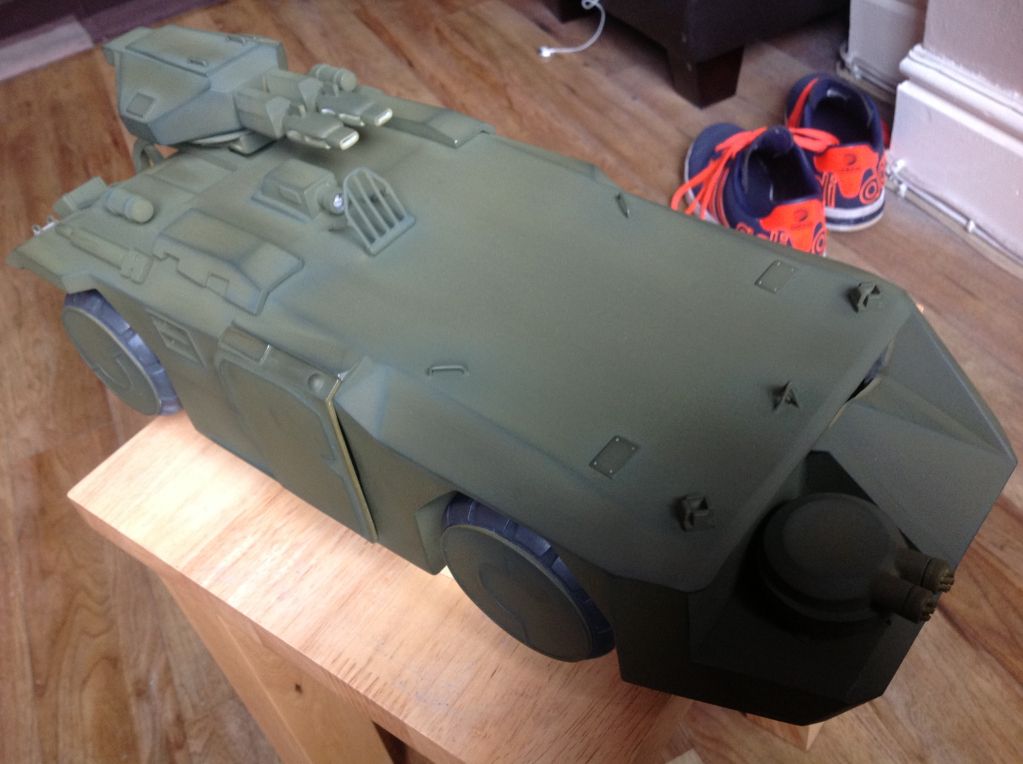
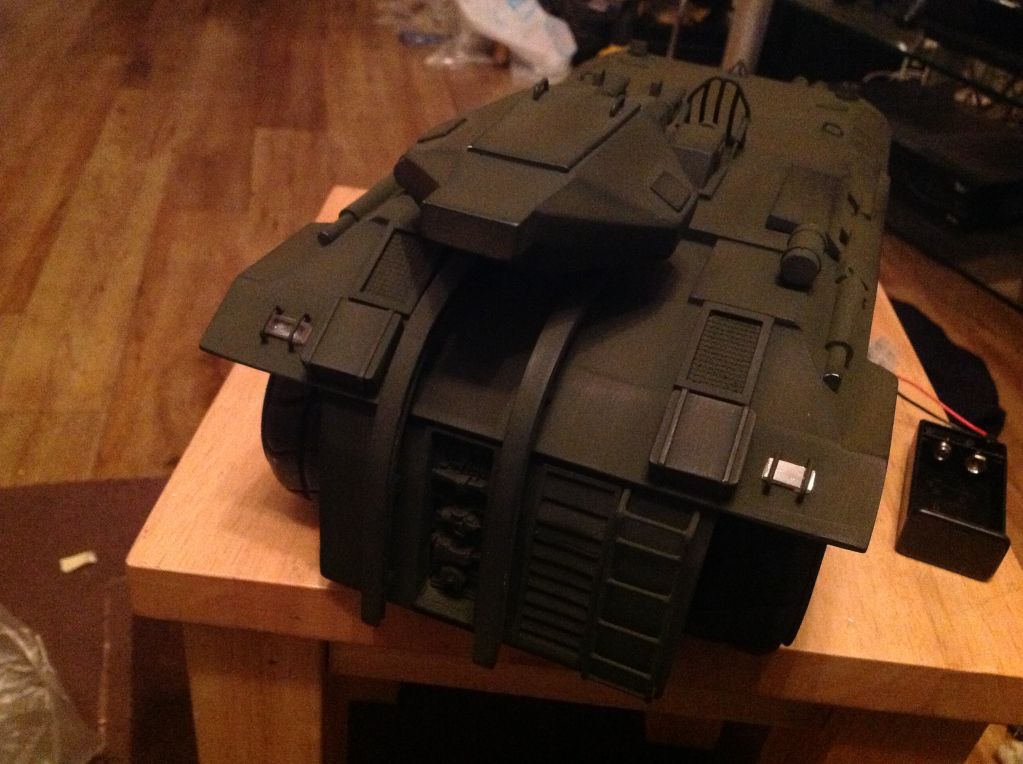
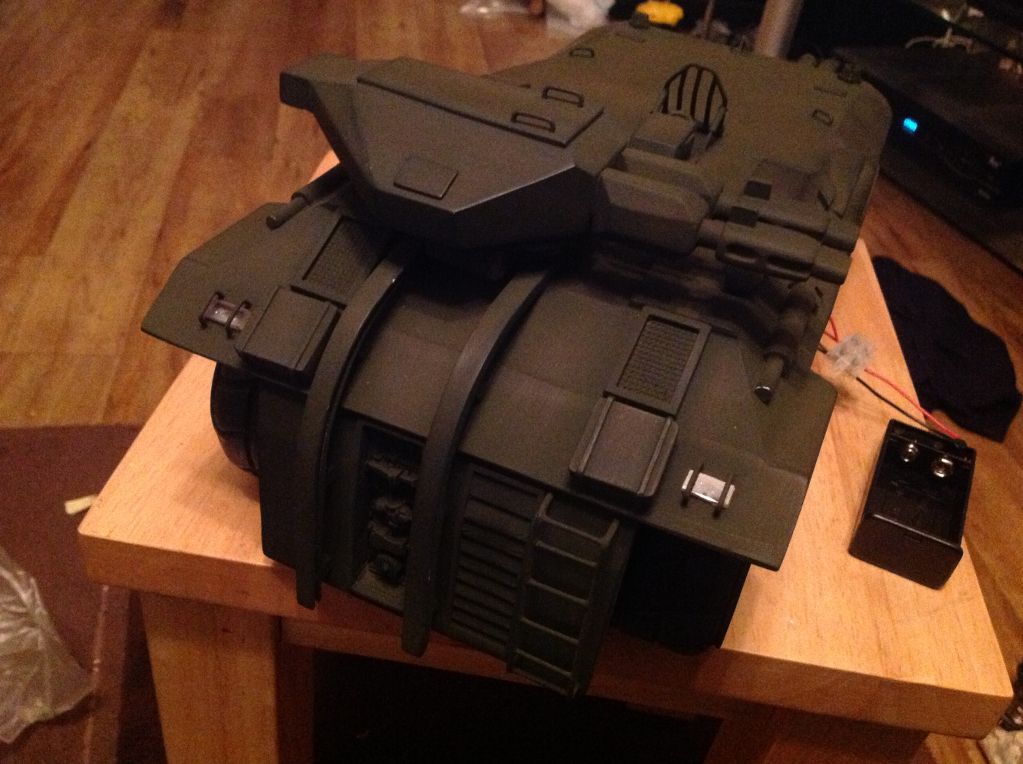
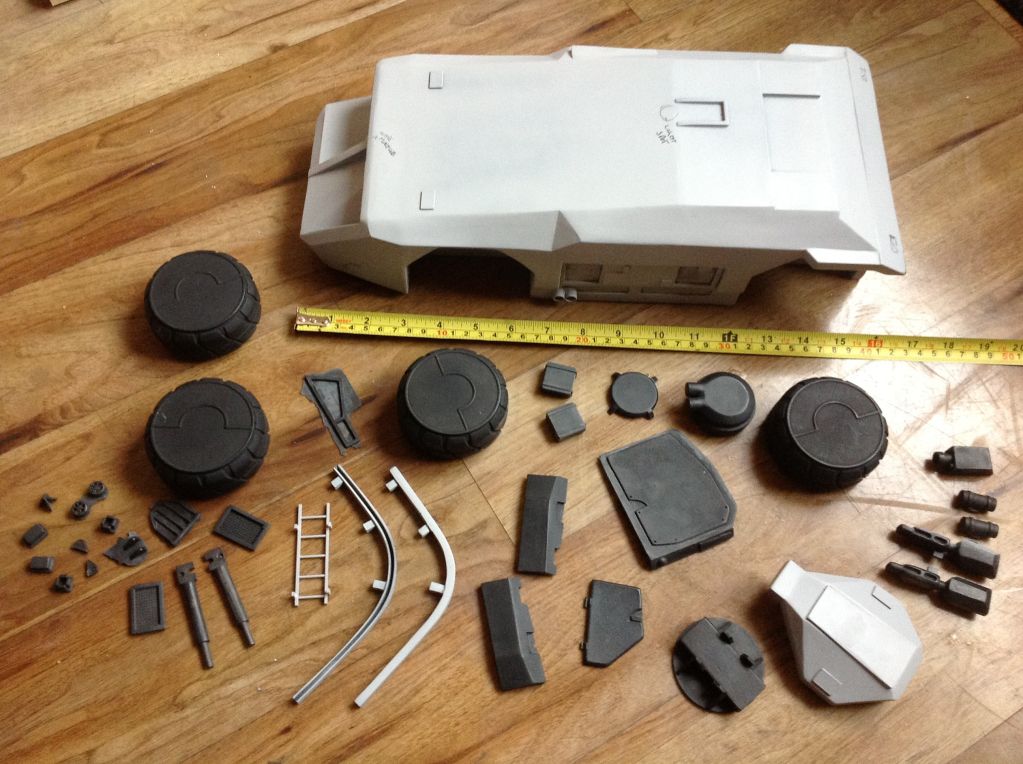
The kit in all its resin glory, as you can see ray provides a pretty much ready to assemble kit ![]() 
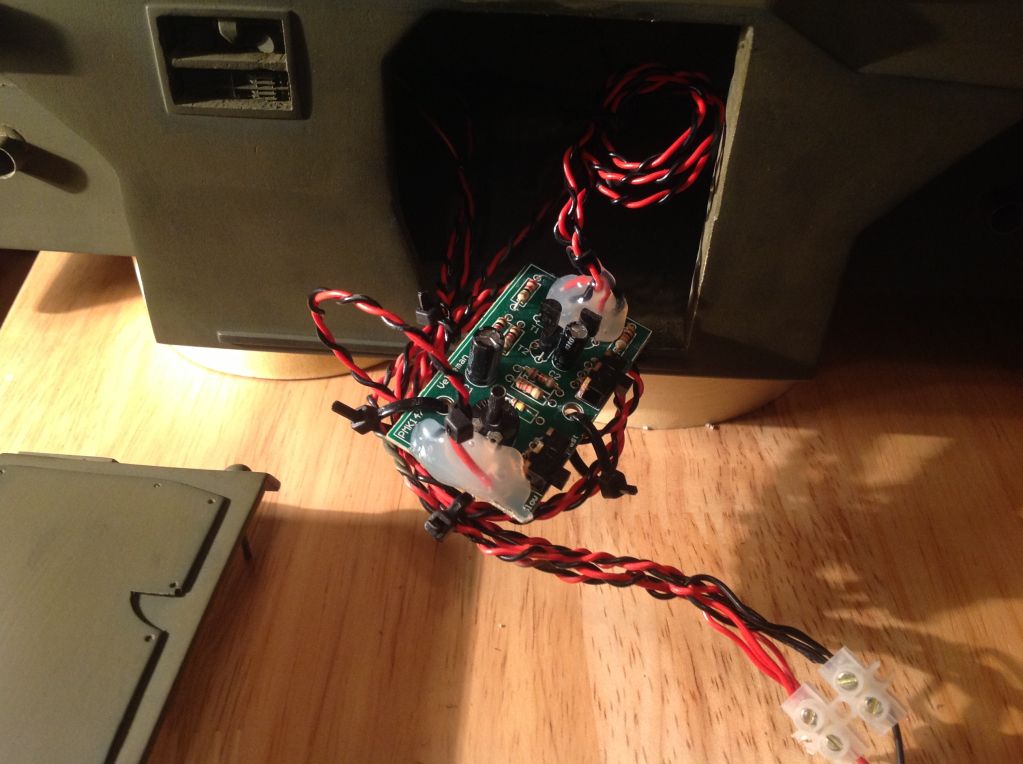
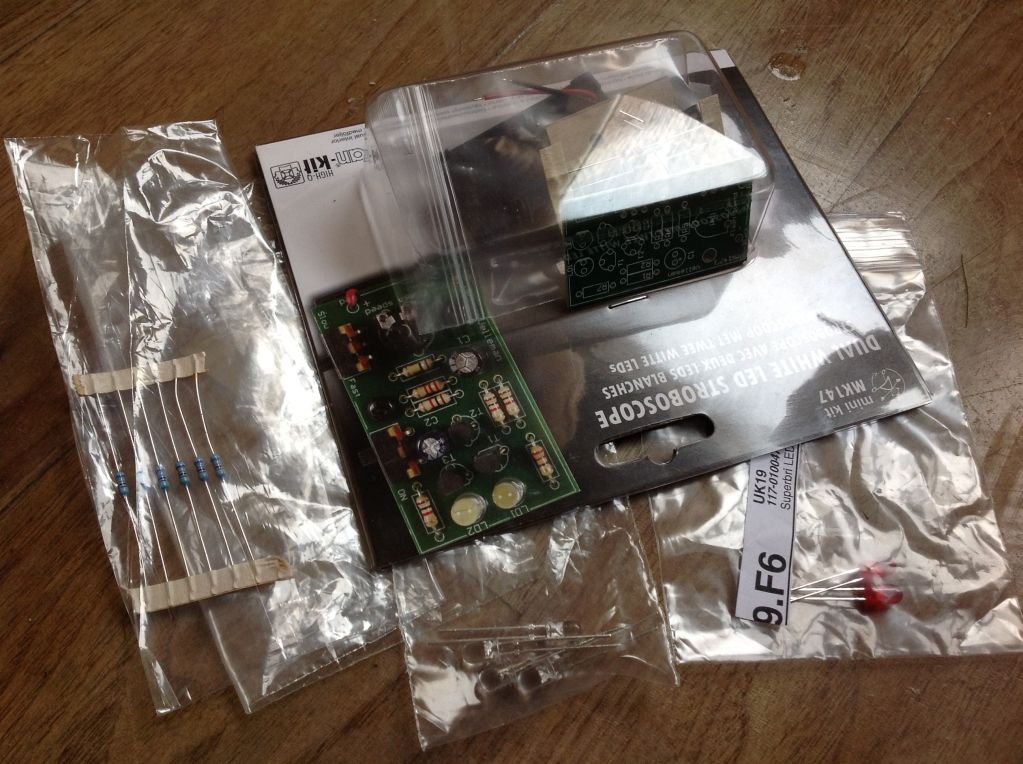
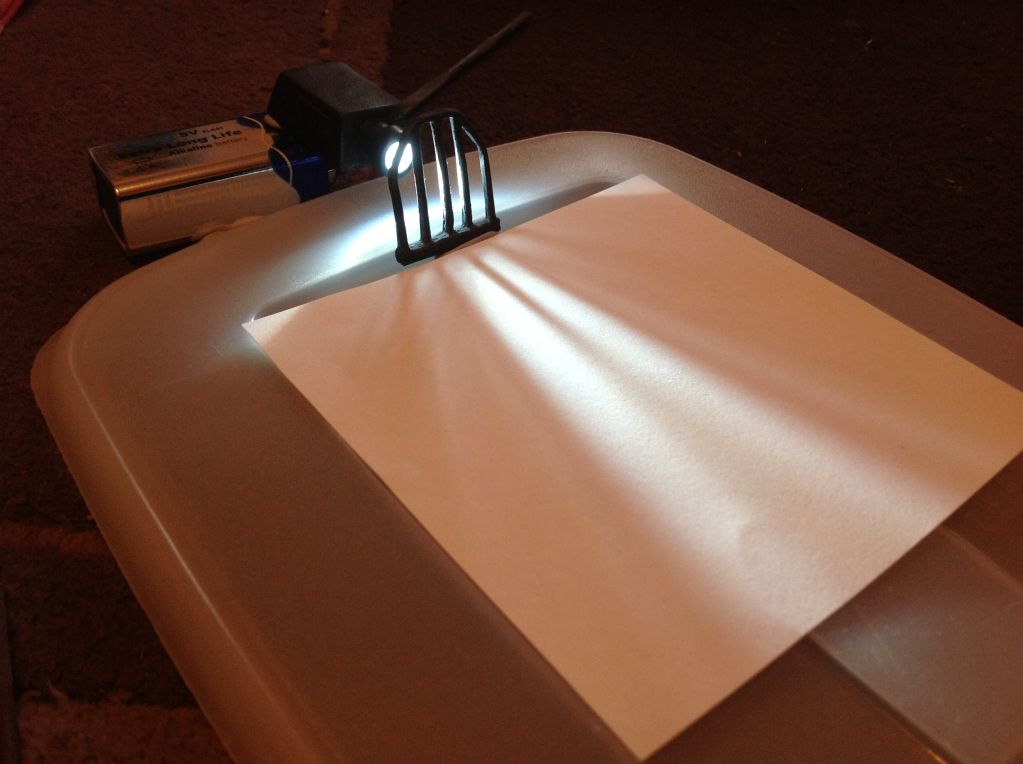
The electronics ill be using, a strobe kit, 4 white LEDs and 2 uv LEDs ![]() 
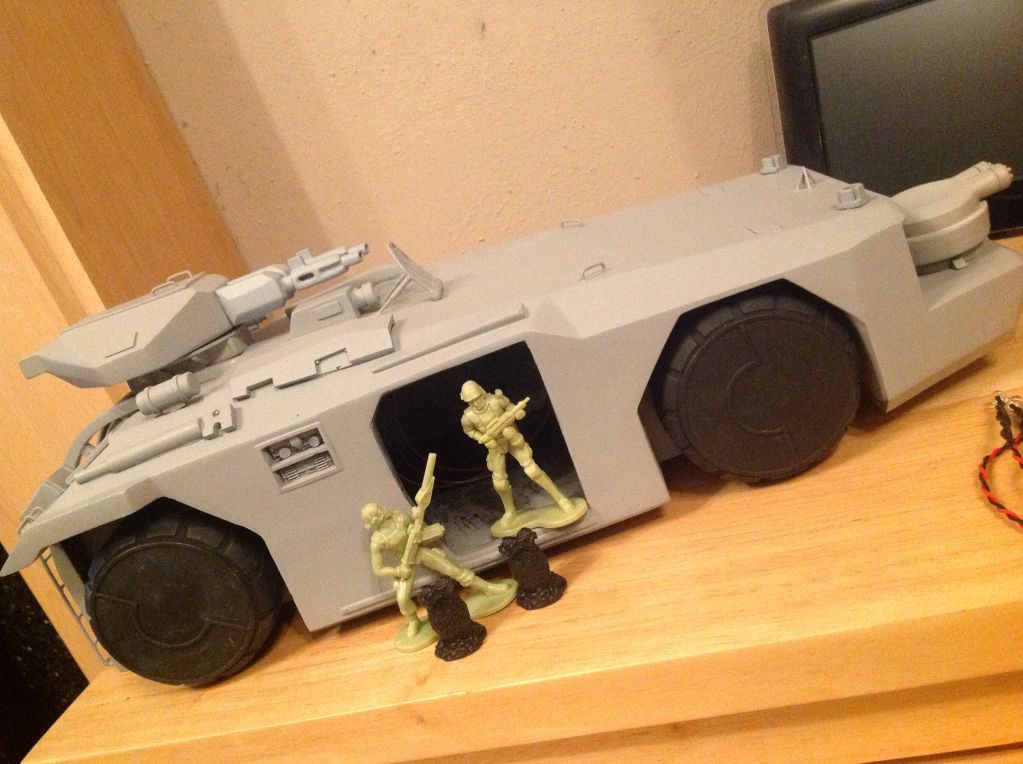
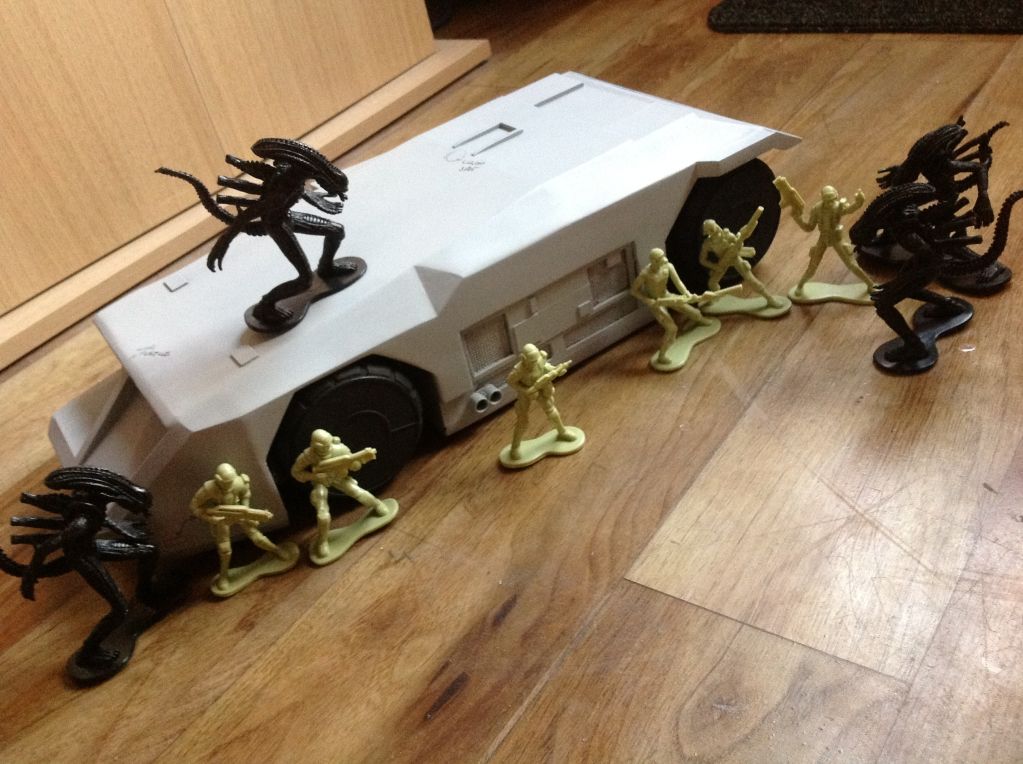
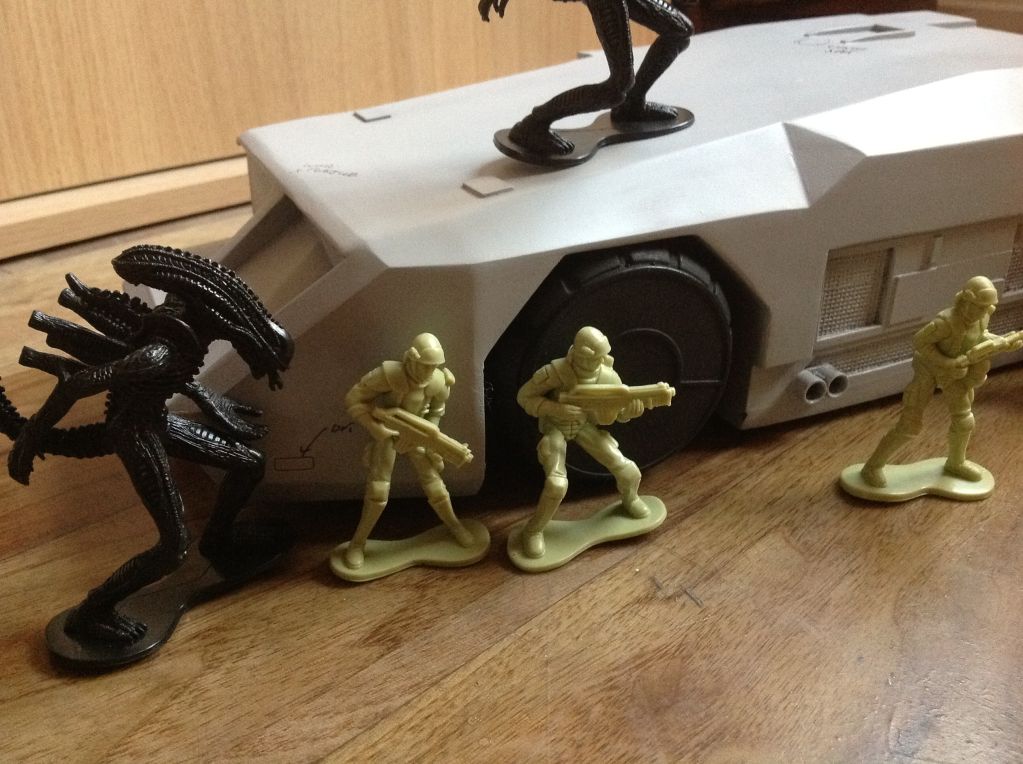
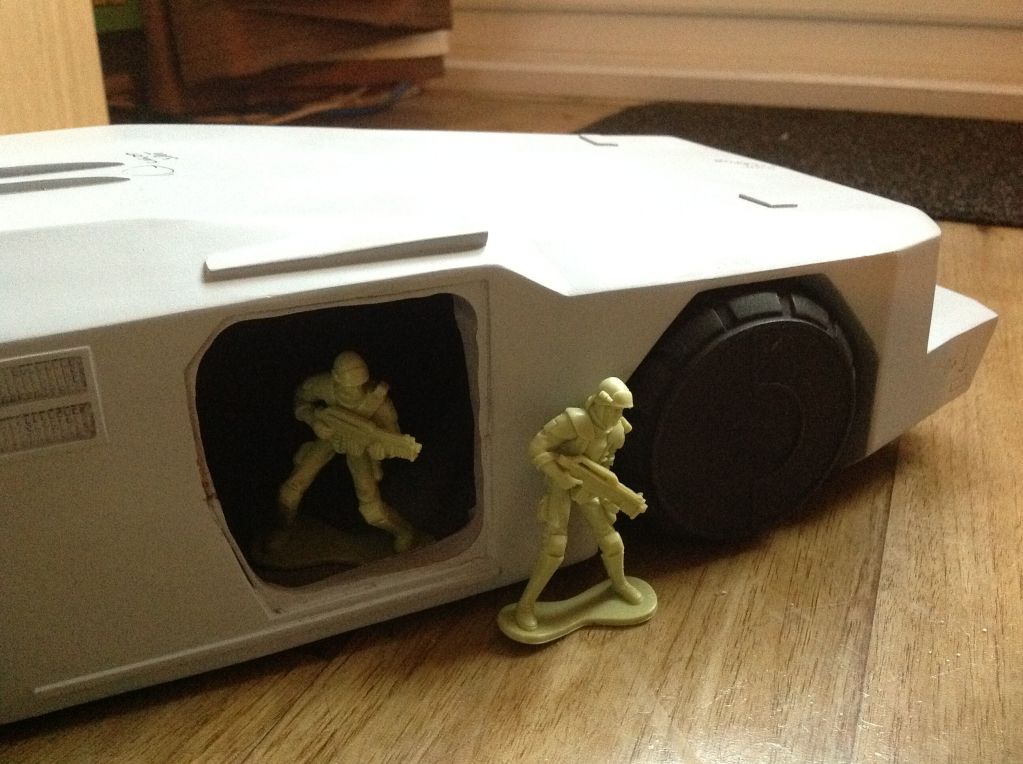
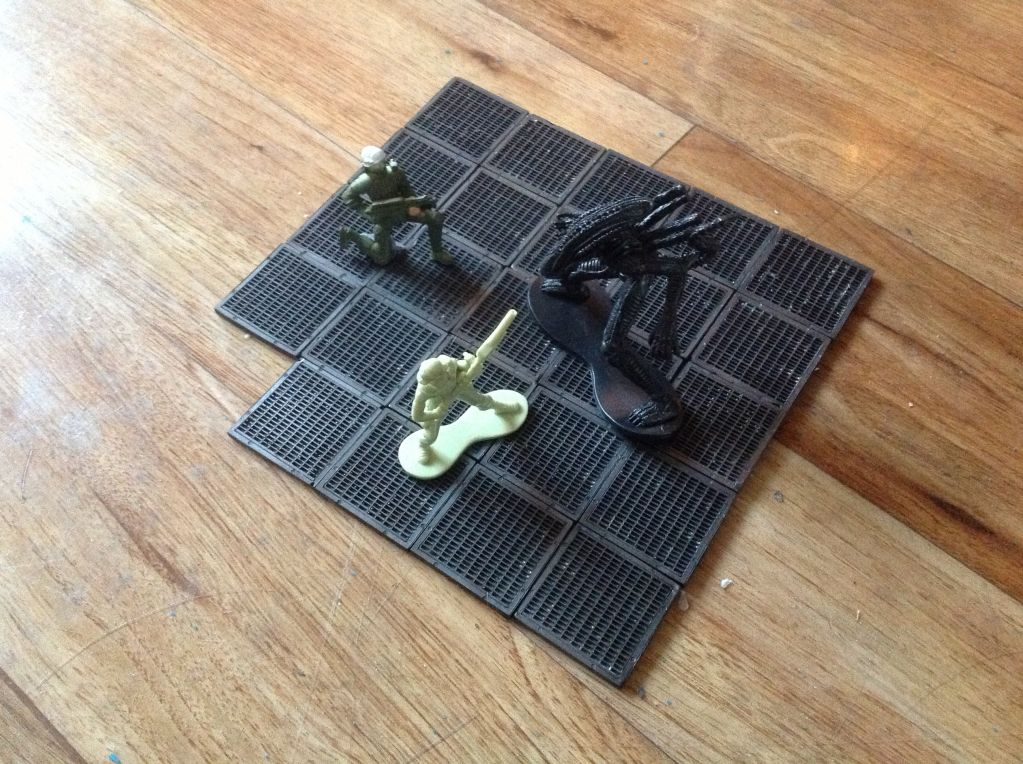
As I'm going for a diorama as well some aliens swarm figures for peanuts on eBay ![]() ![]() 
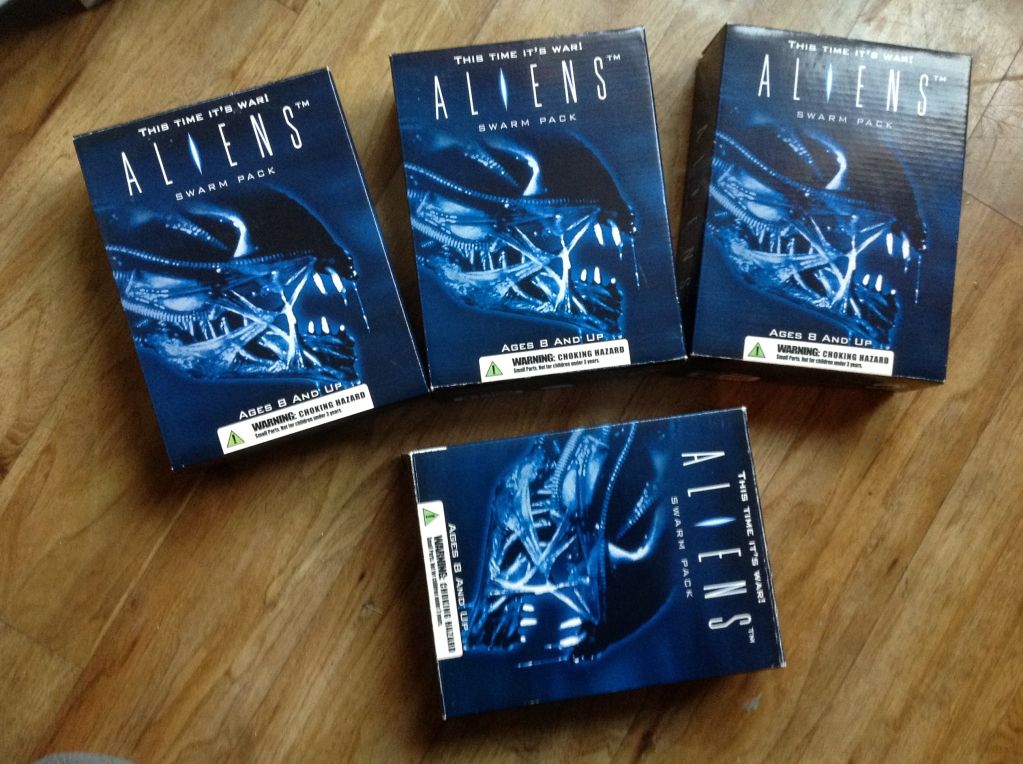
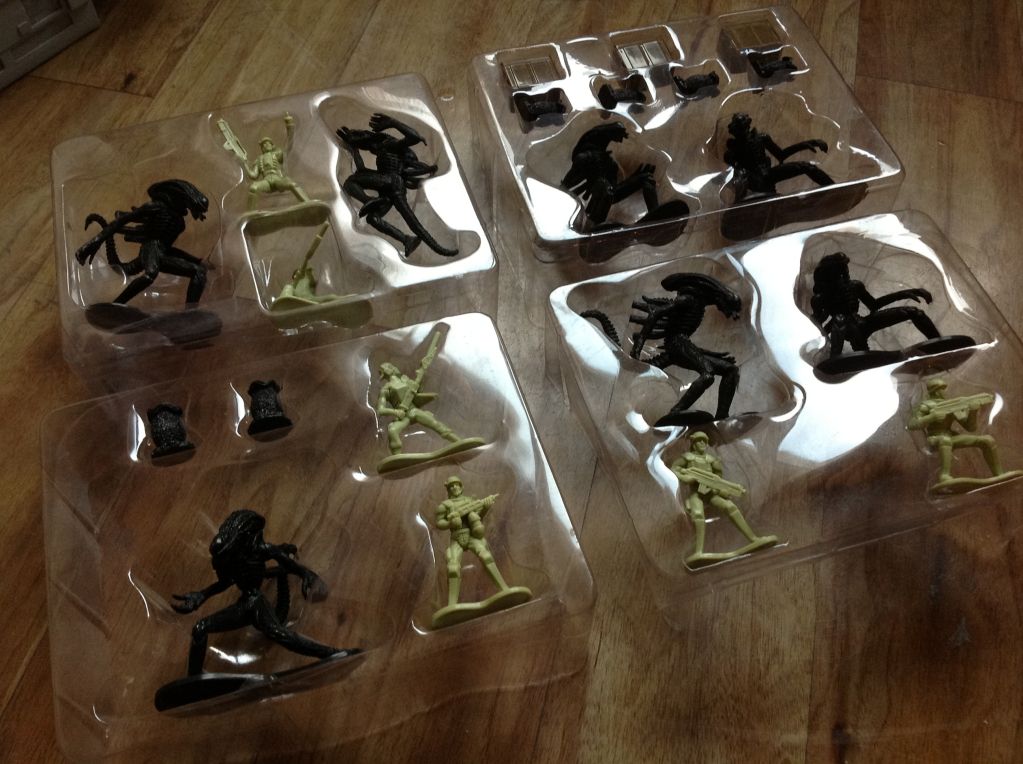
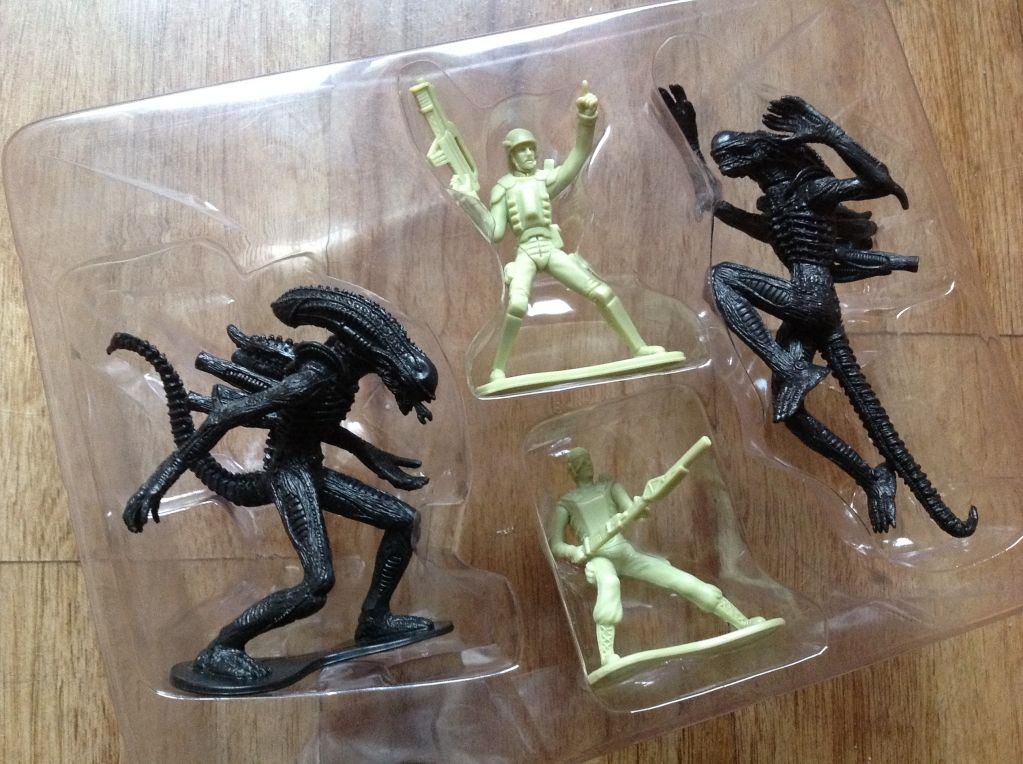
Some great detail on these figures ![]() ![]() ![]() ![]() 
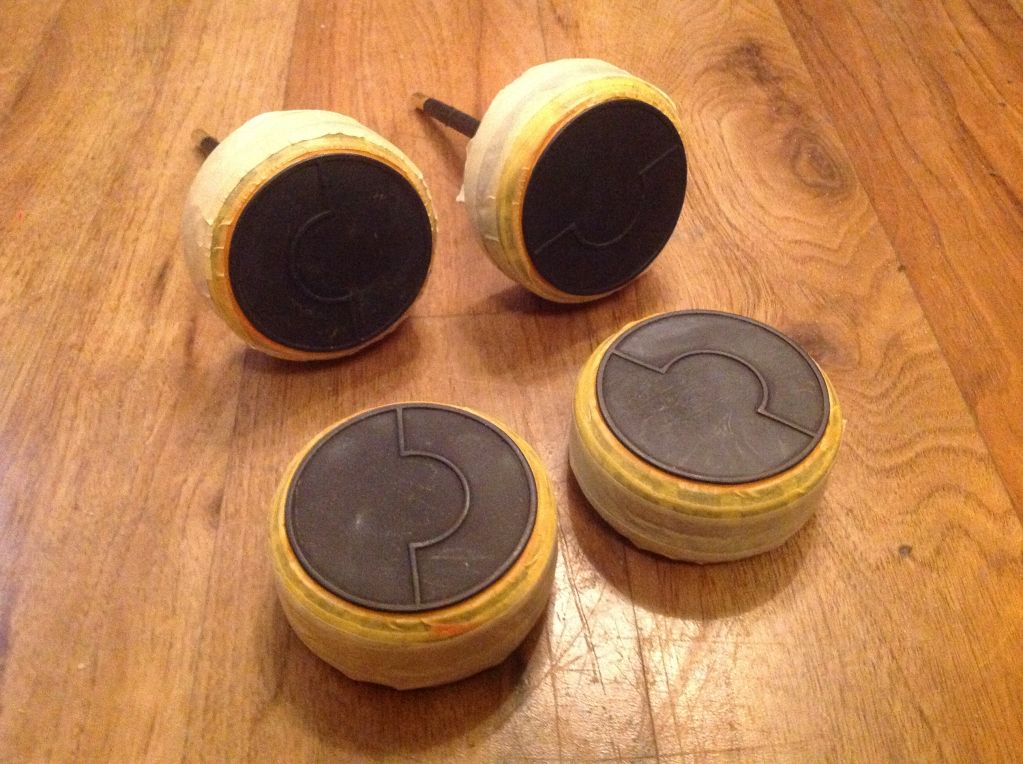
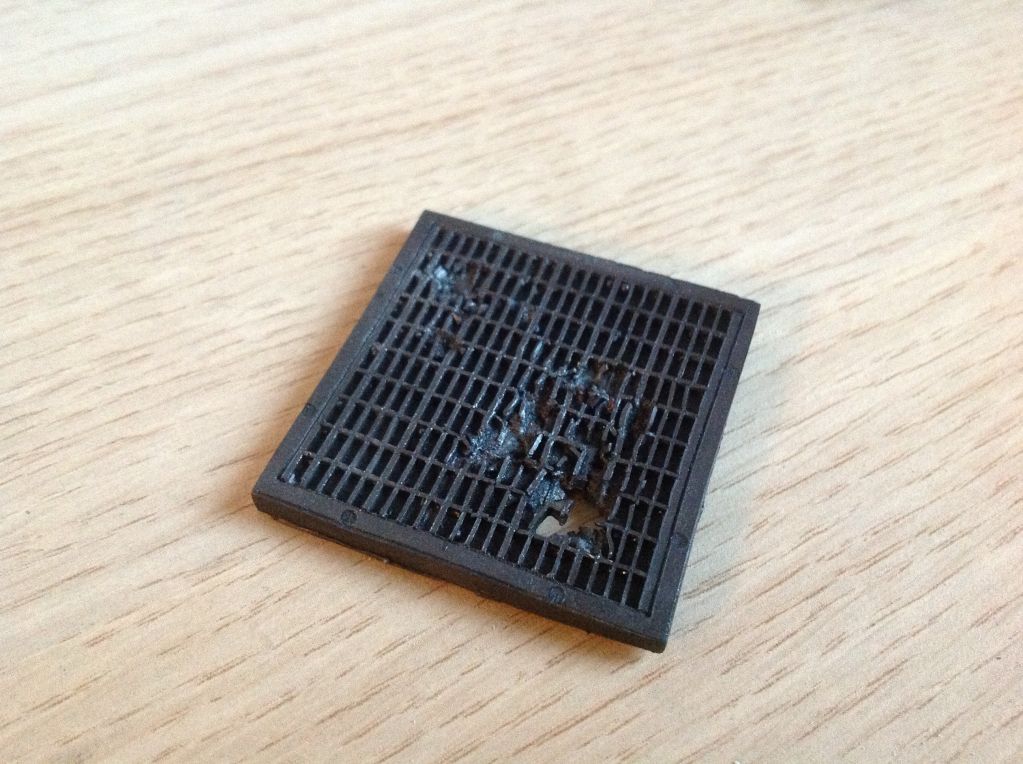
A purchase on eBay for a floor tile which scaled up to work, made a copy of it and decided to make myself multiples, I estimate near 100 will be required ![]() 
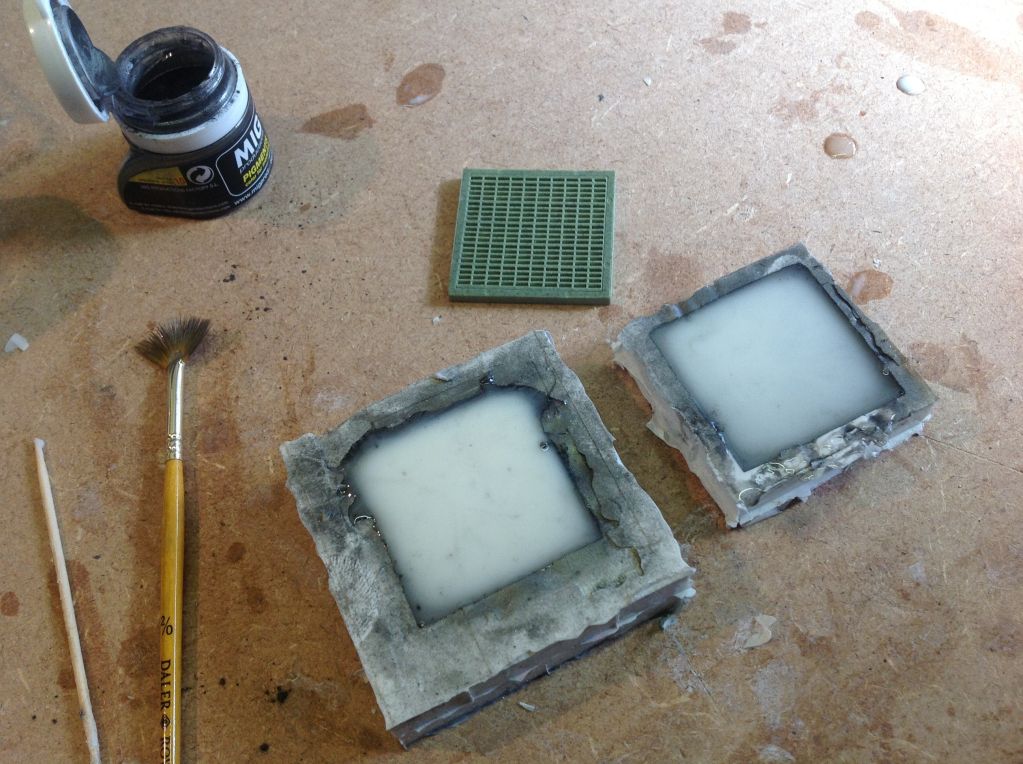
I brushed the mold with a pigment powder before pouring the white resin, the result is this ![]() ![]() Added some alien related damage ![]() Soldering iron, epoxy glue mixed with yellow paint gave me this ![]() 
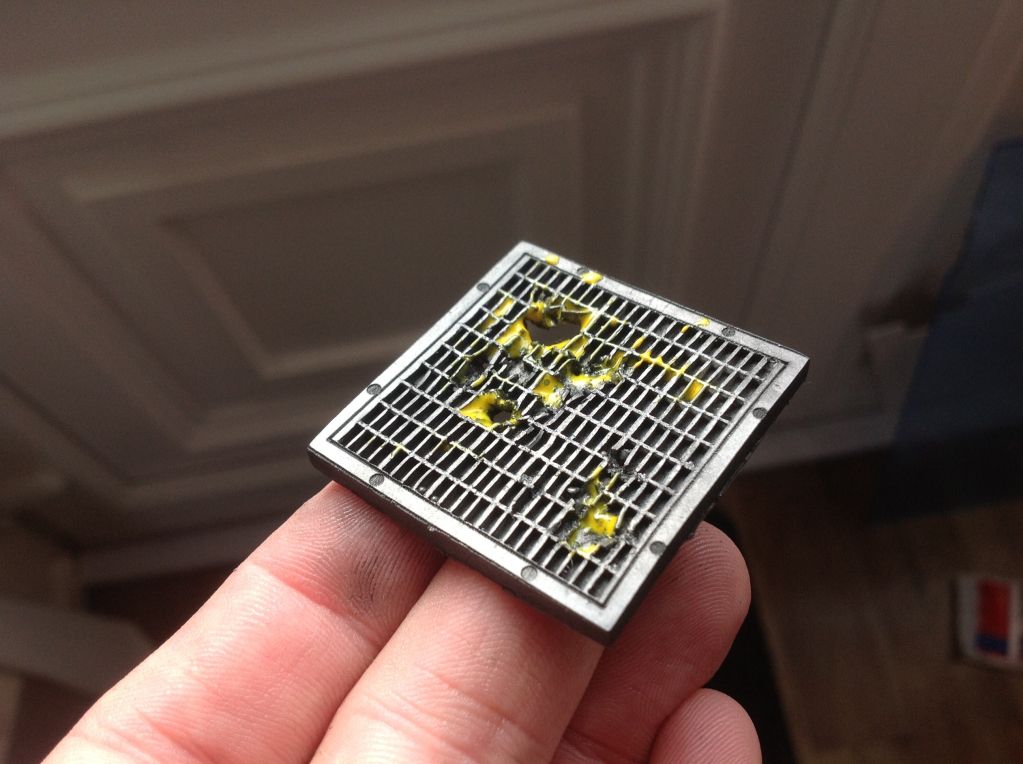
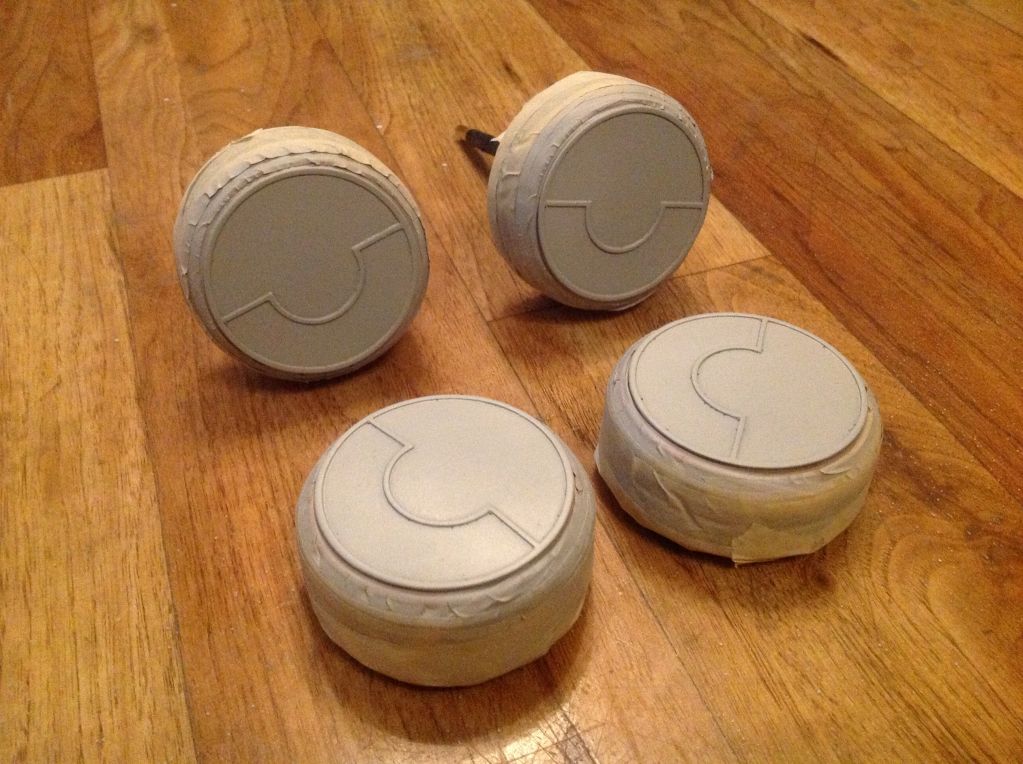
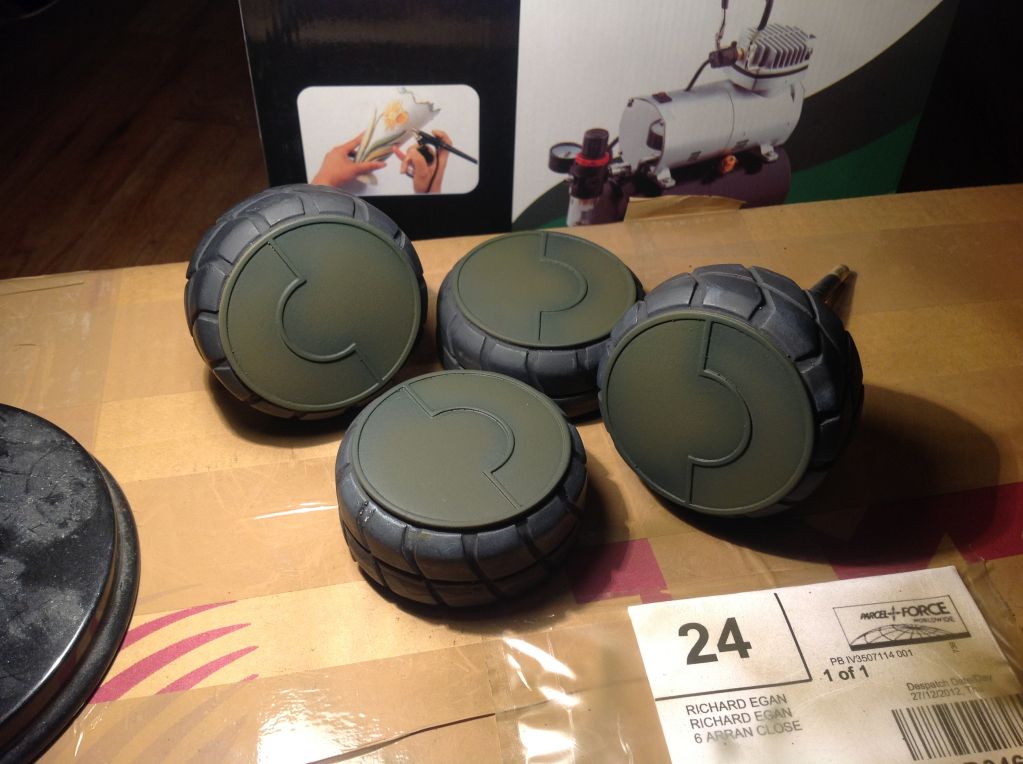
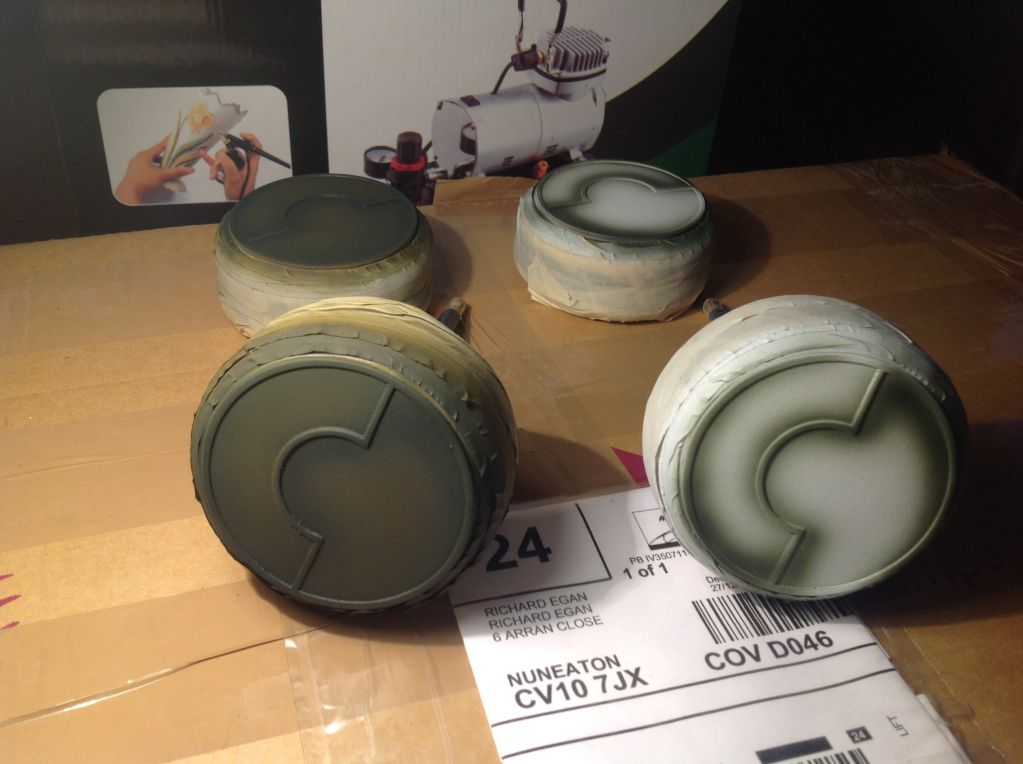
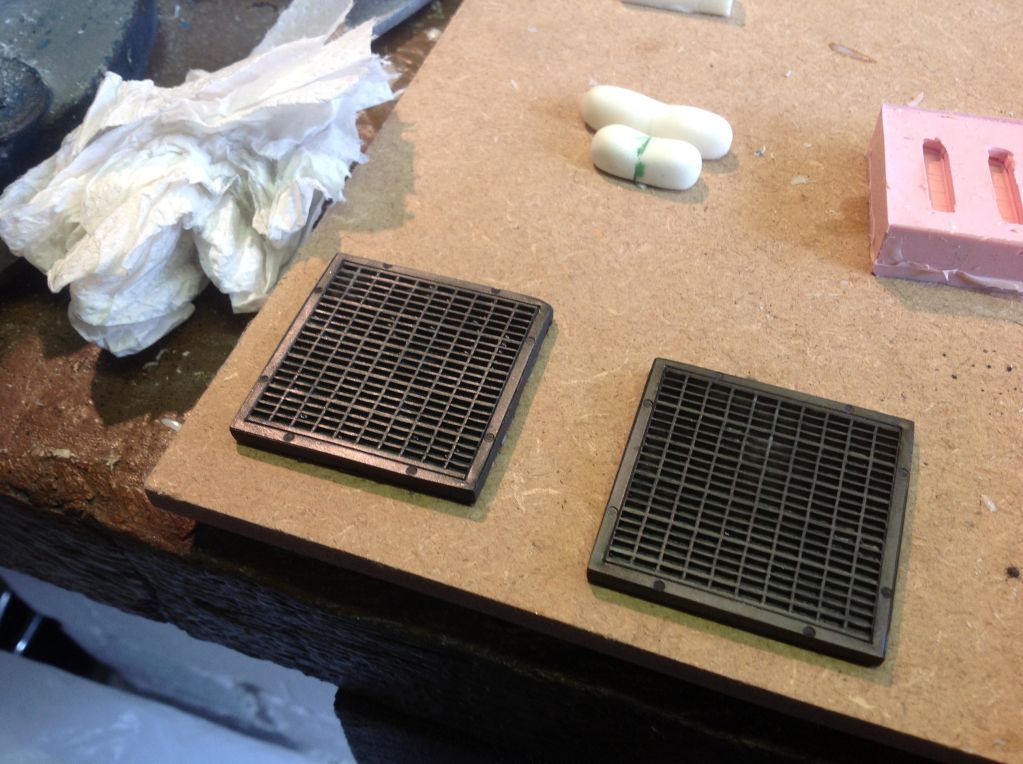
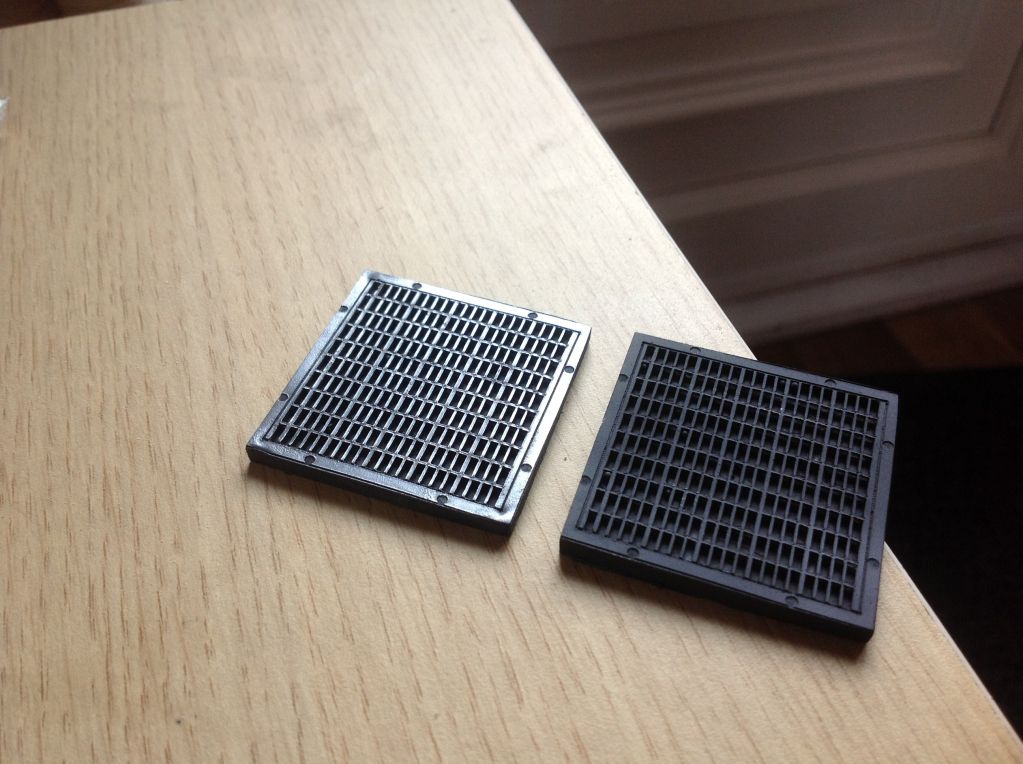
Not to happy with the gunmetal pigment, so airbrushed some humbrol metal coat gunmetal and polished it up......perfect ![]() 
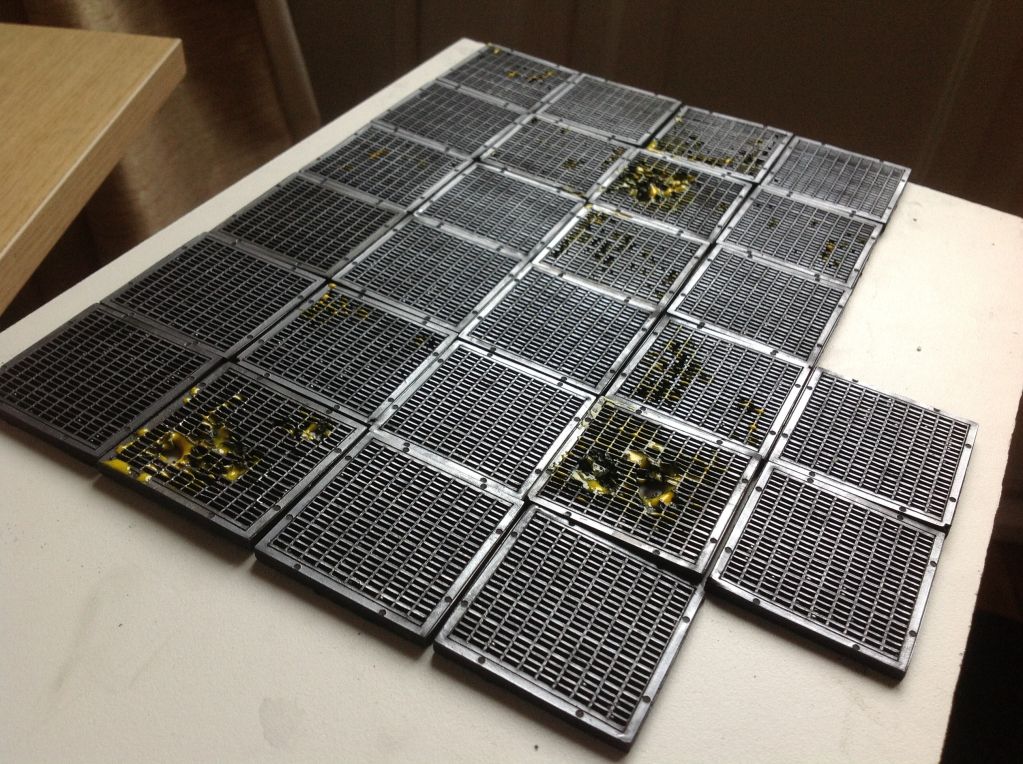
The tiles start to multiply ![]() ![]() 
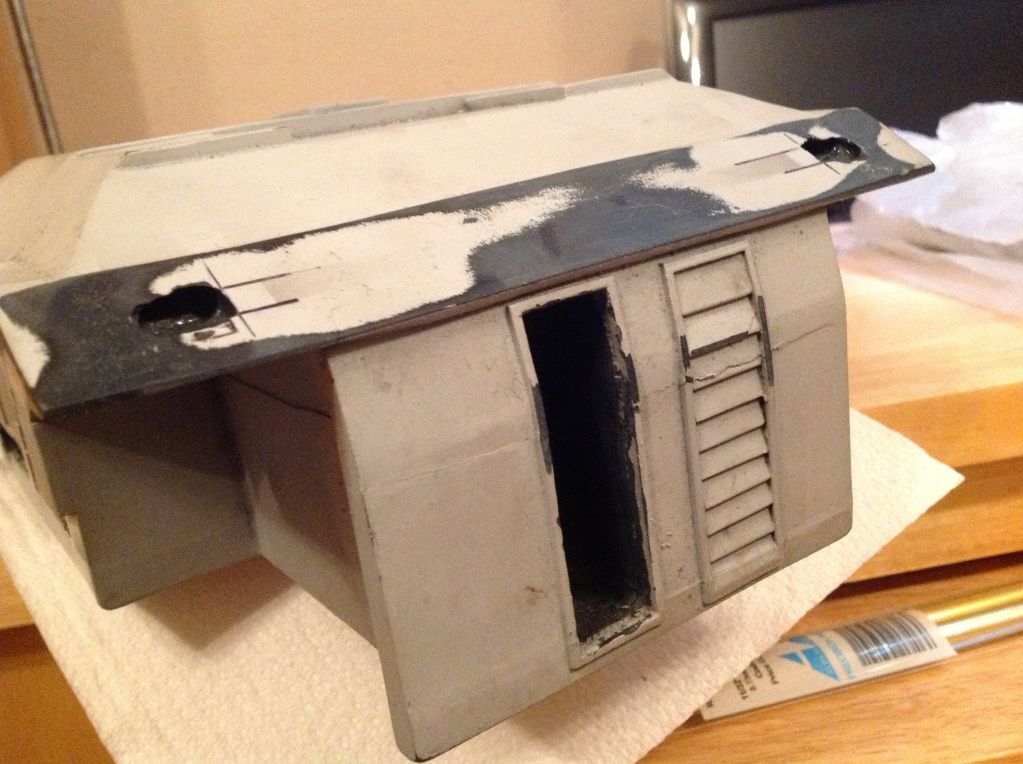
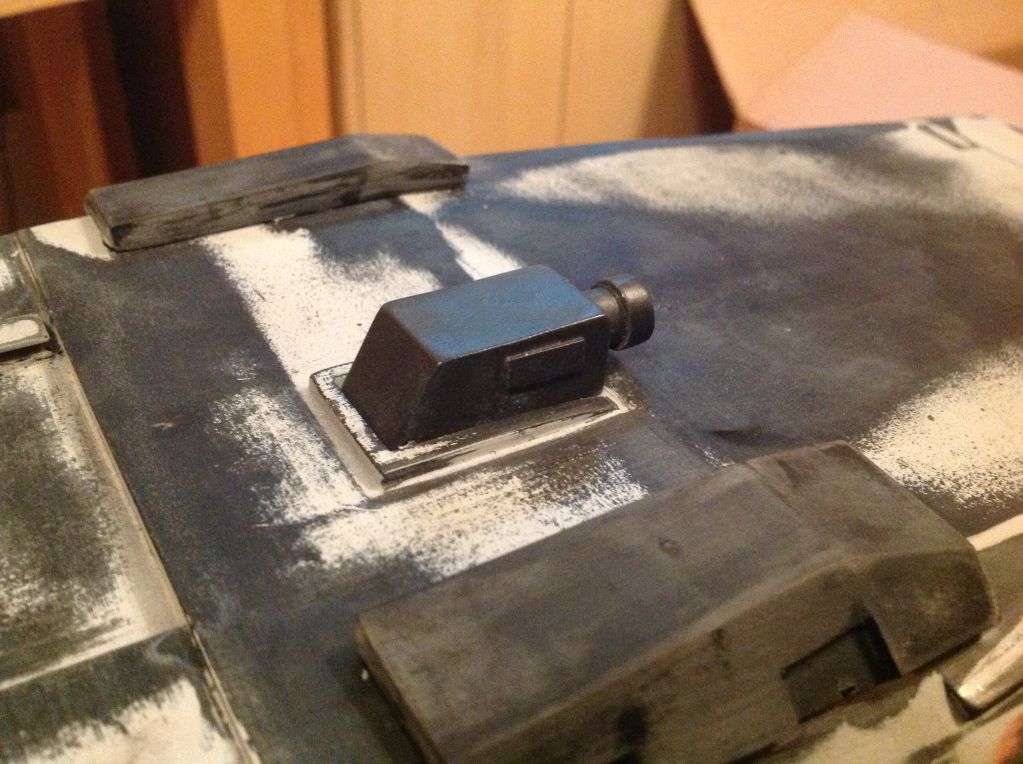
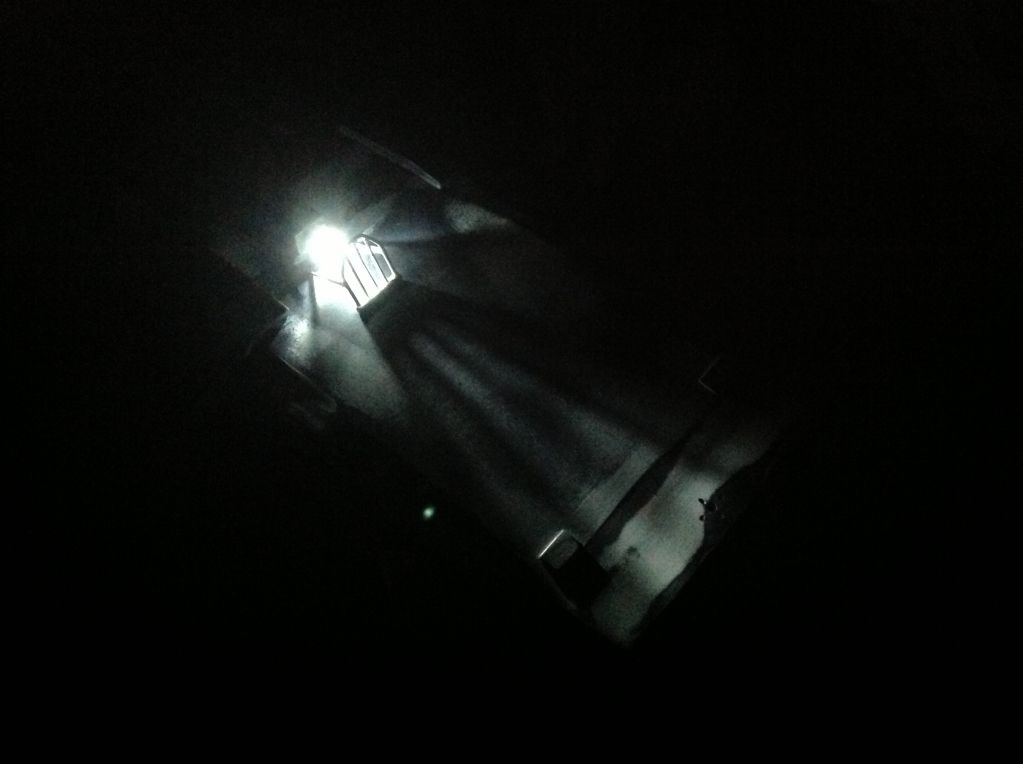
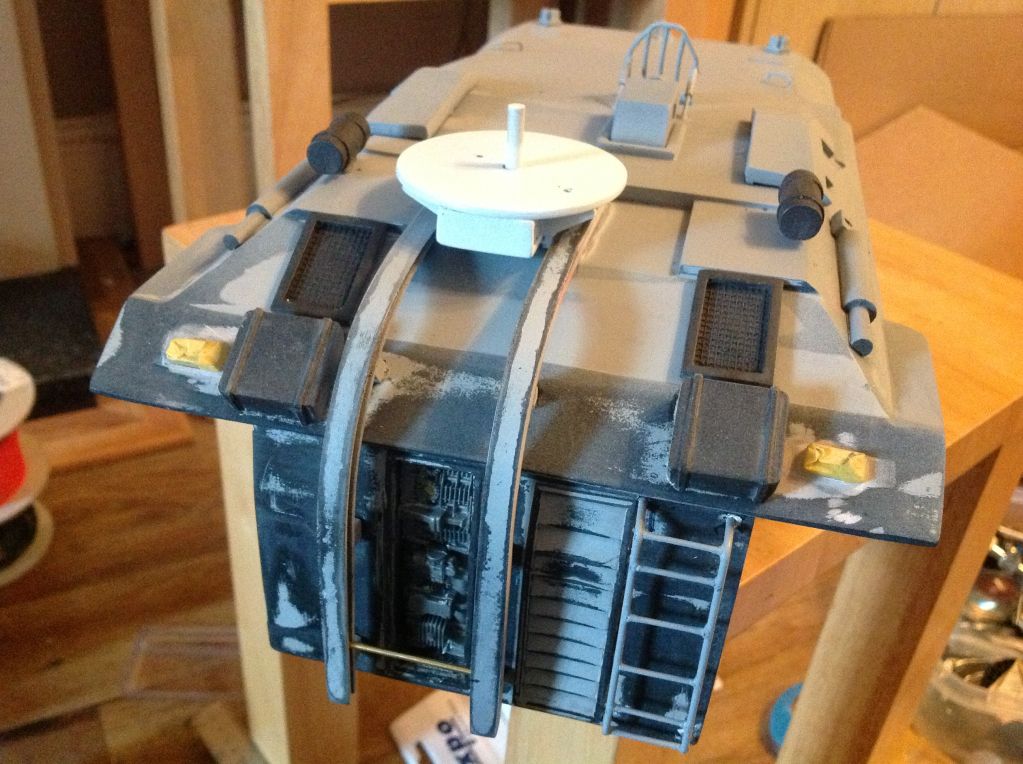
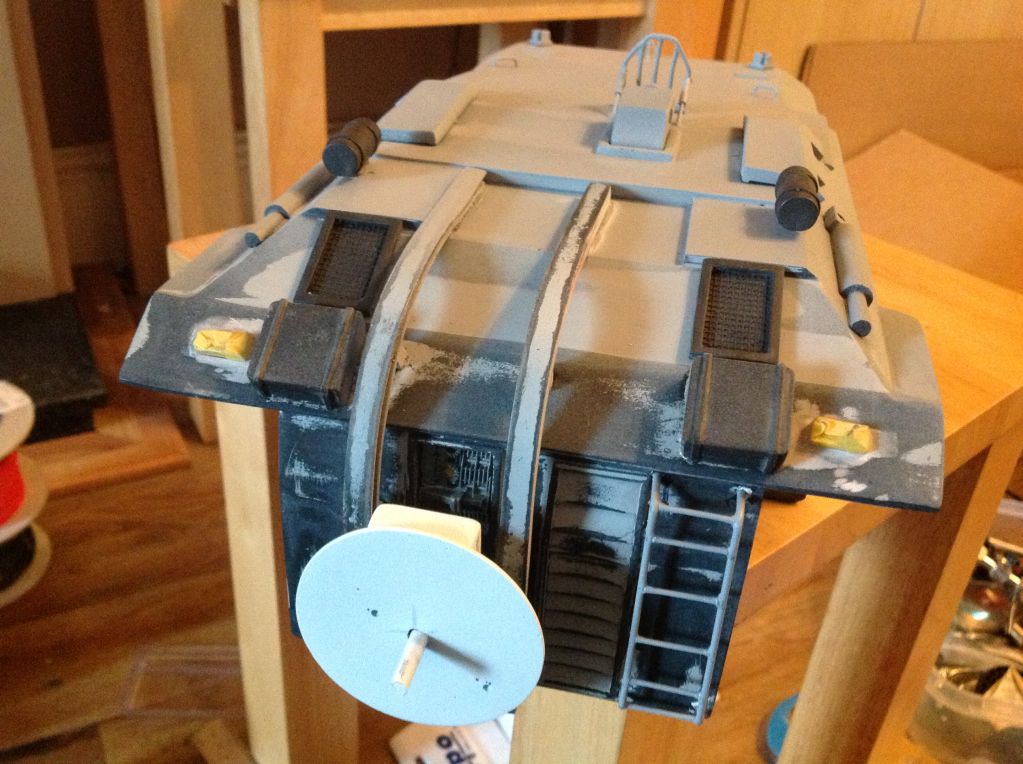
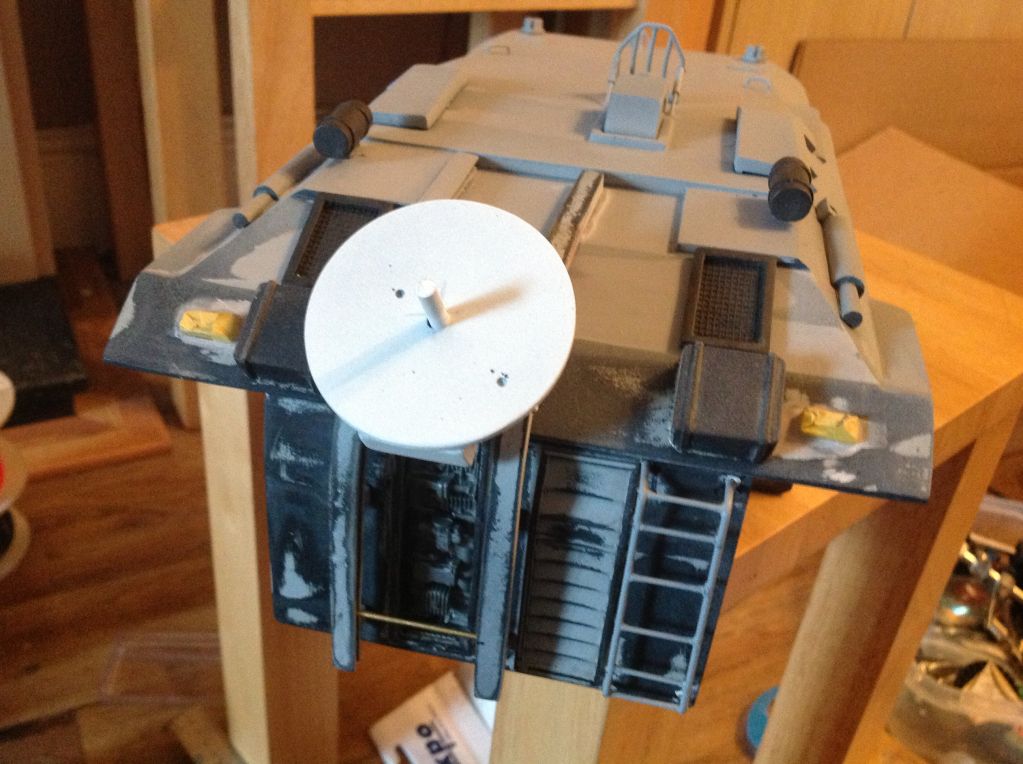
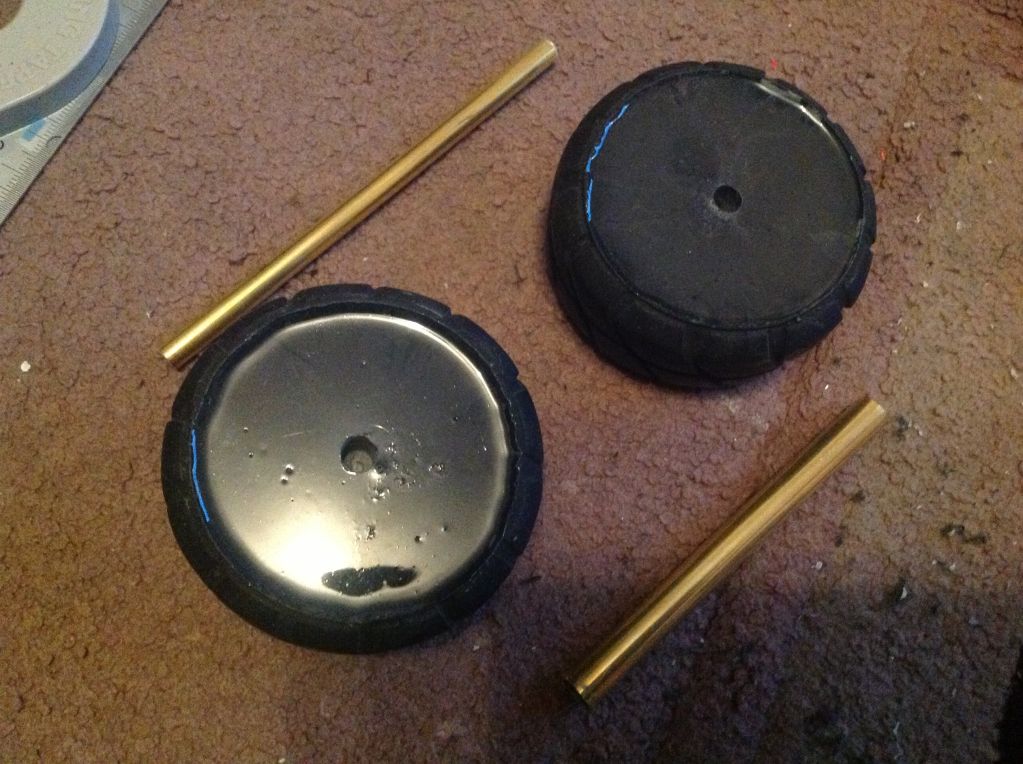
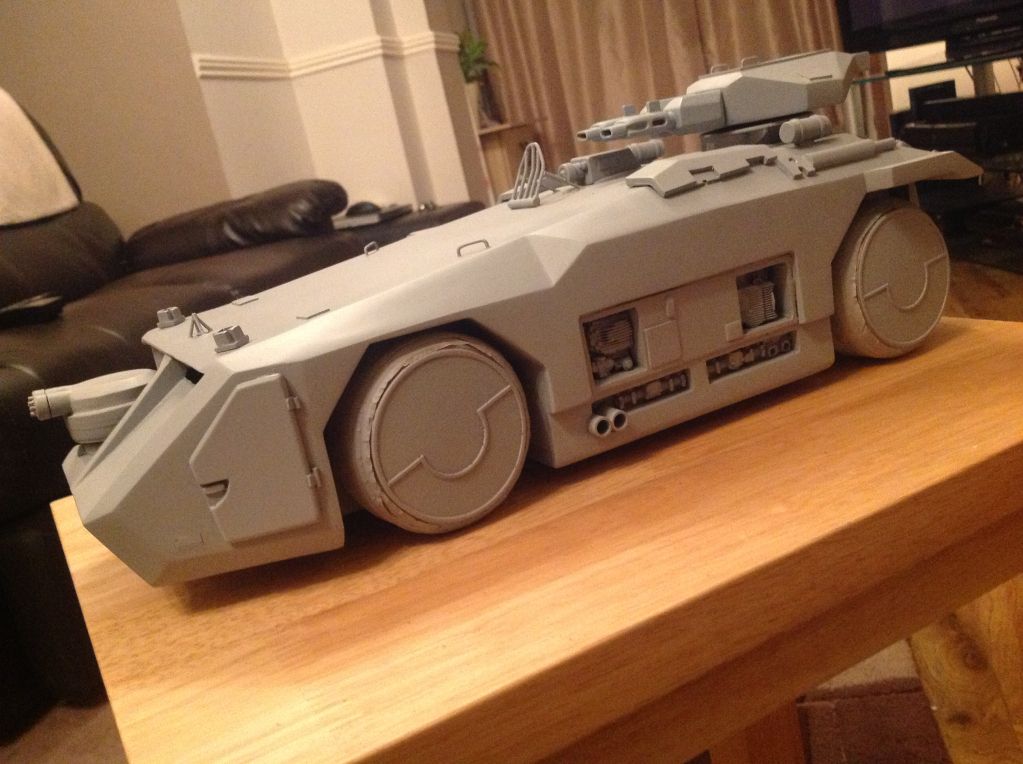
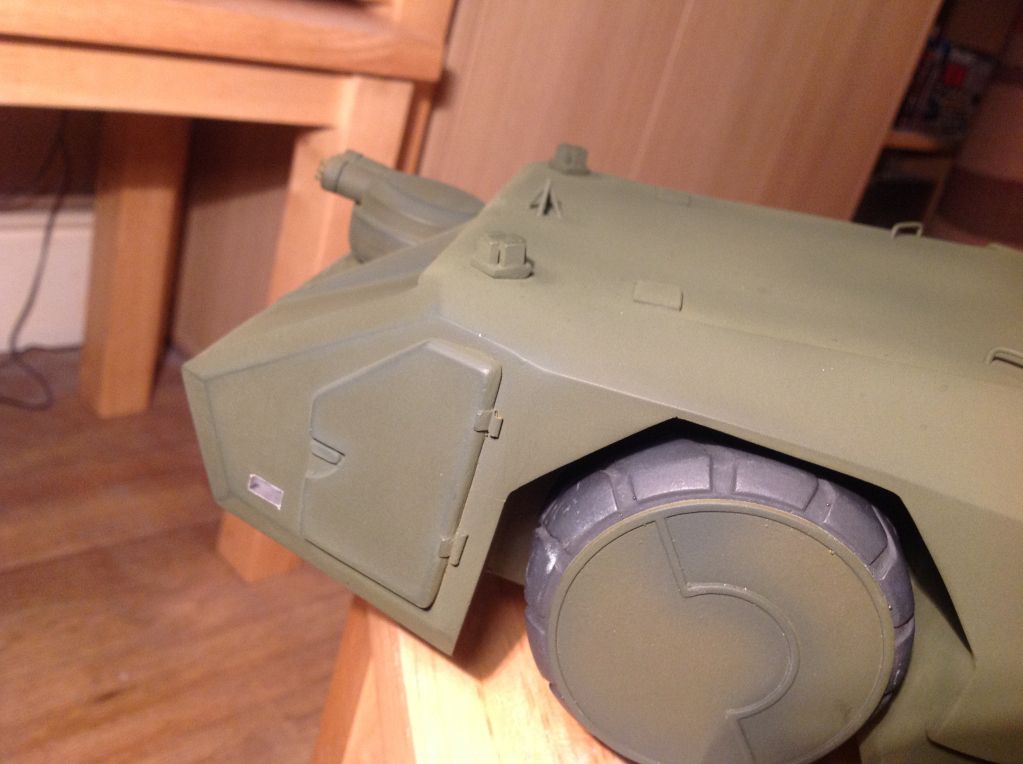
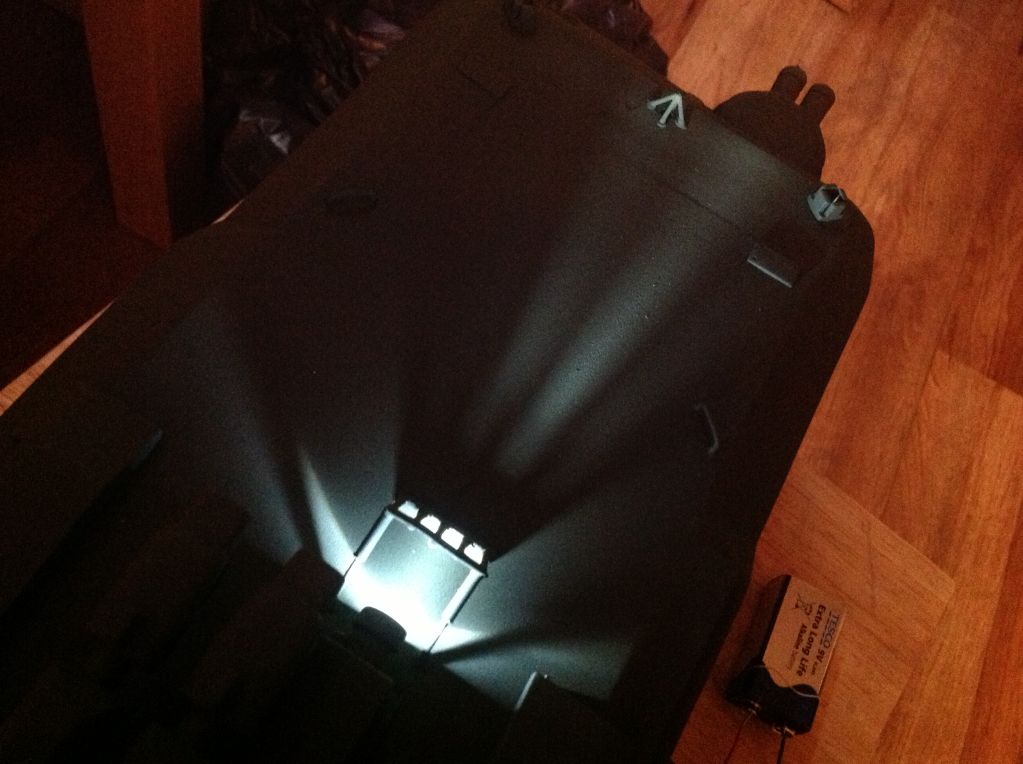
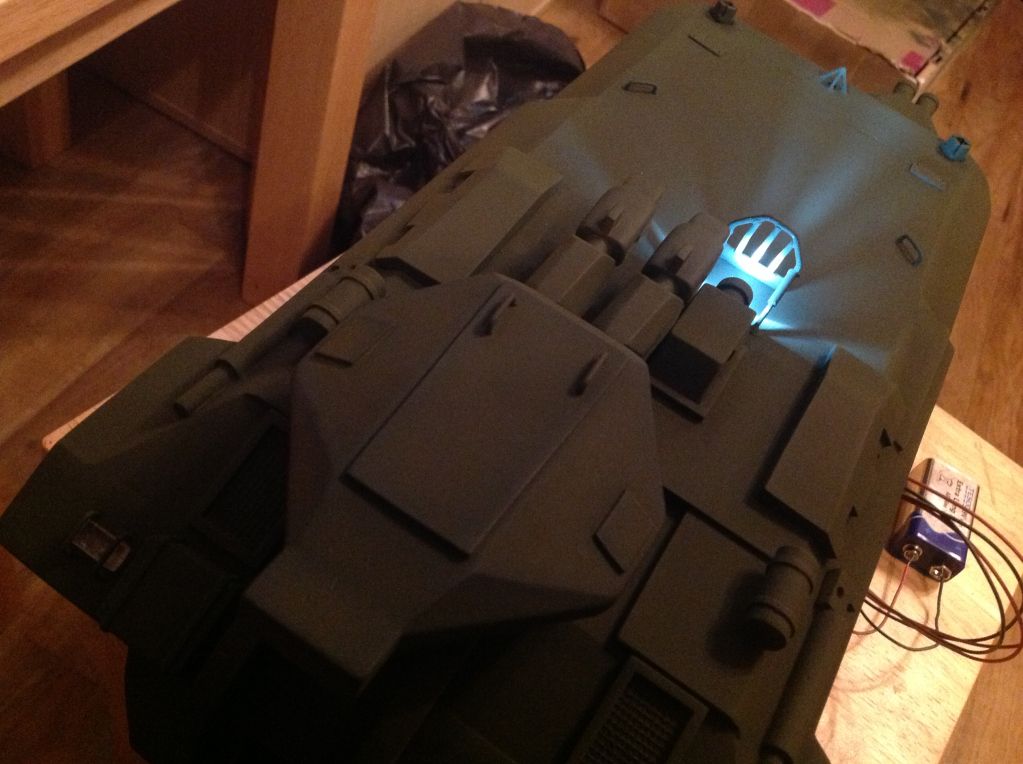
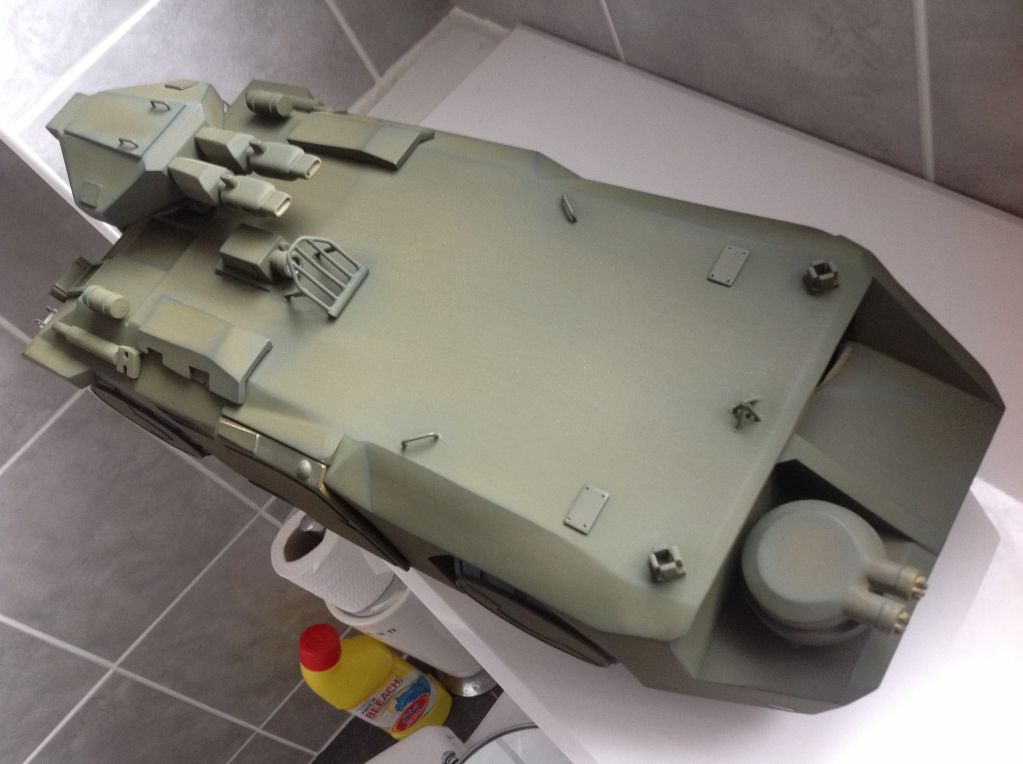
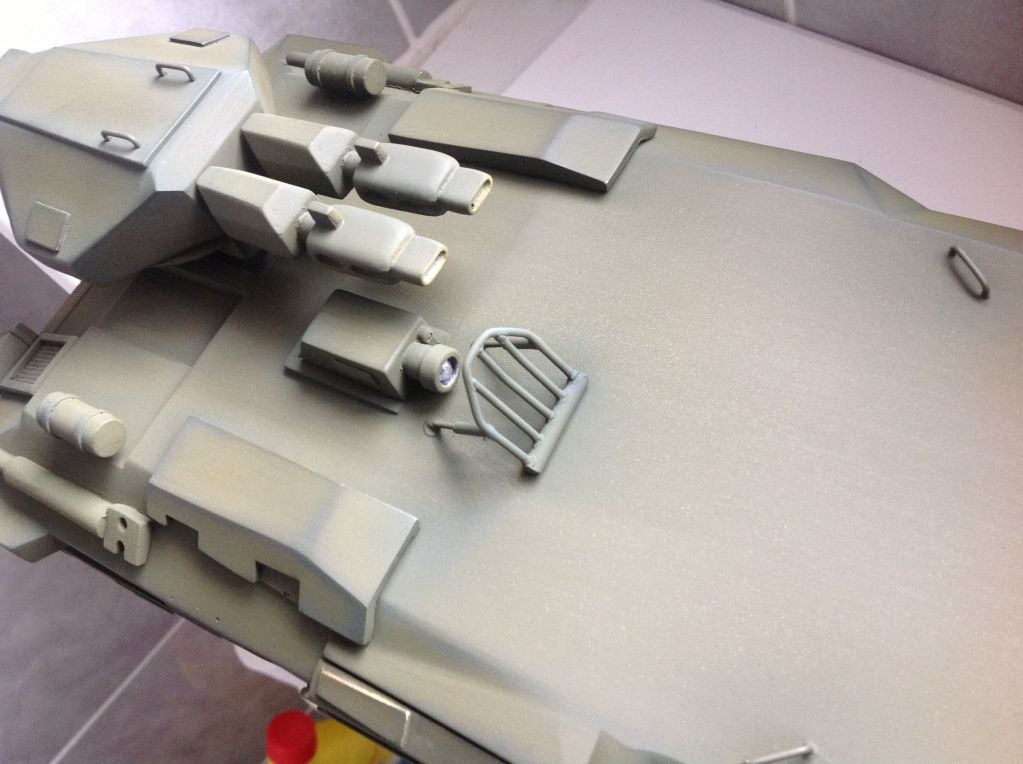
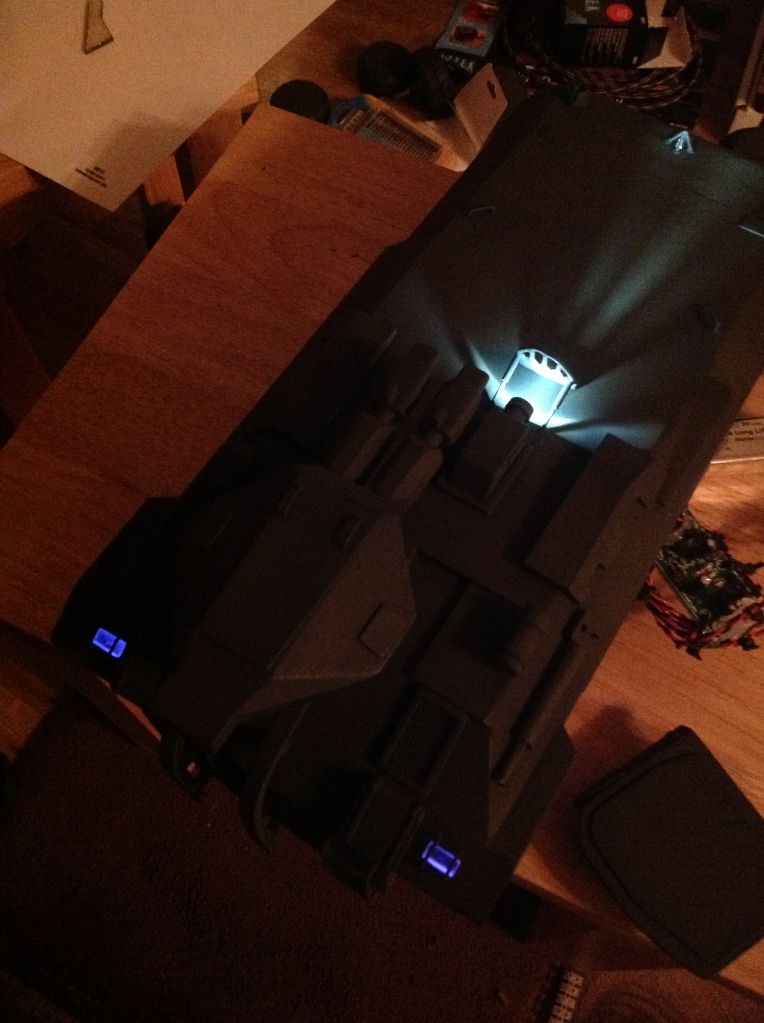
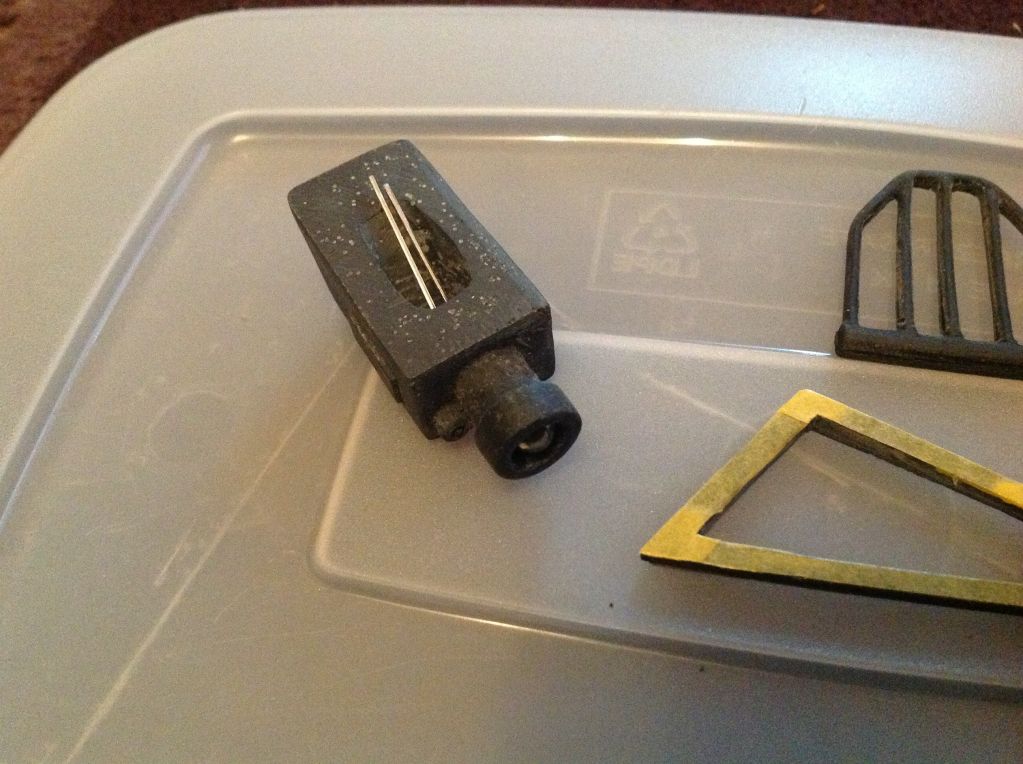
Deviated to the apc itself now, the spotlight I'm adding an led ![]() ![]() ![]() 
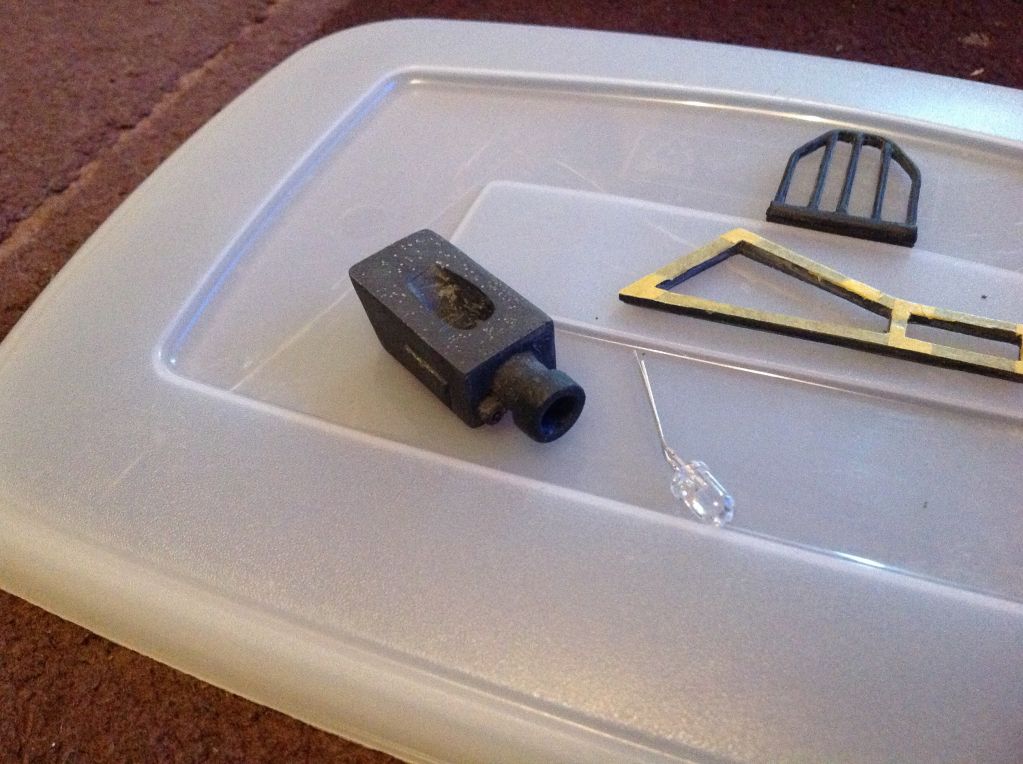
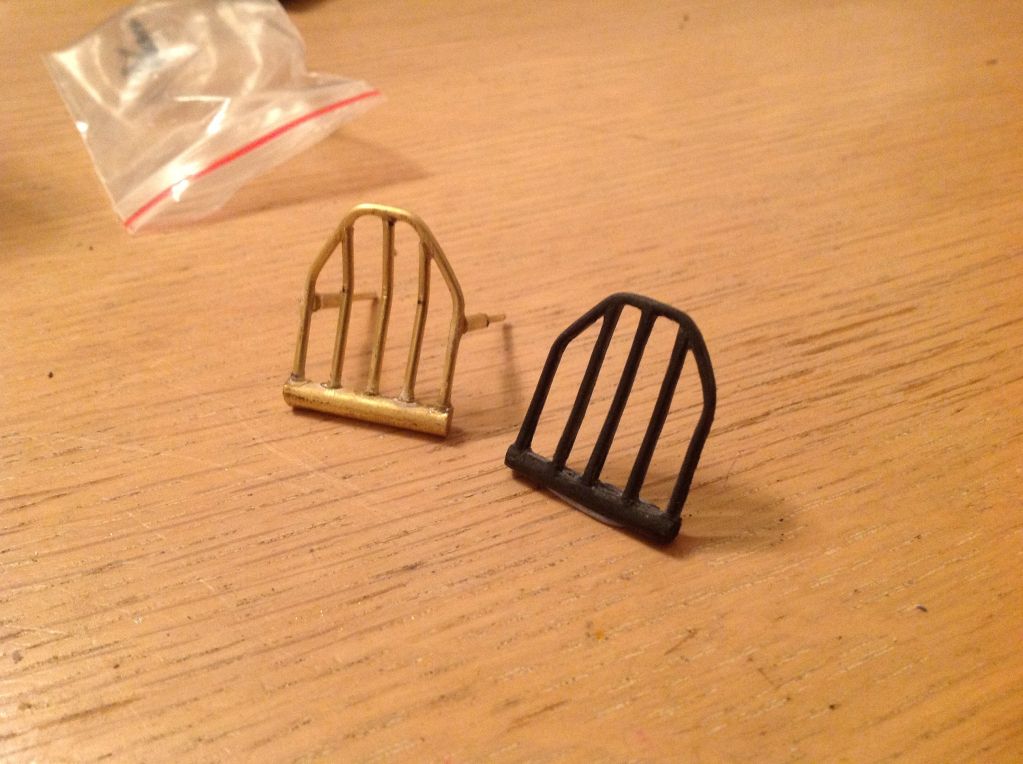
A test with the kit grille, took ages to dremel and file that bit ![]() 
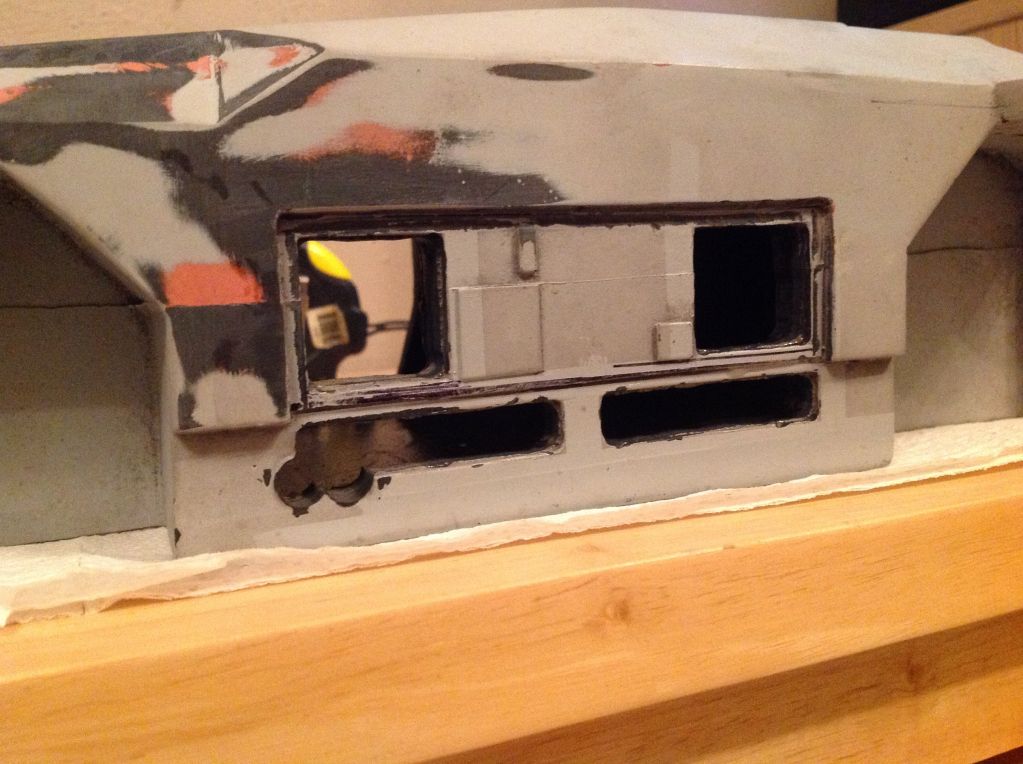
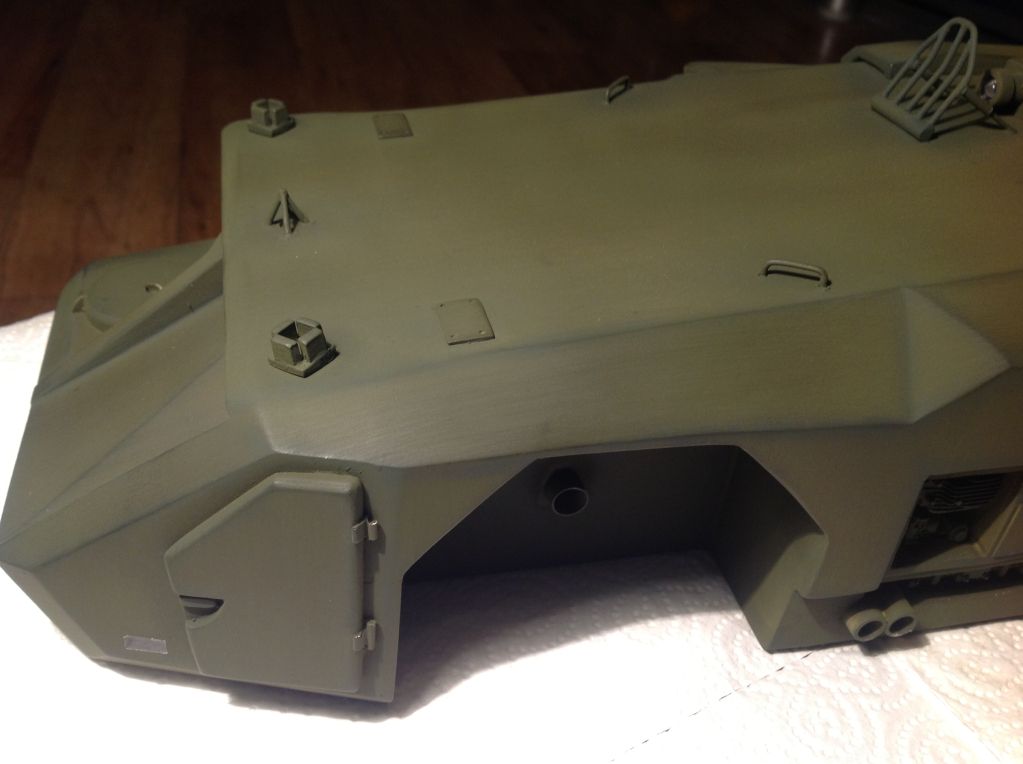
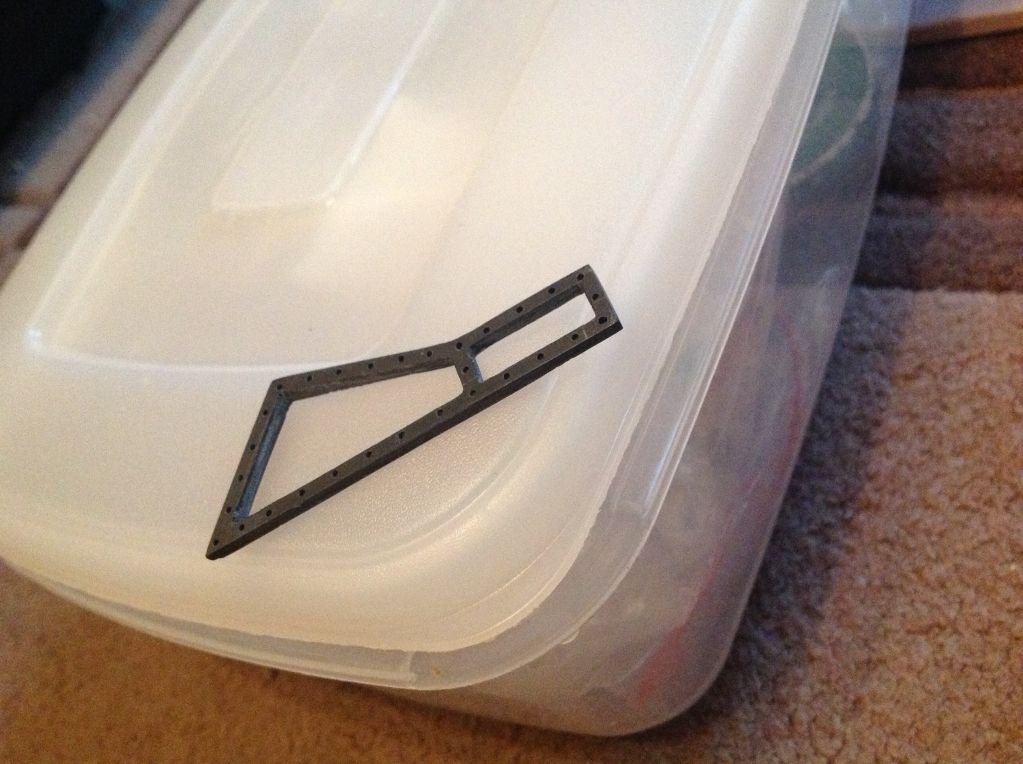
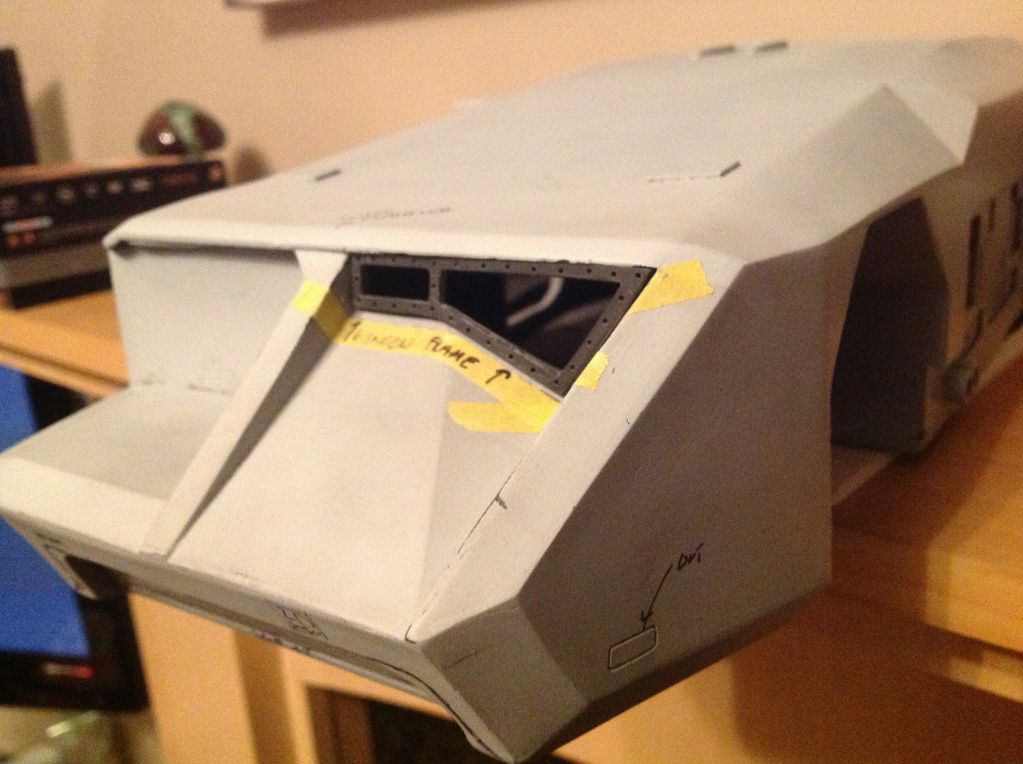
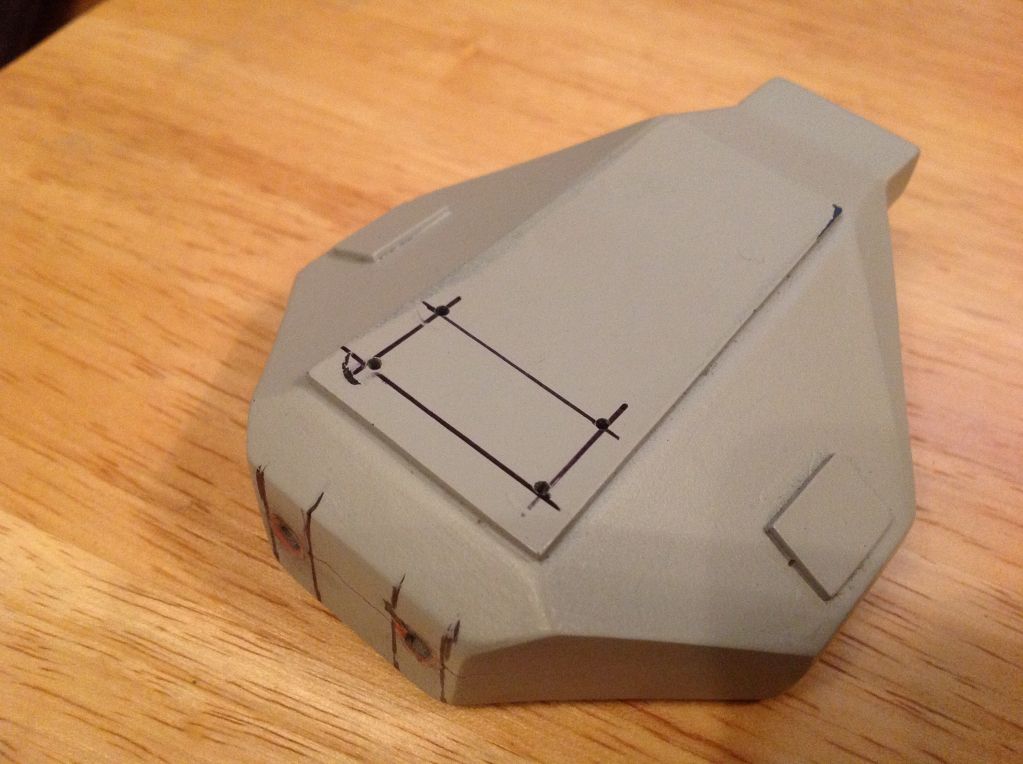
Window frame dremeled and filed and then rivets added with a 0.5mm drill bit ![]() 
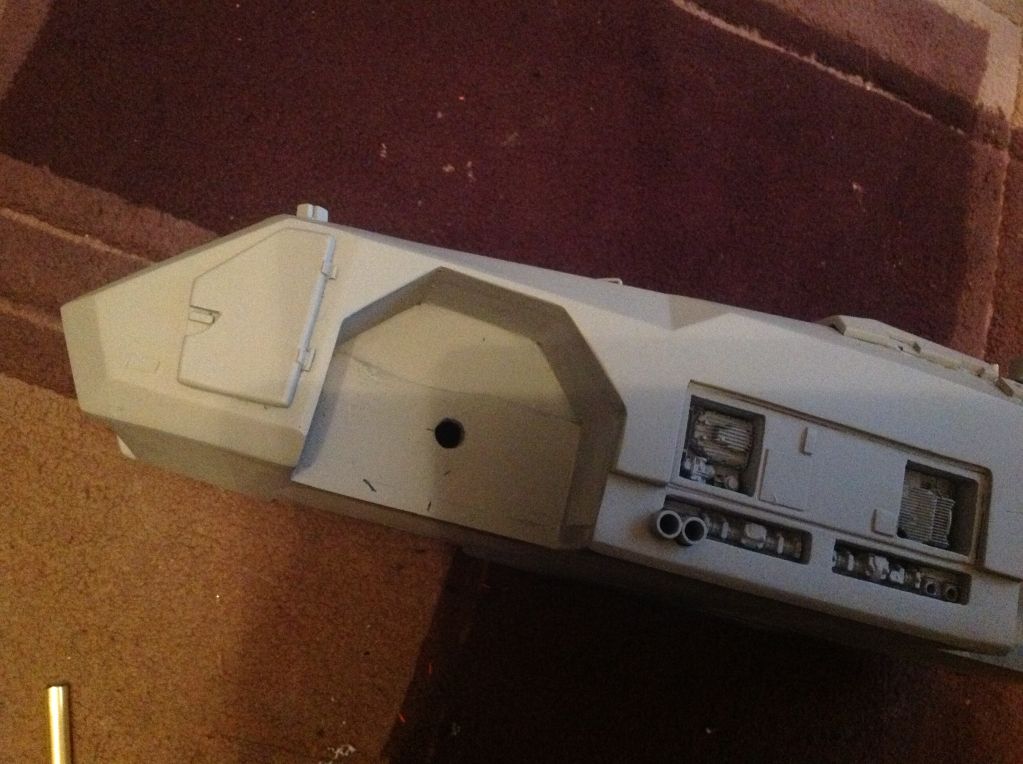
Window needs to come out now ![]() ![]() ![]() 
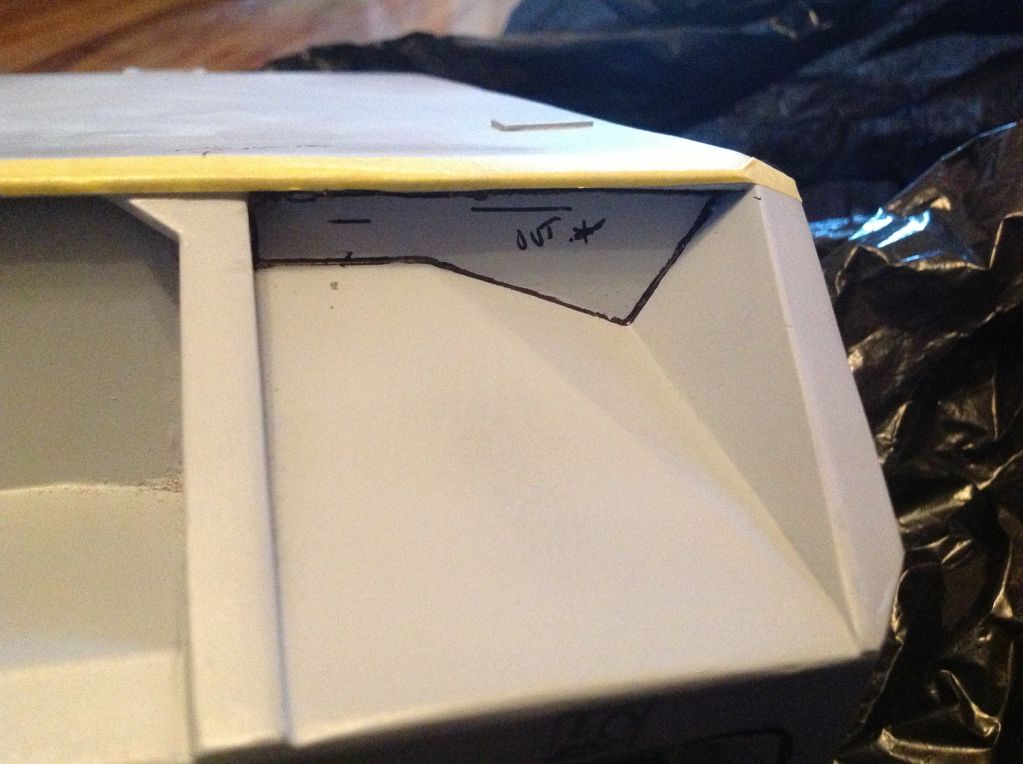
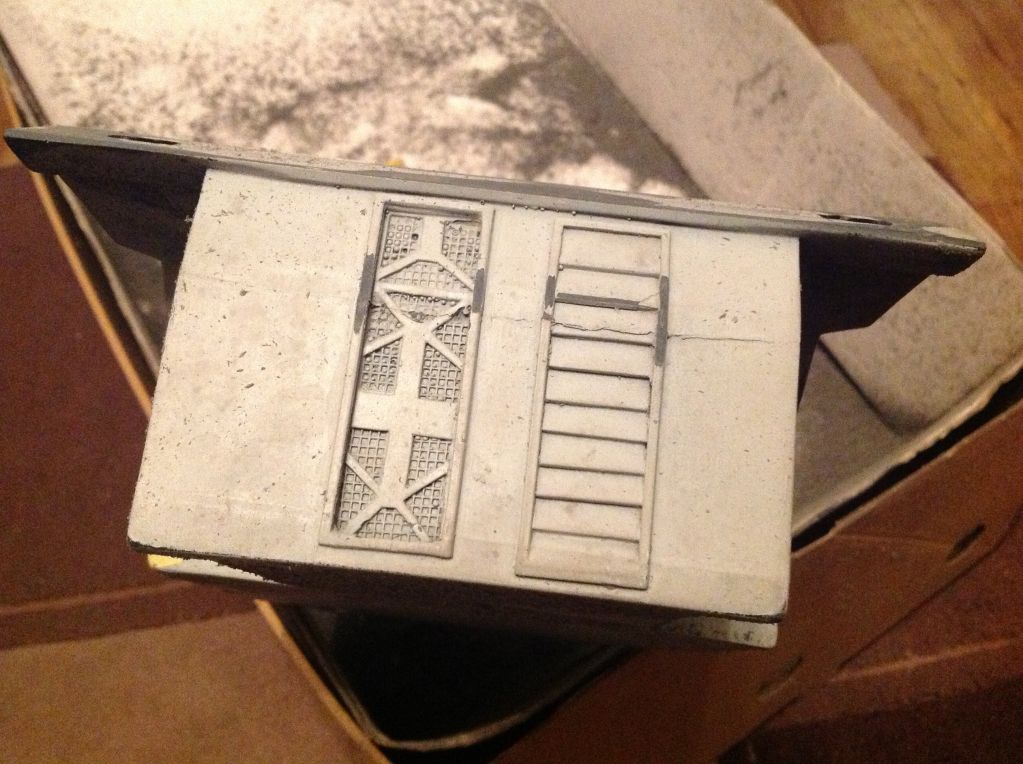
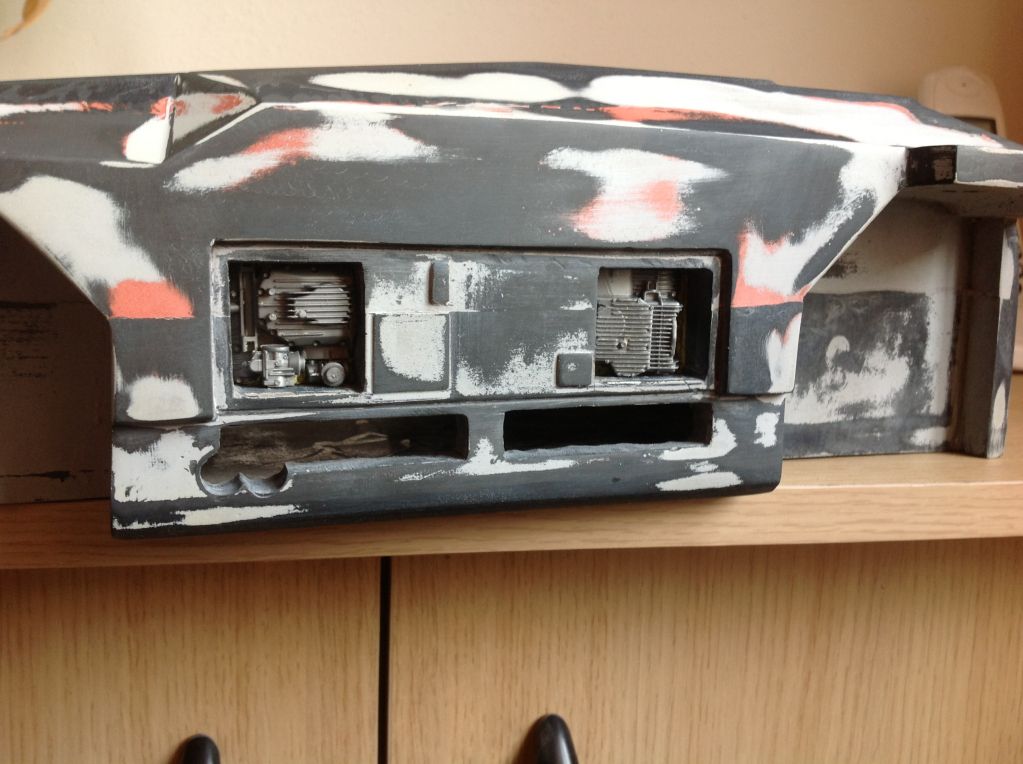
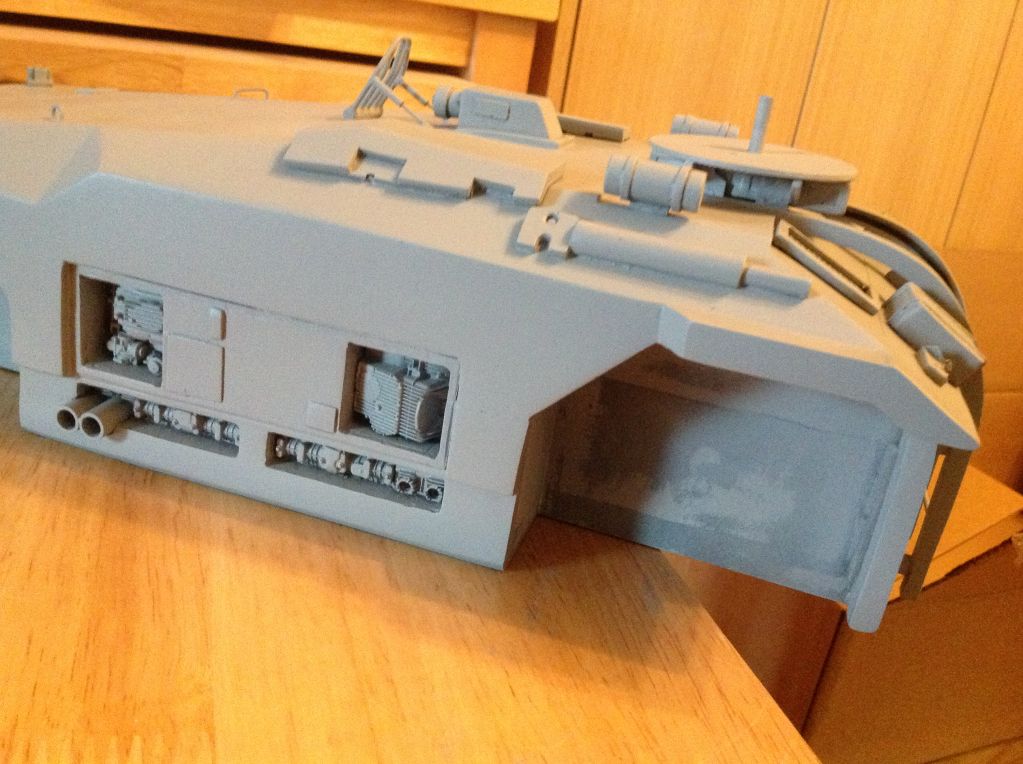
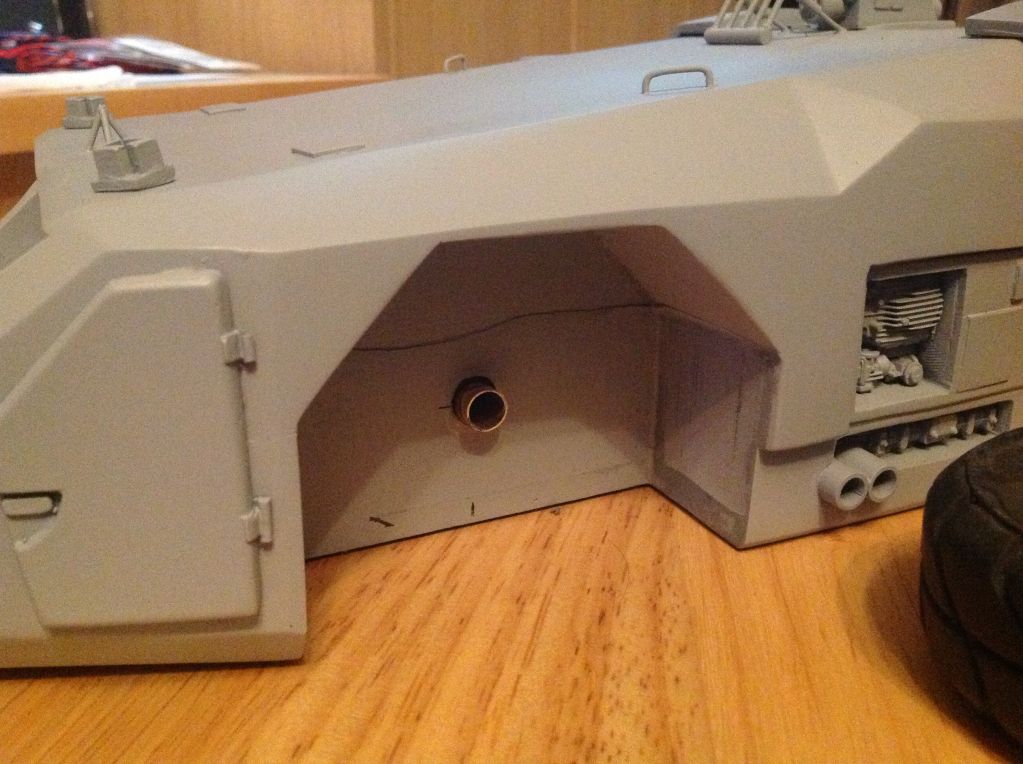
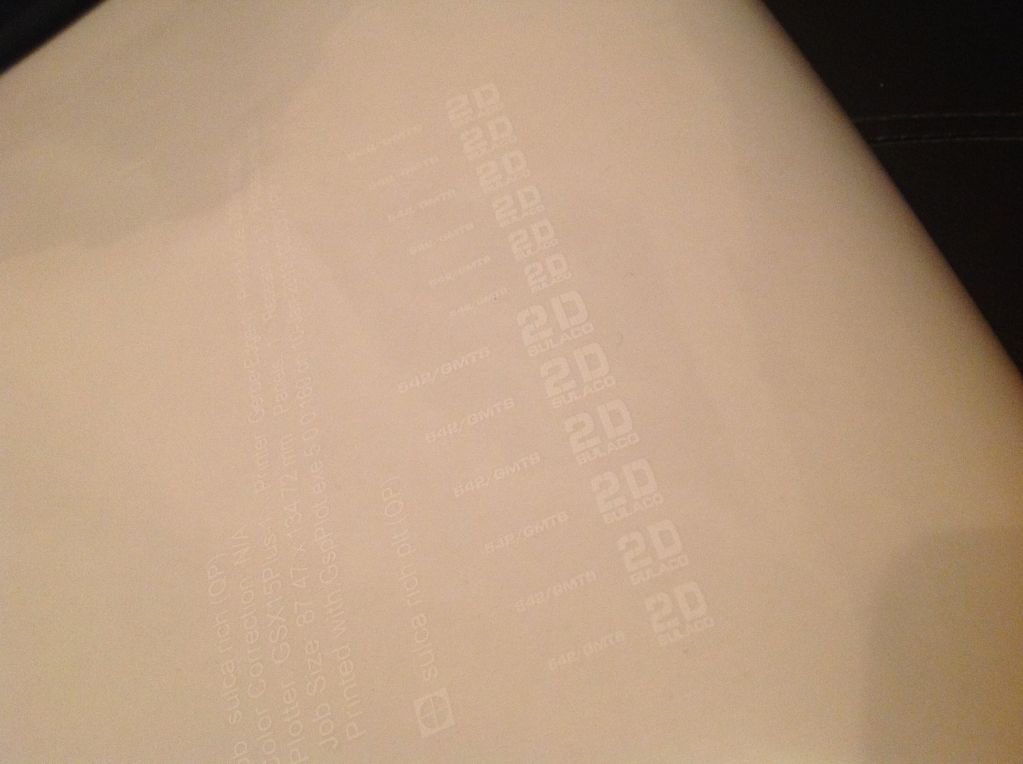
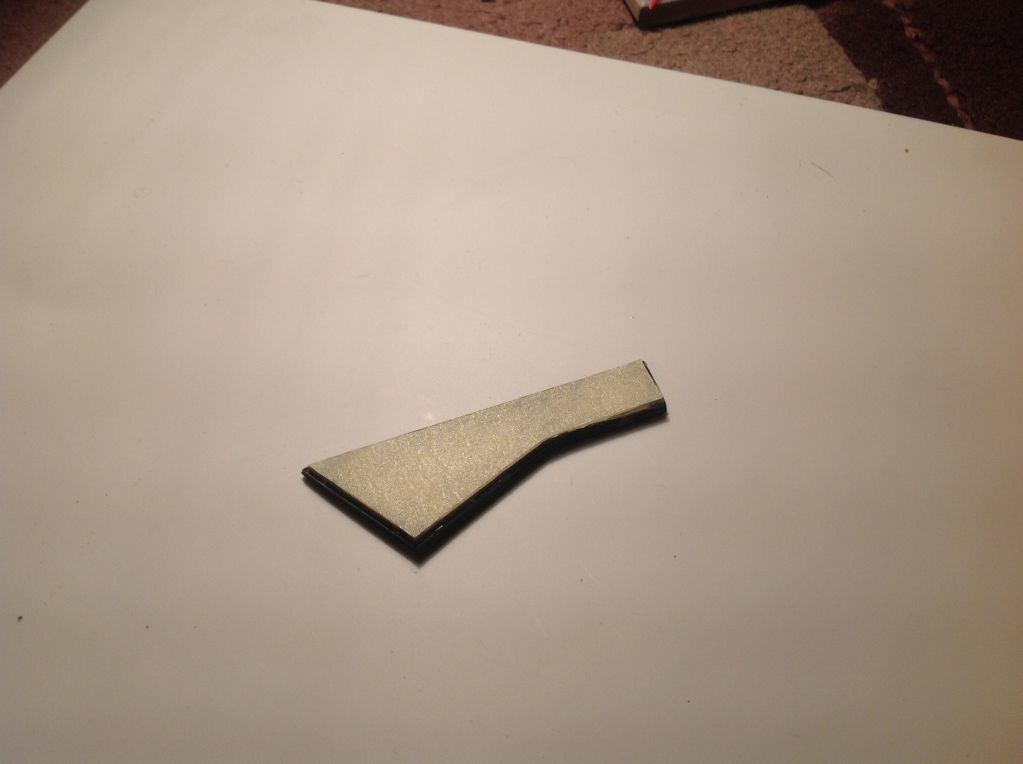
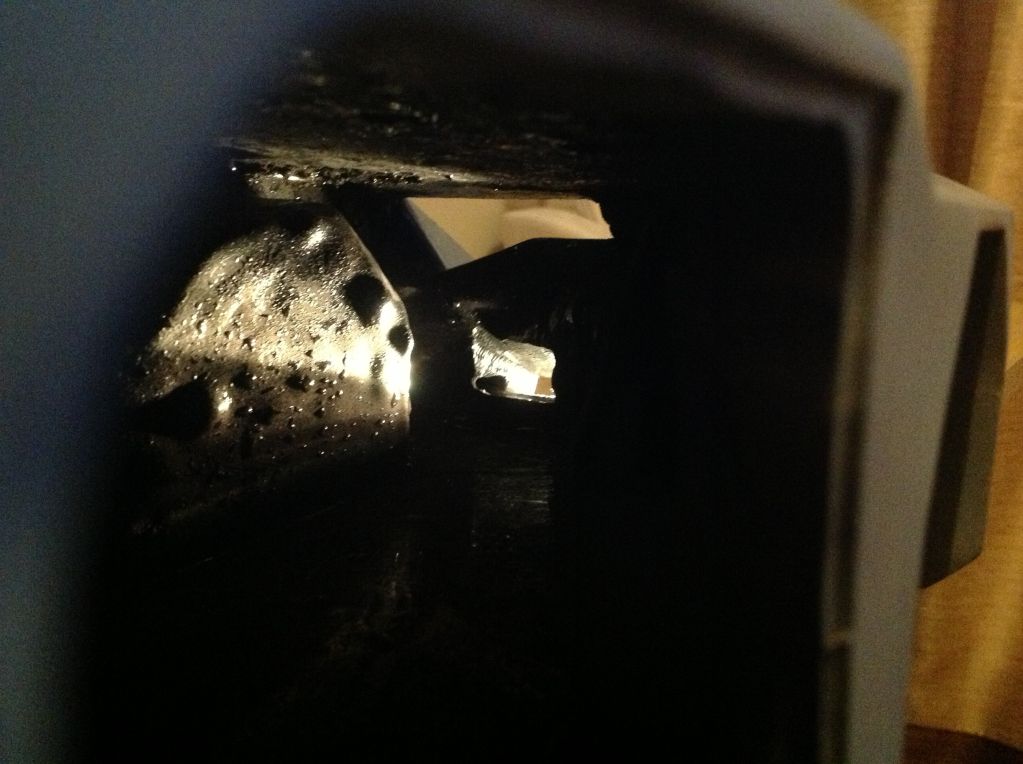
Now as I'm adding spotlights this is where the true quality of the lump of resin I bought really began to show, I dremeled out the relevant holes that was easily an inch thick in places........a real mission to do ![]() ![]() 
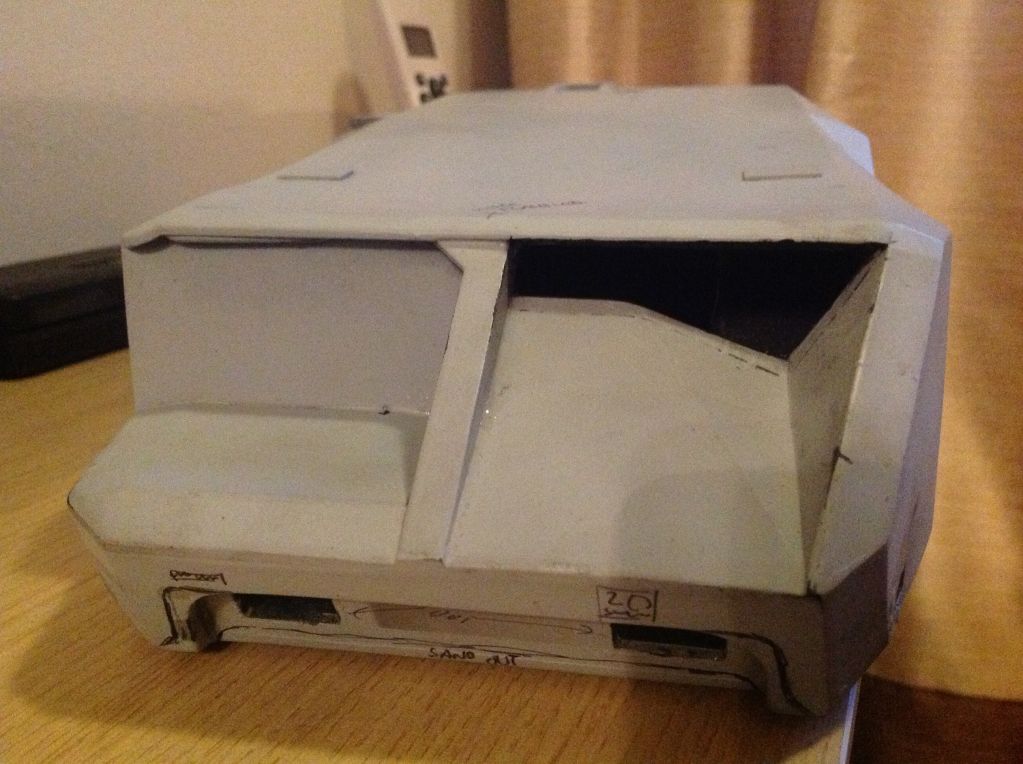
Here is how thick it was ![]() ![]() 
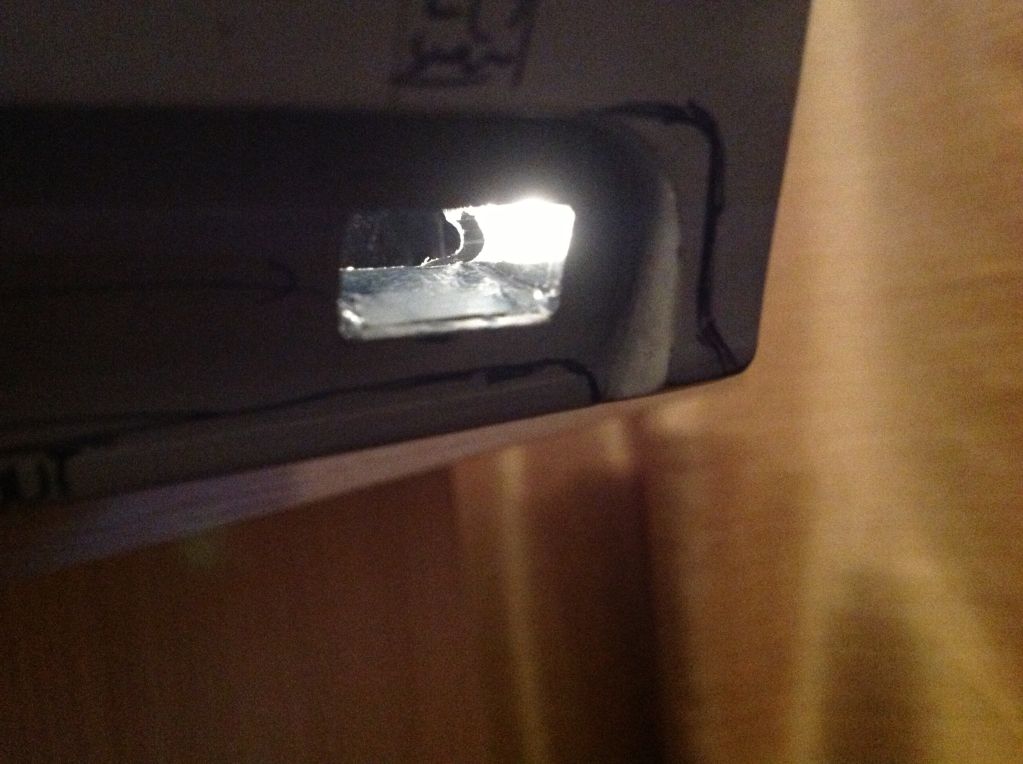
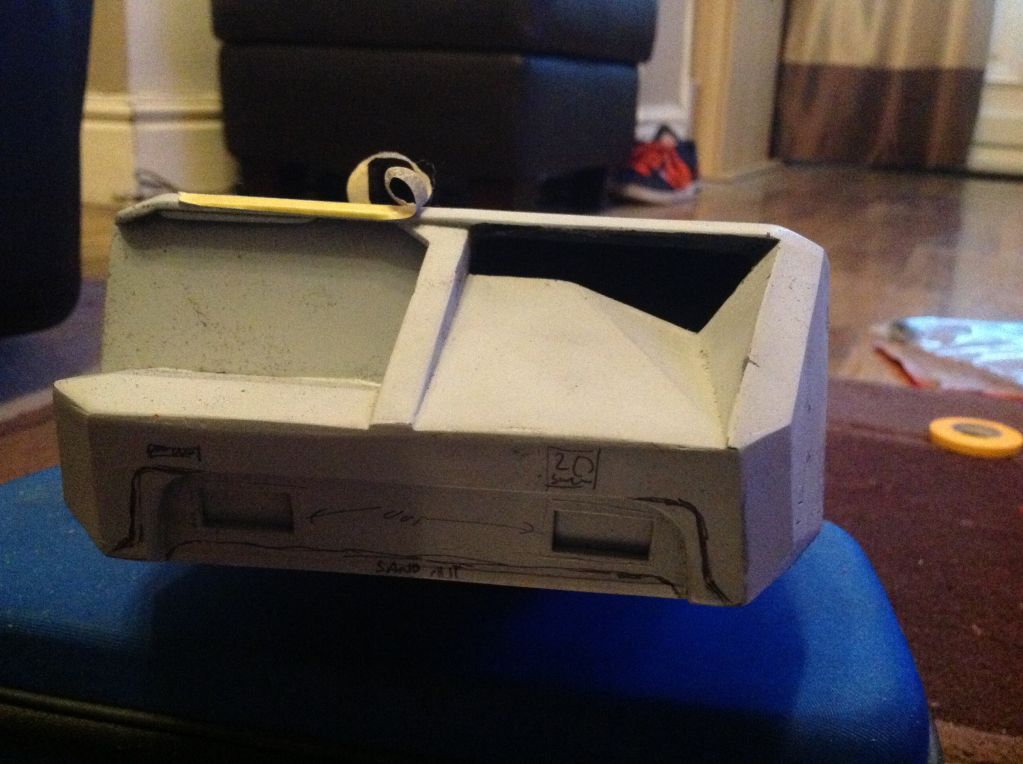
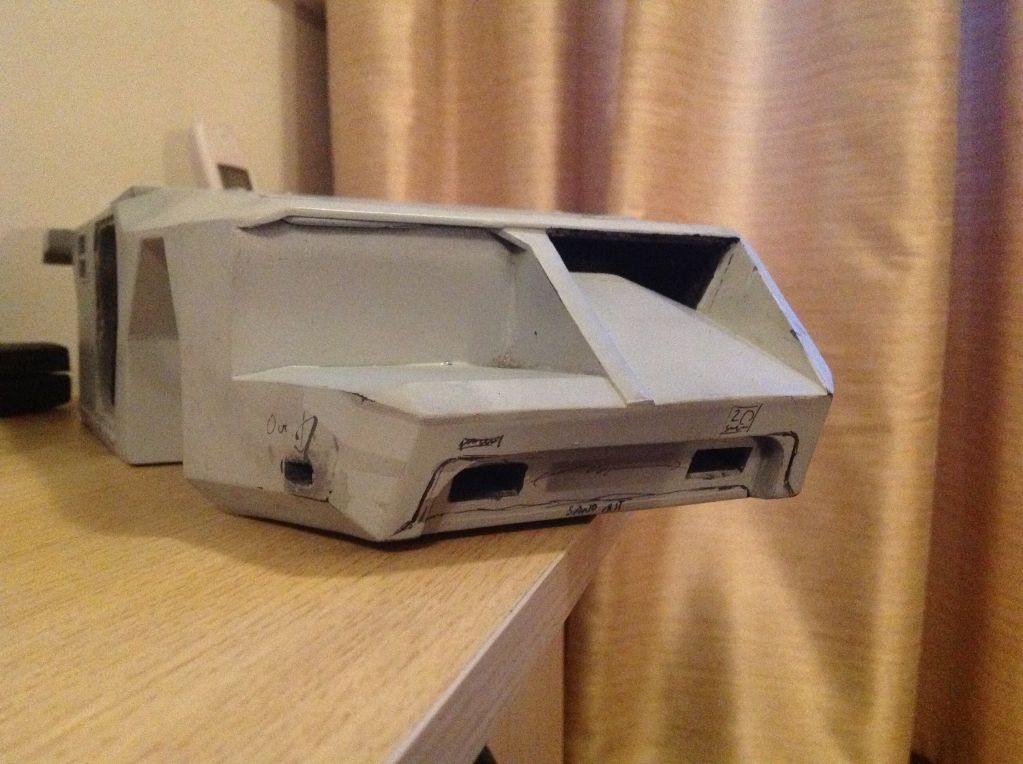
Rear lights dremeled, that's hard due to the lack of thickness in the model. Apart from drilling out the light shape I also need to dremel through the rsin so the light source gets through....this was a delicate operation ![]() ![]() 
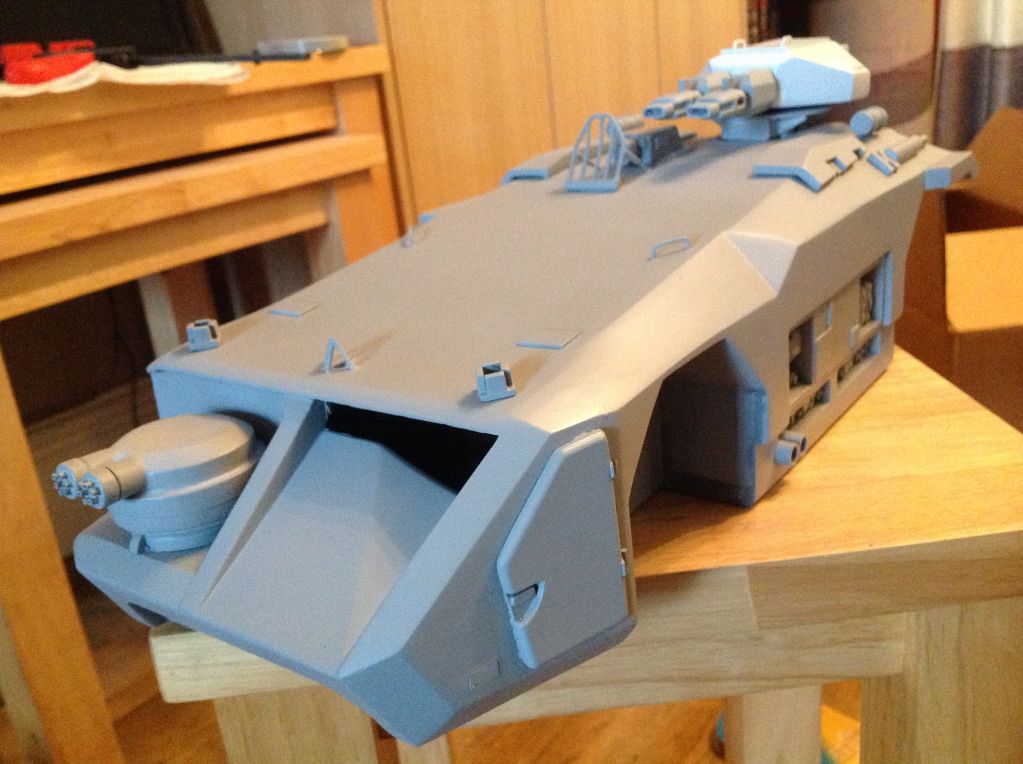
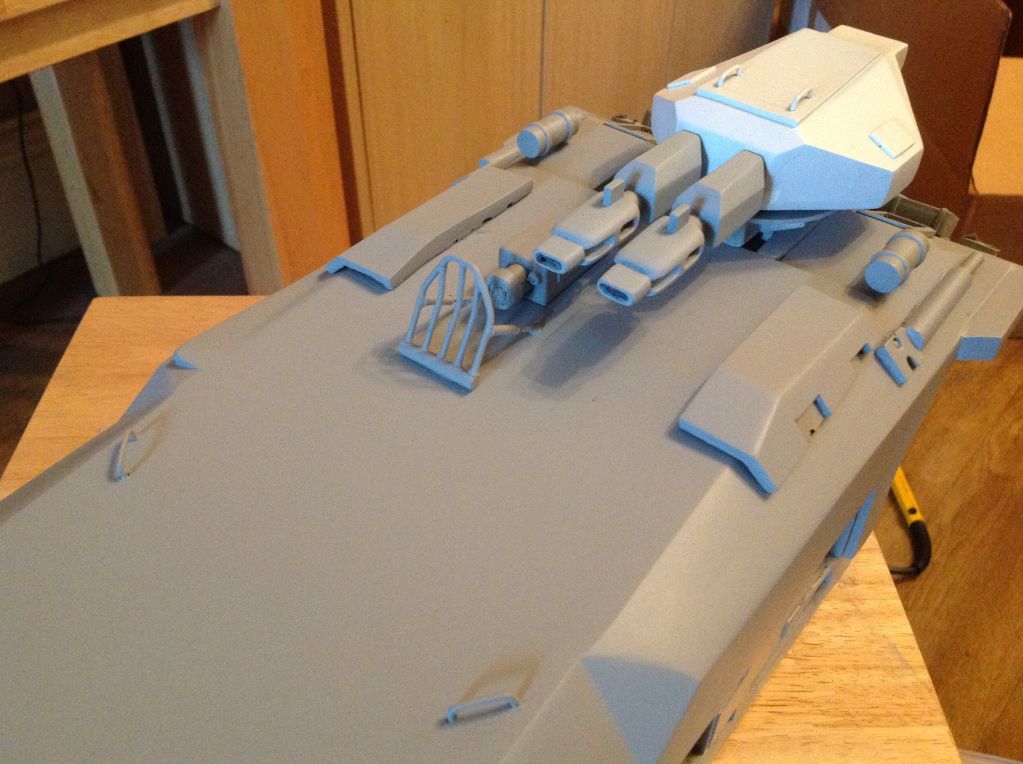
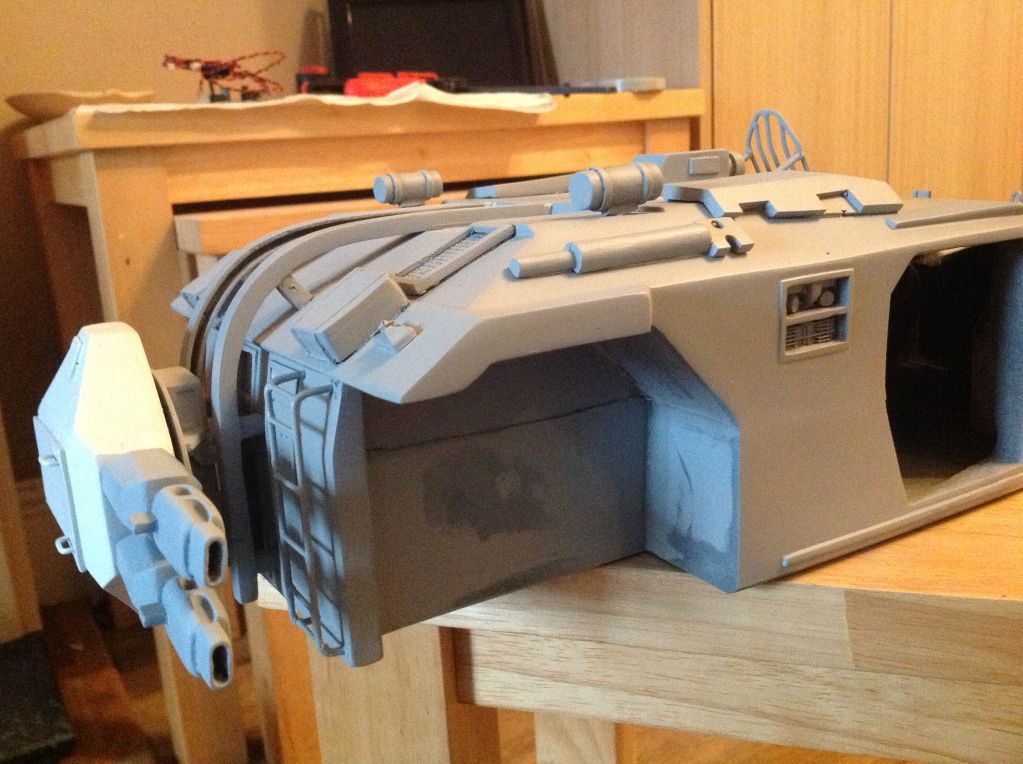
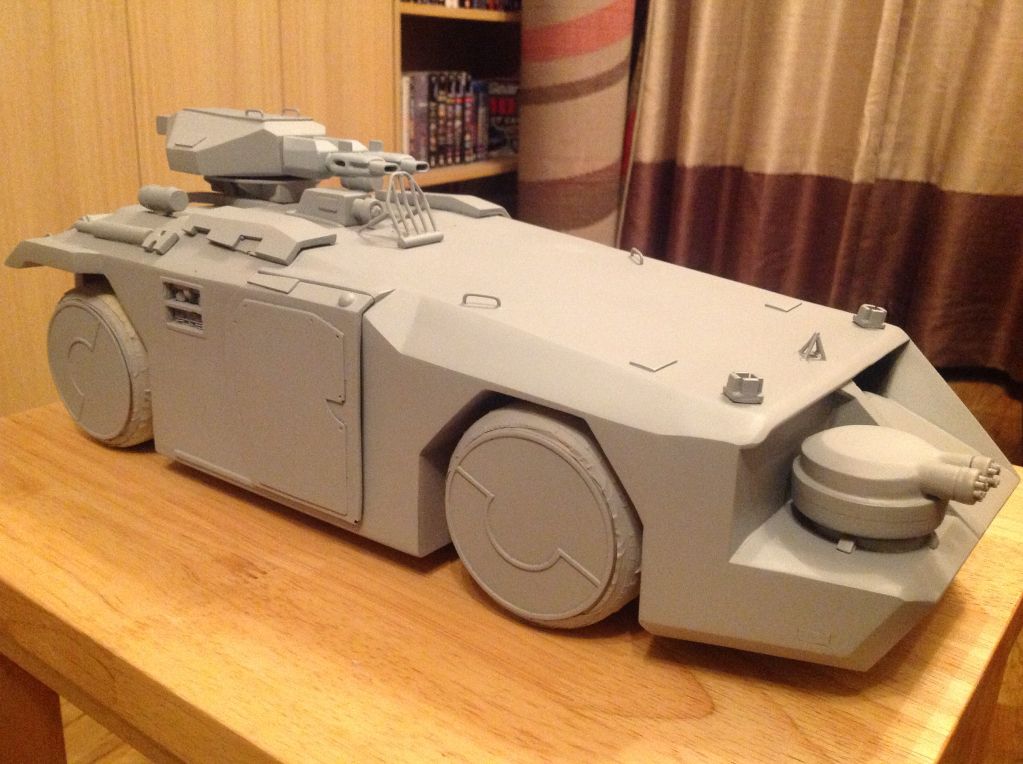
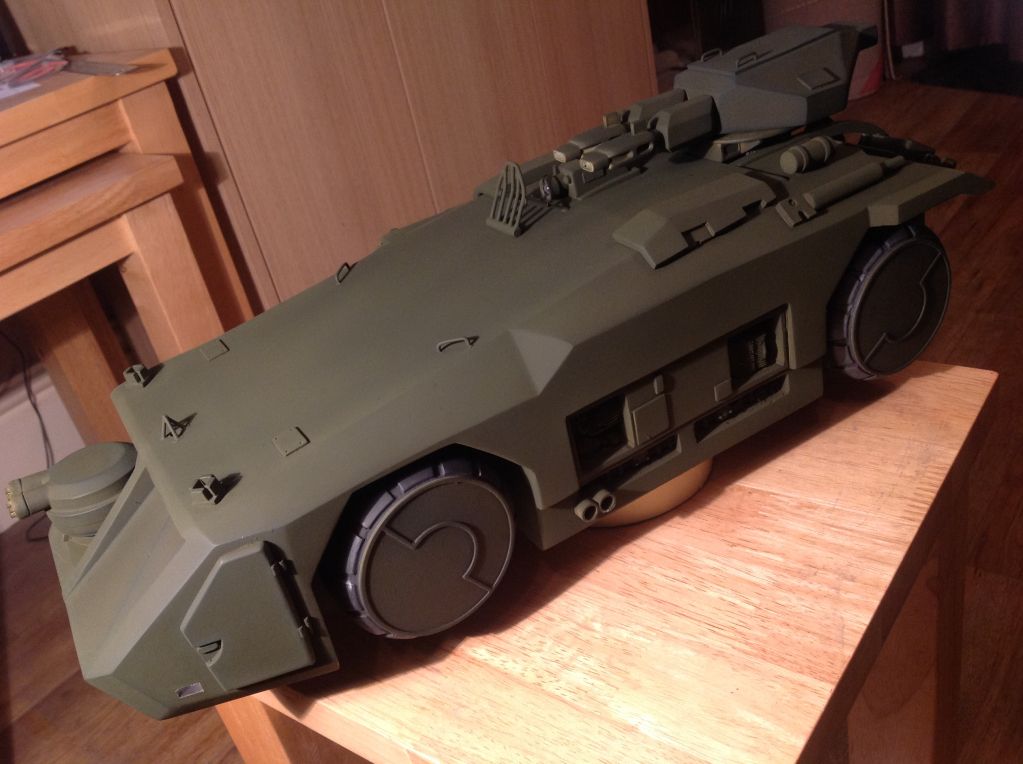
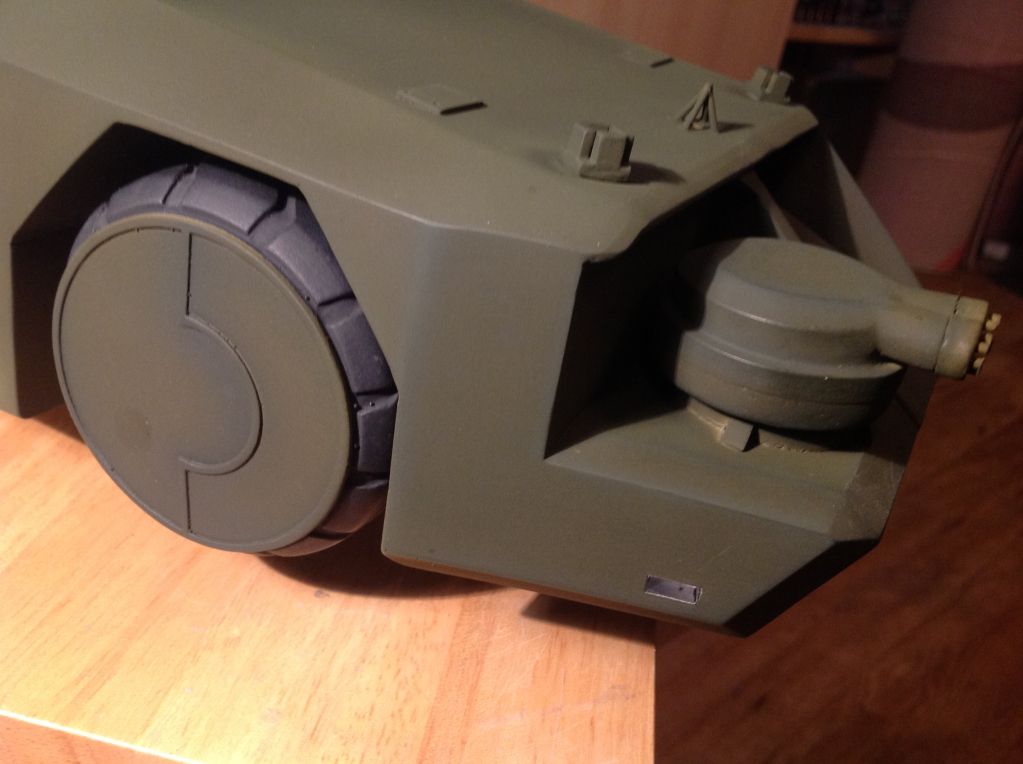
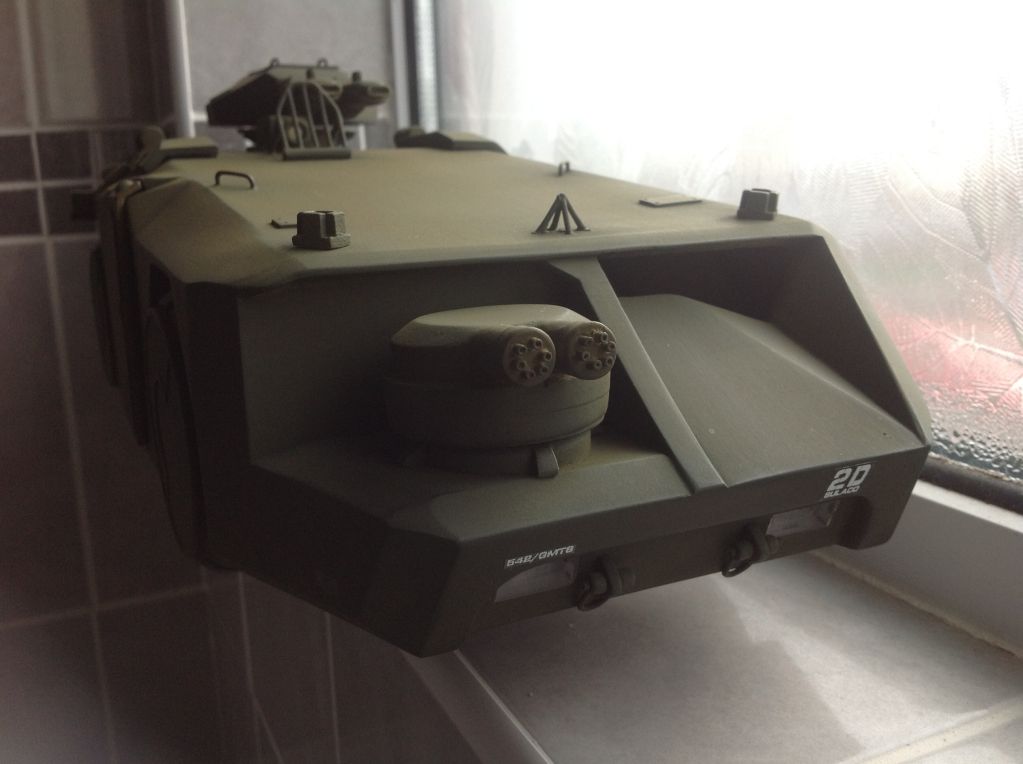
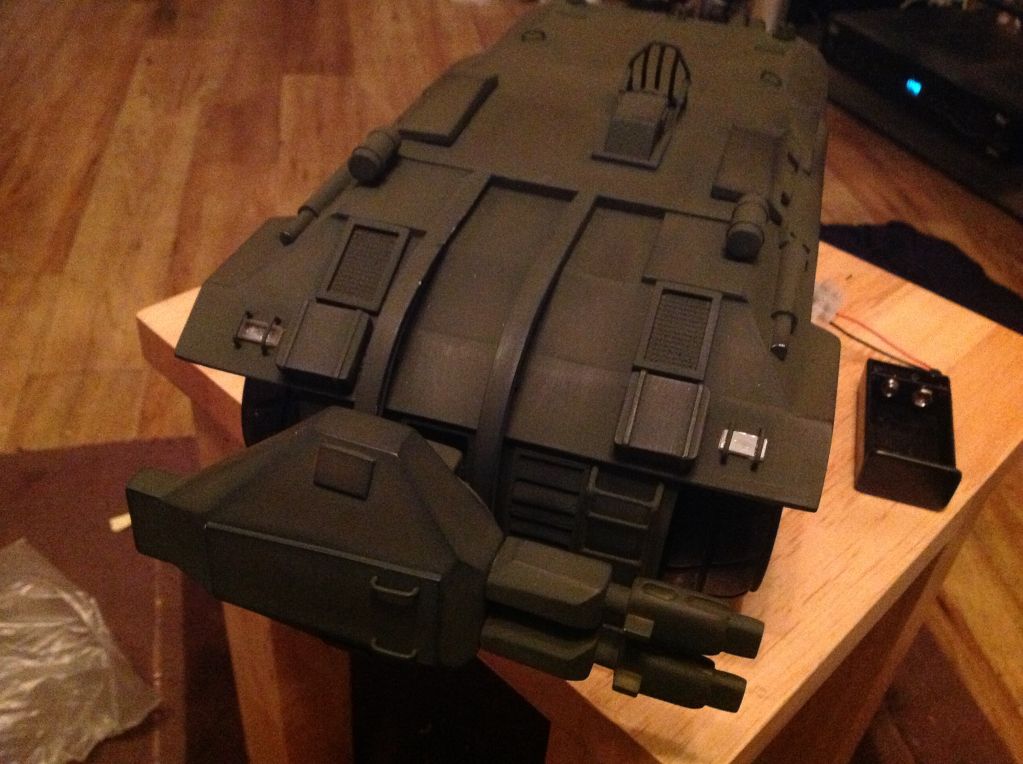
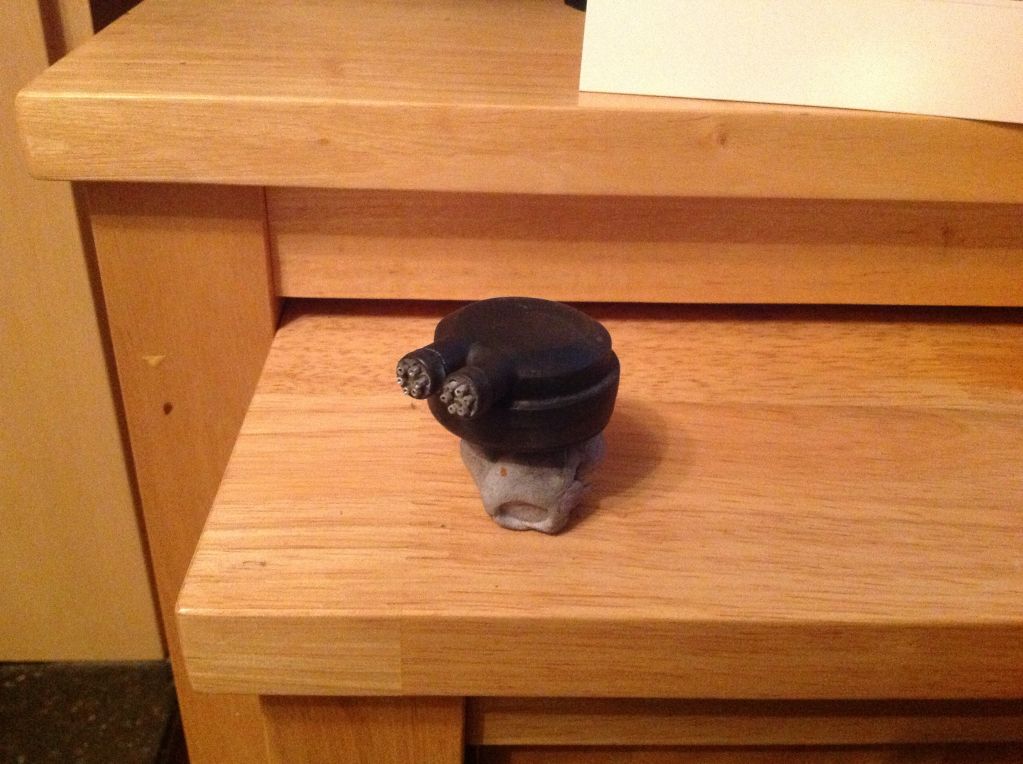
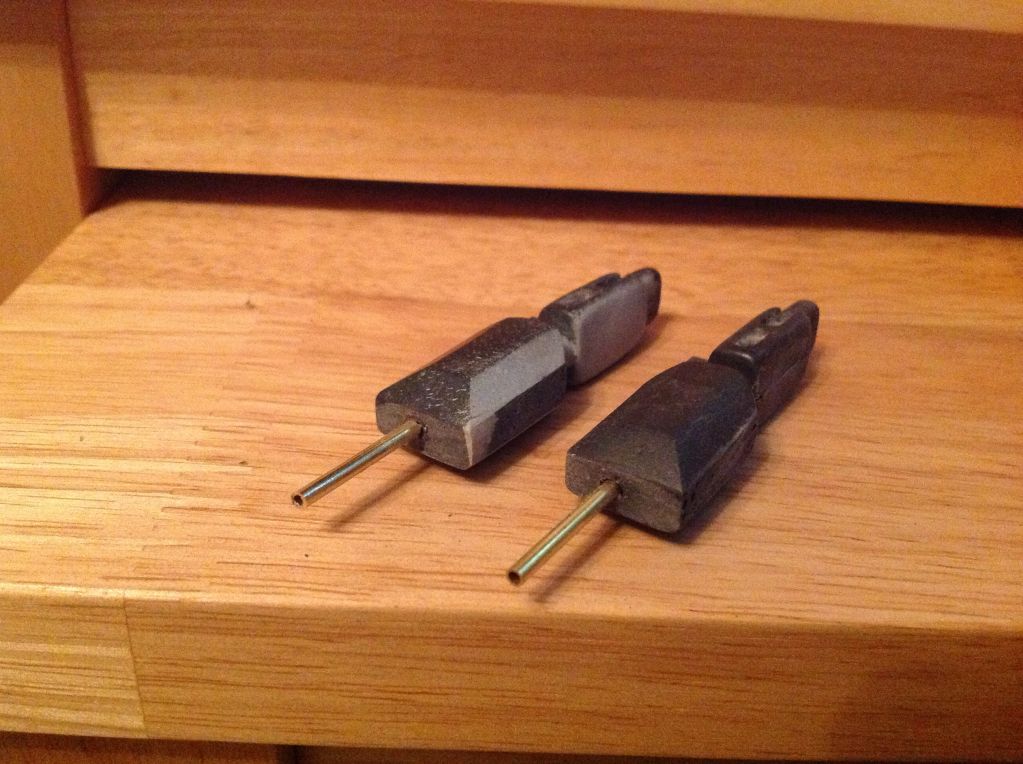
Took some small scale pipes and added some gun barrels ![]() Also decided to pin most of this model together to ensure it stays bonded ![]() 
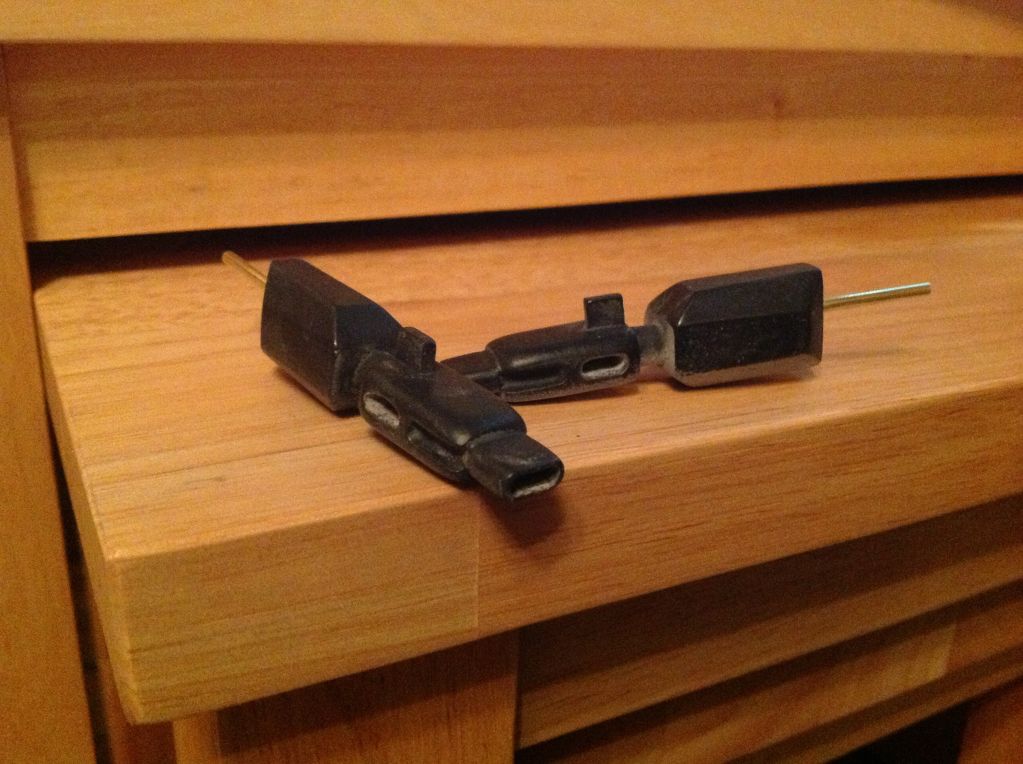
And opened up the gun a bit ![]() 
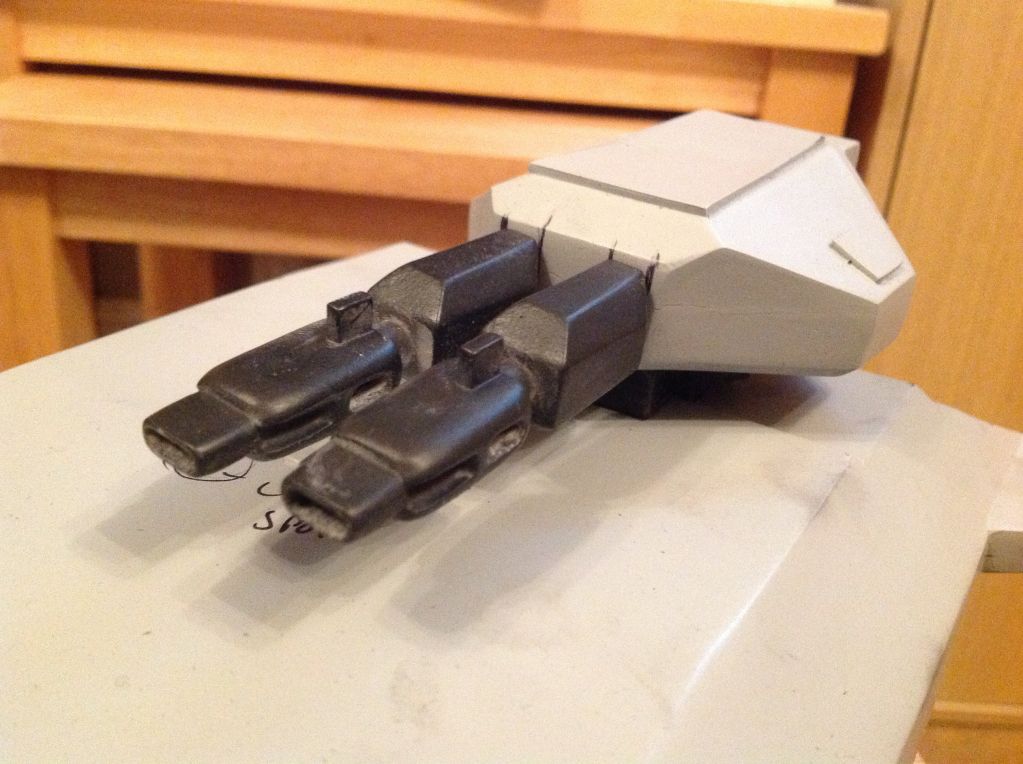
Test fit of the pinned bits ![]() 
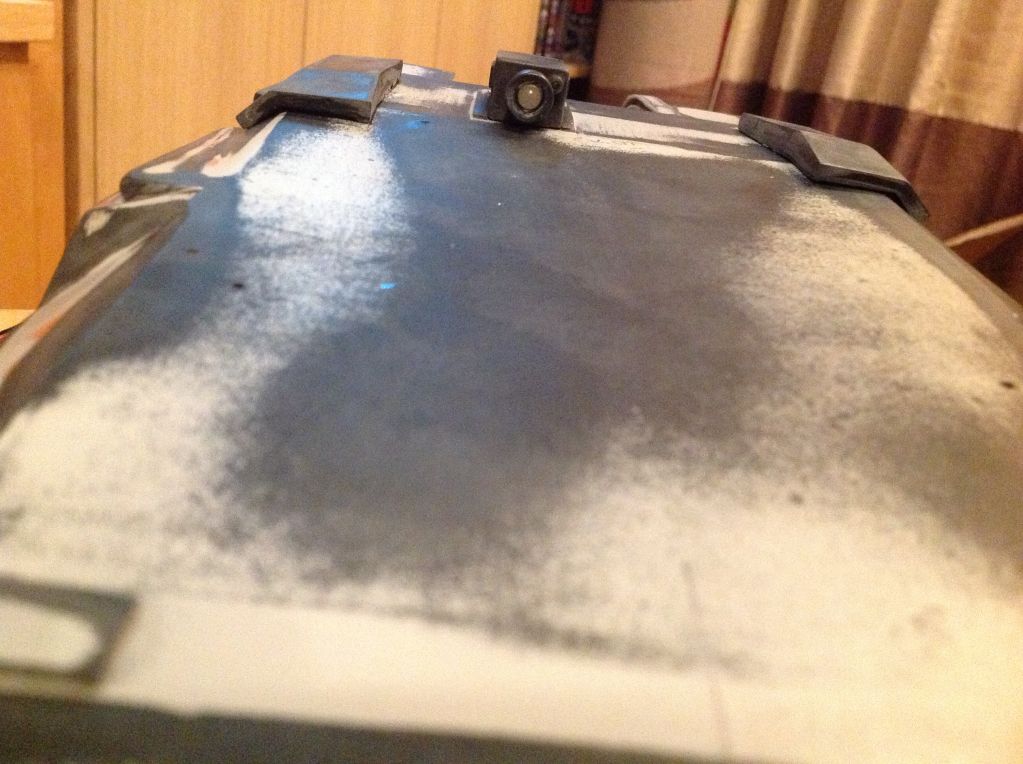
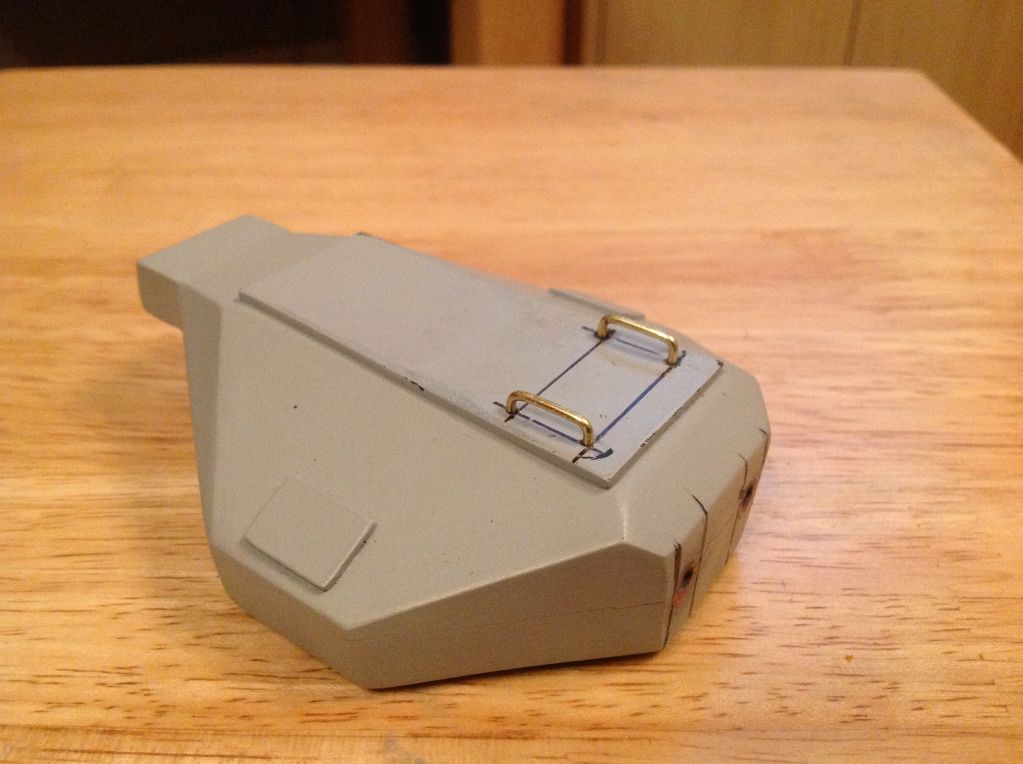
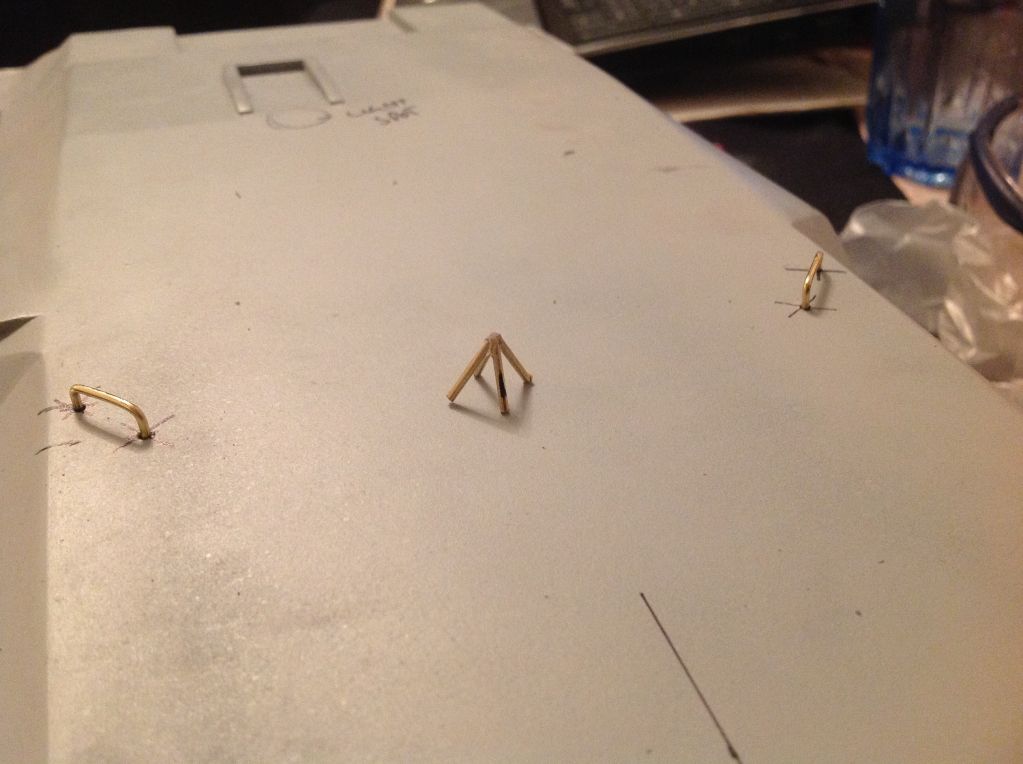
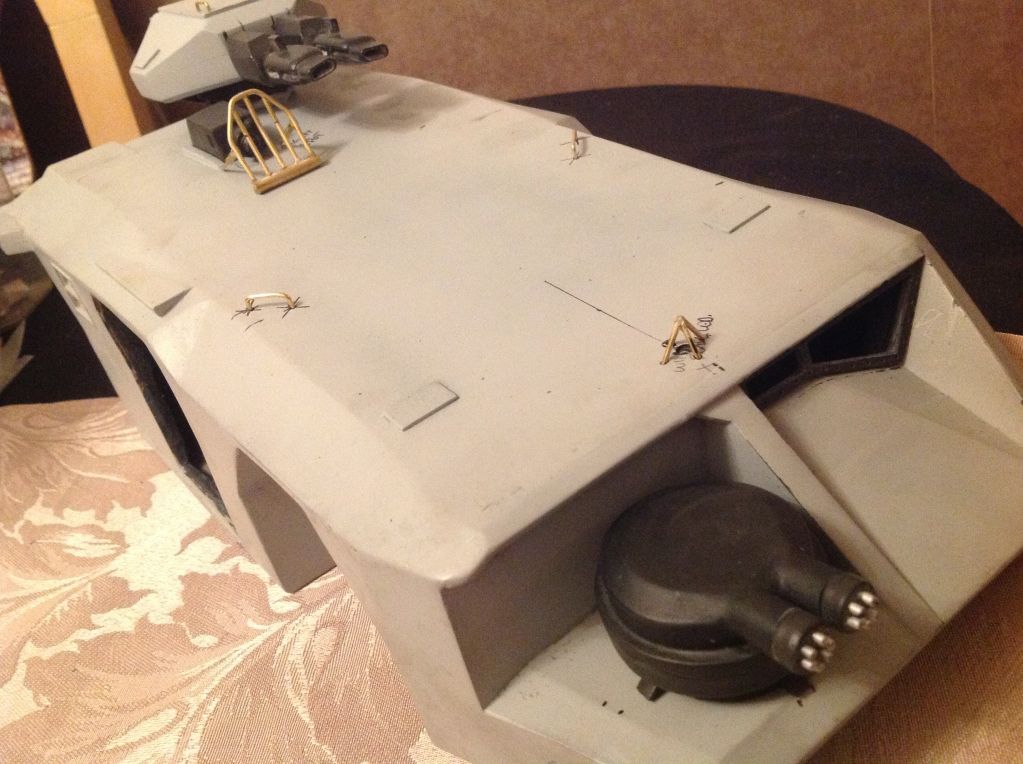
Added some grab handles ![]() ![]() 
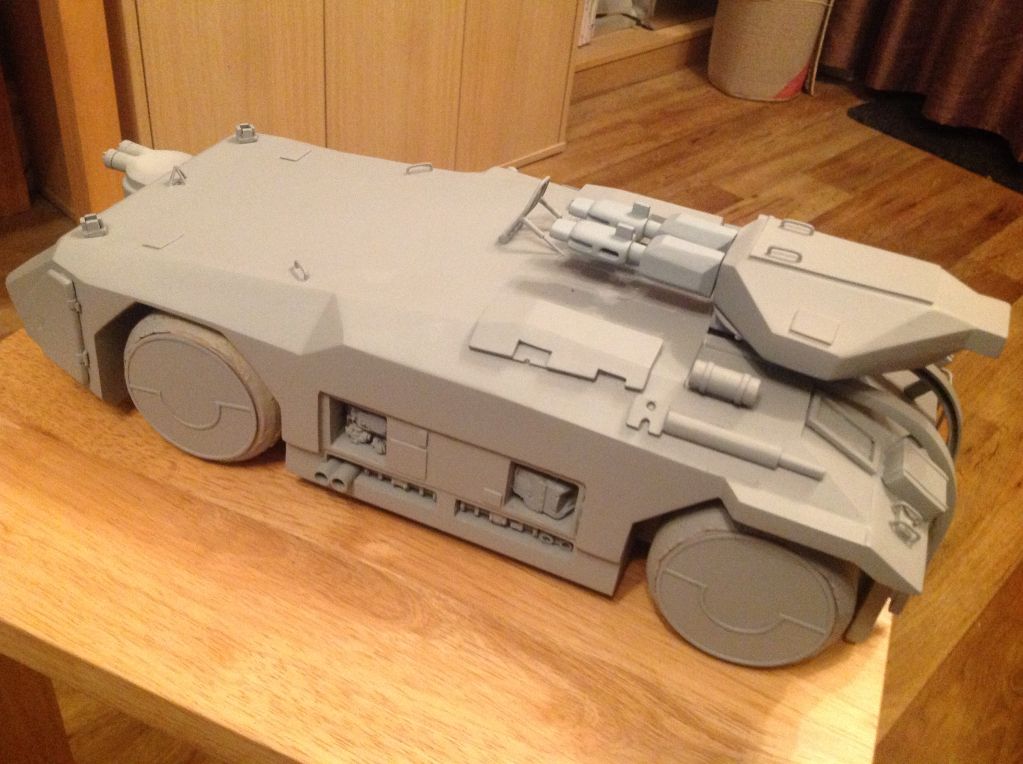
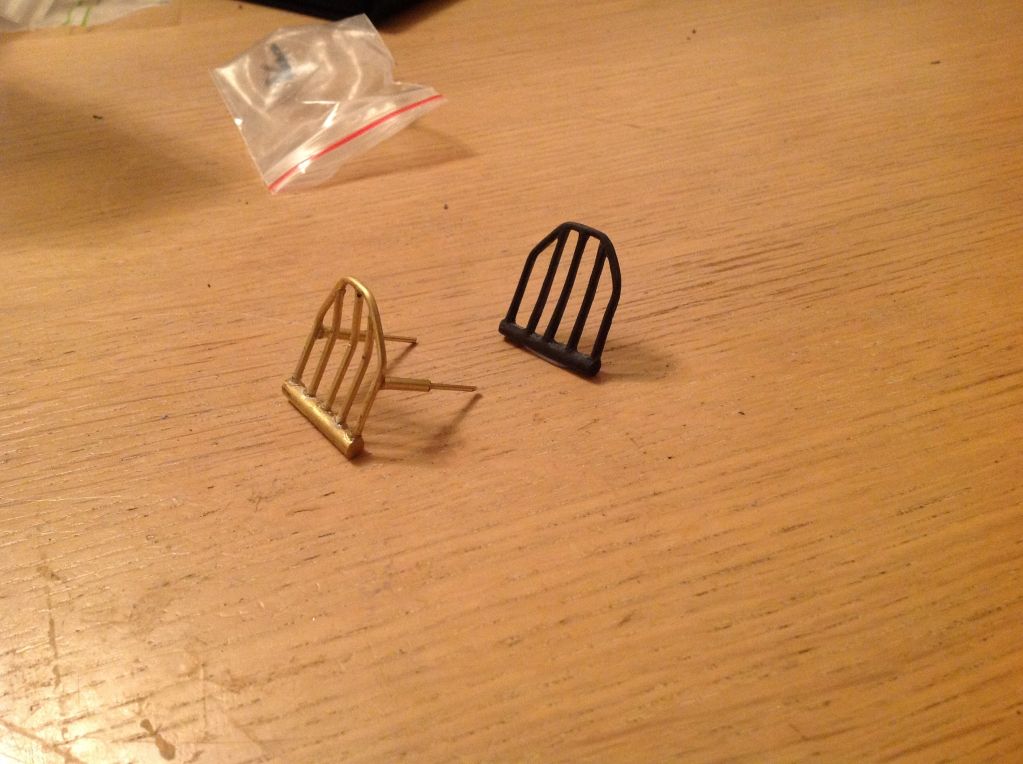
This is we're I got to change my mind on some parts, remakes the grille with pipe and super glue ![]() ![]() 
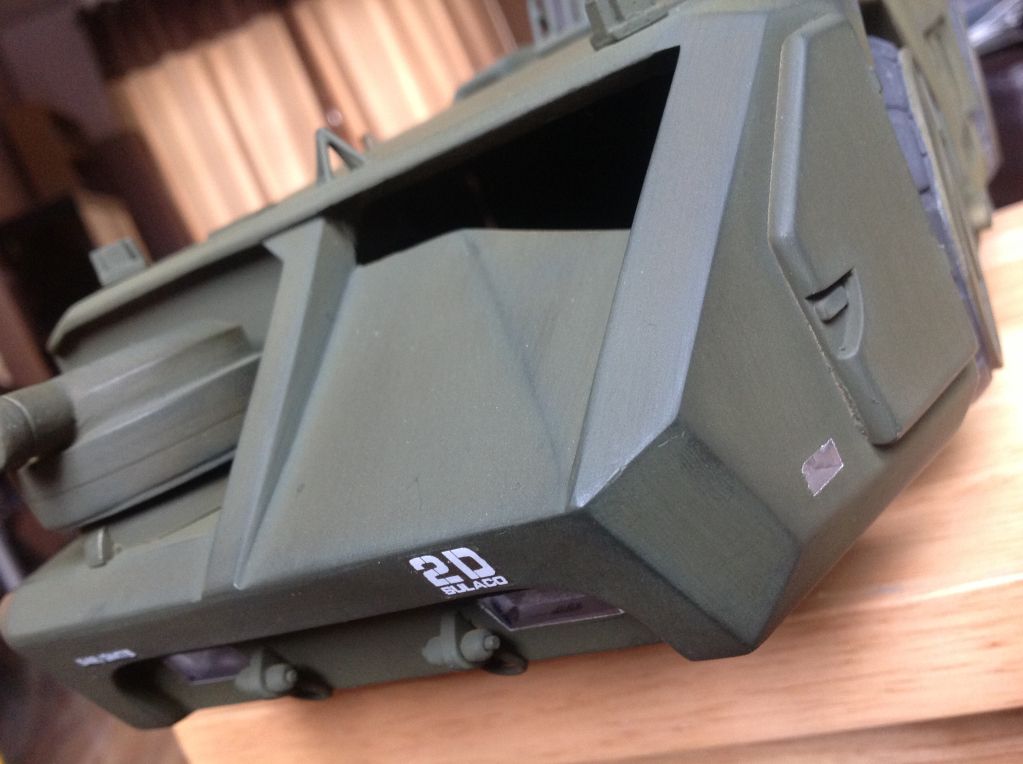
Also remade the front point ![]() 
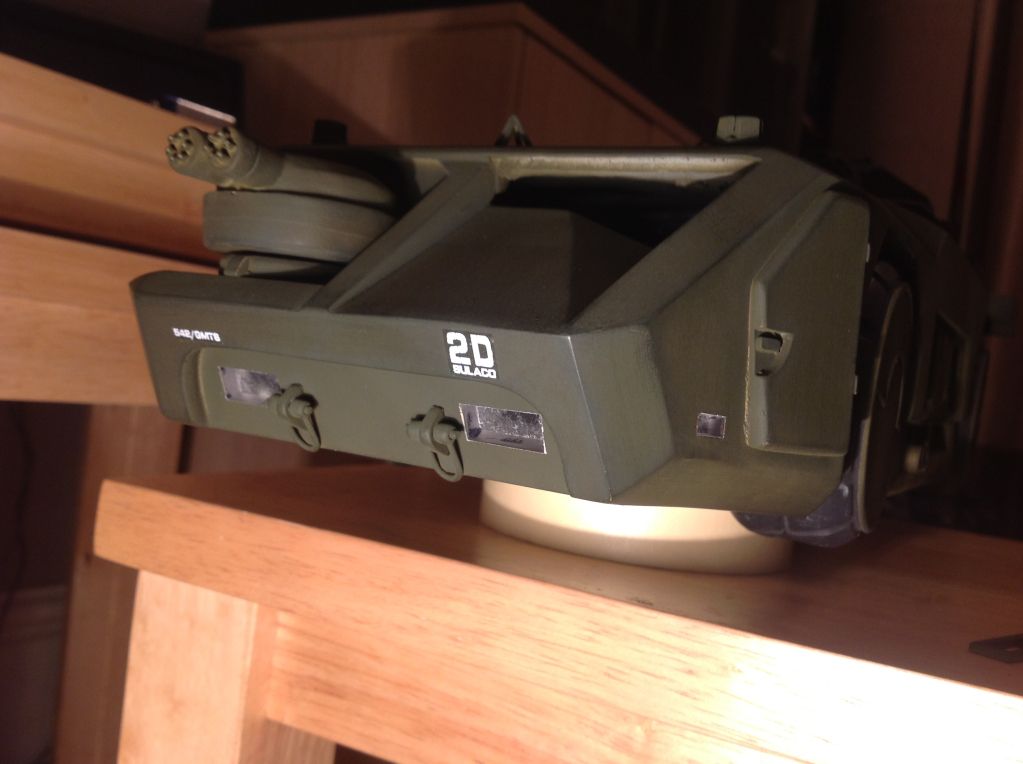
Added some towing clamps from necklace beads and pipe
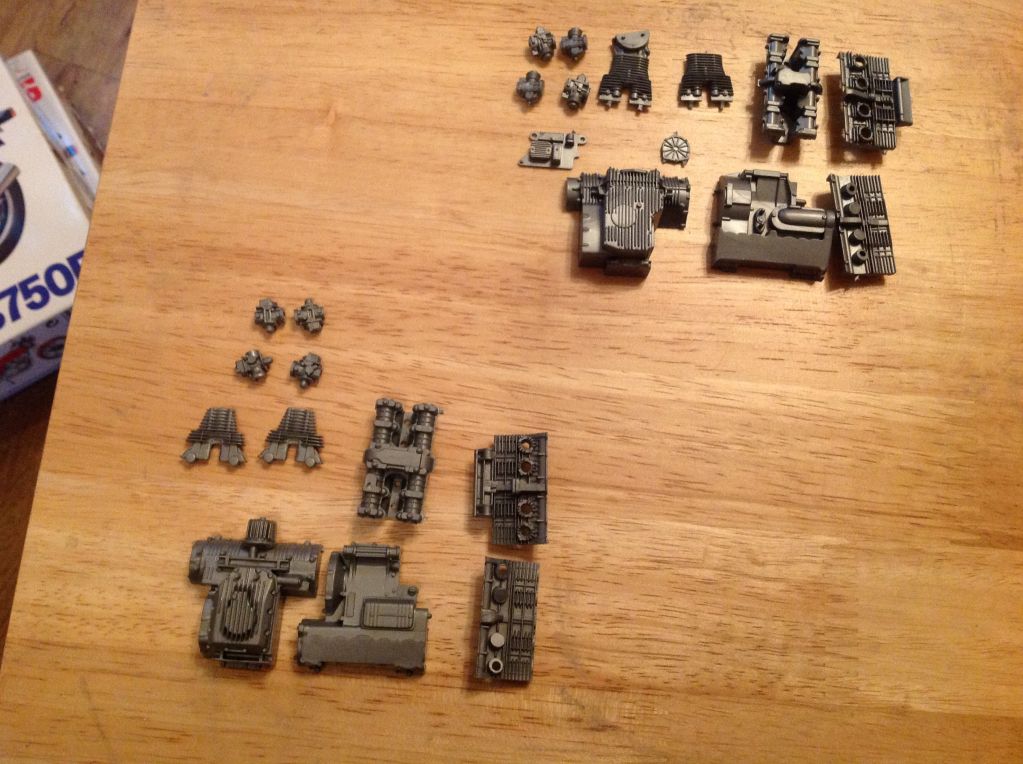
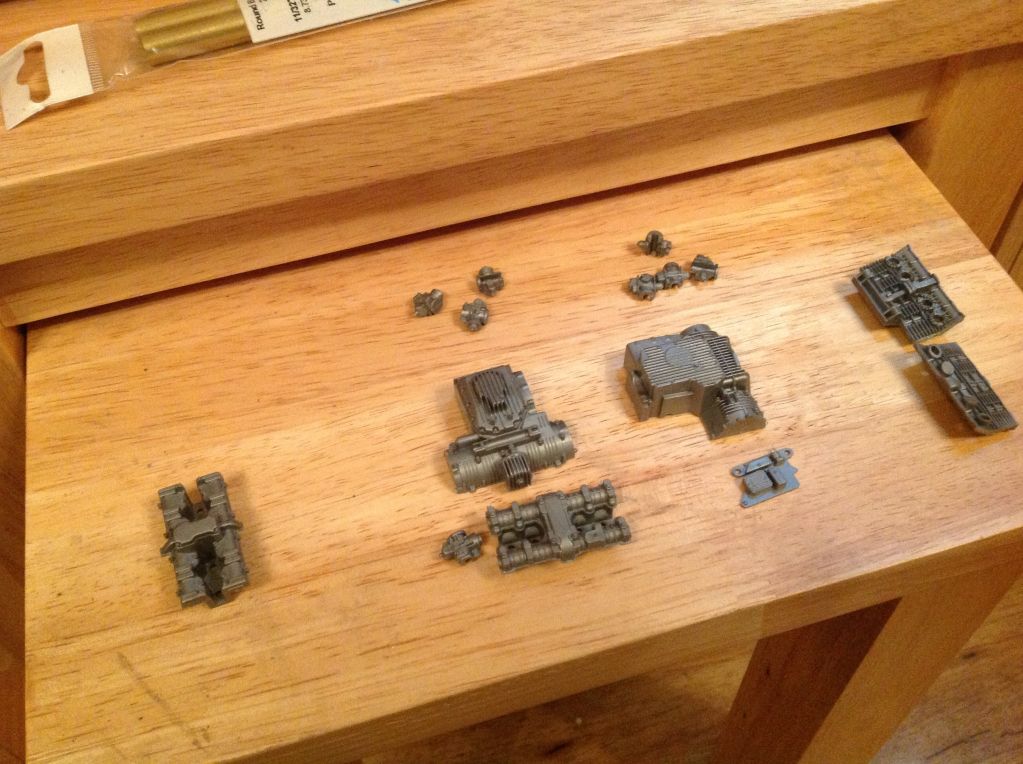
 ![]() Components so far ![]() 
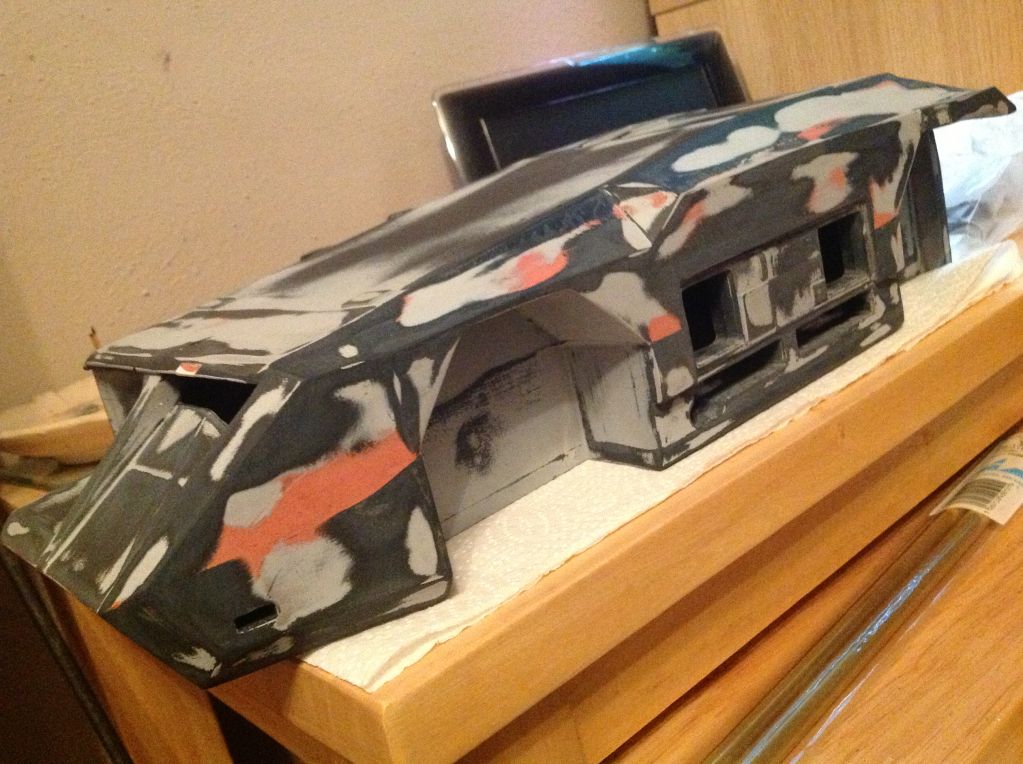
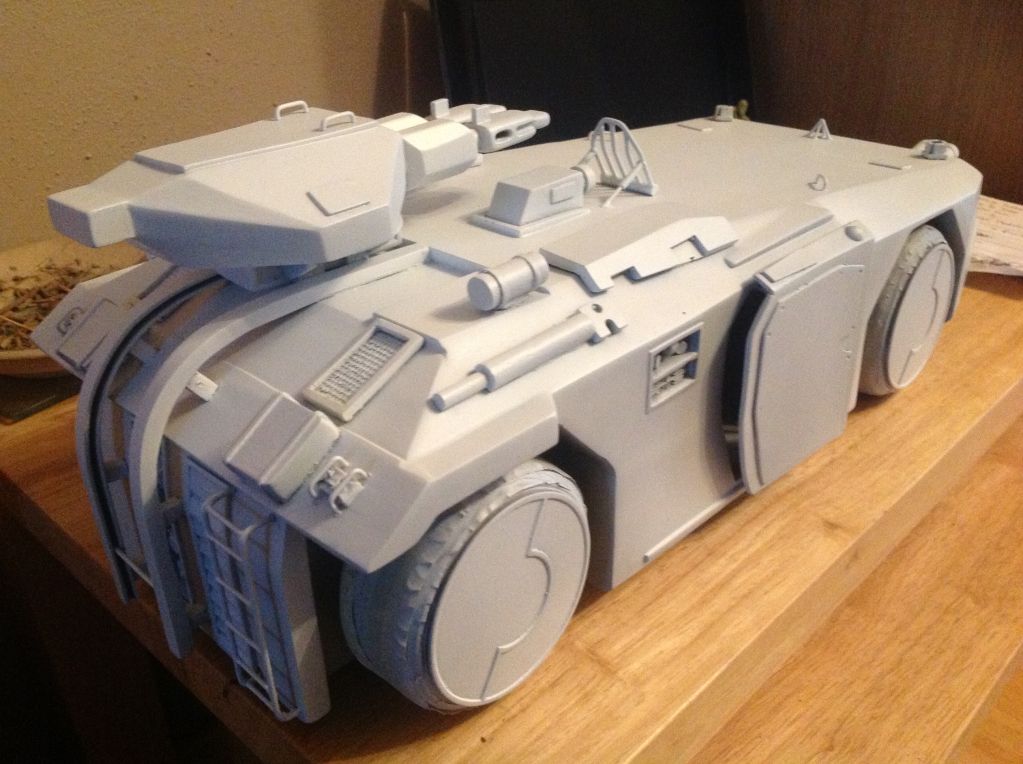
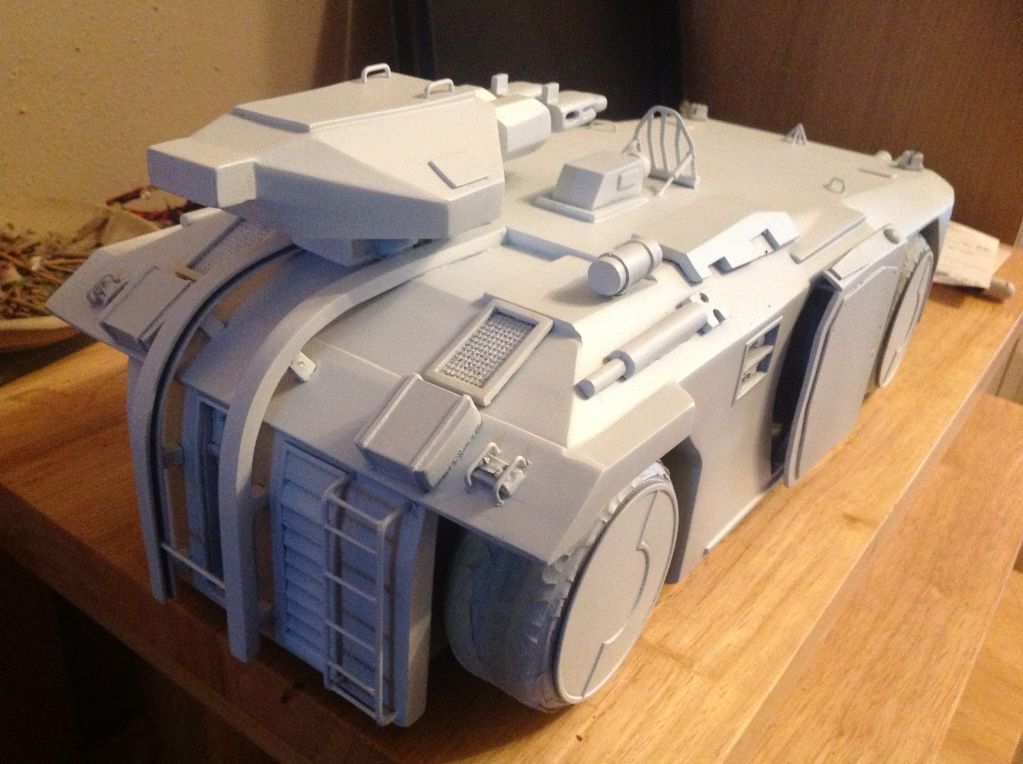
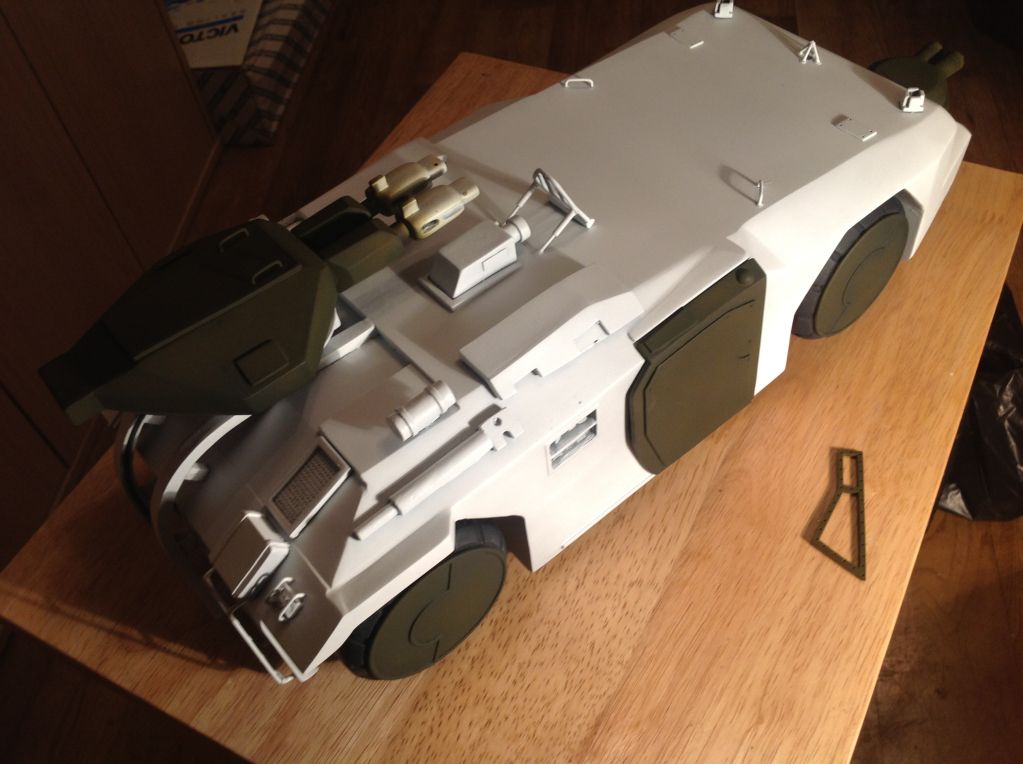
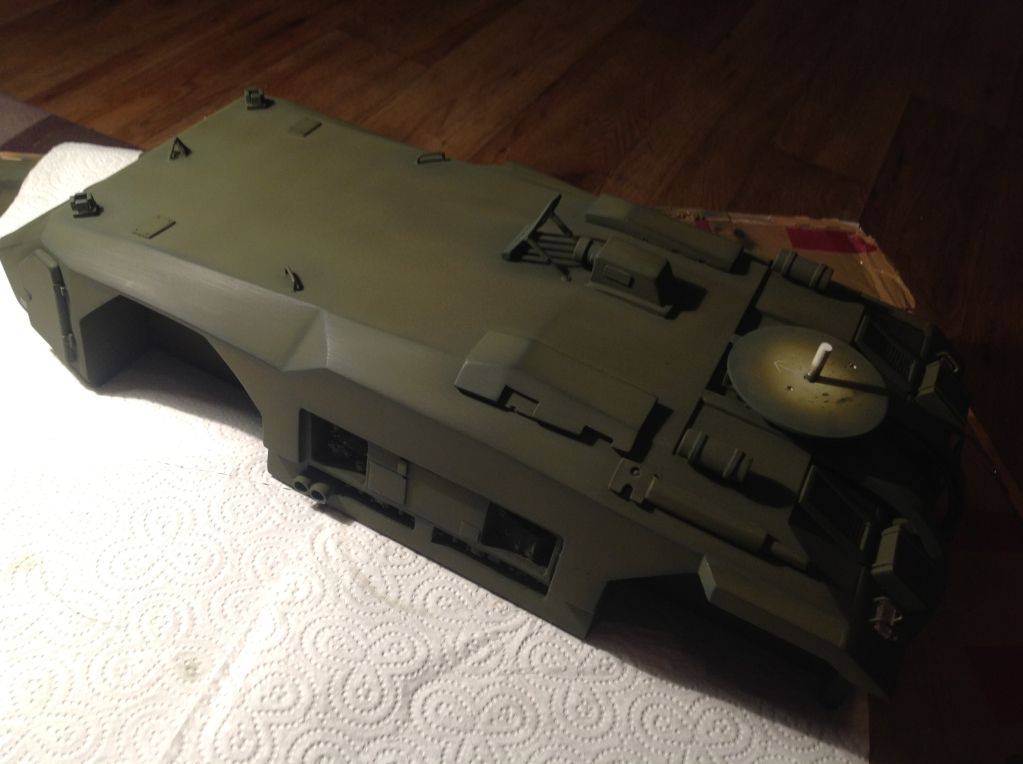
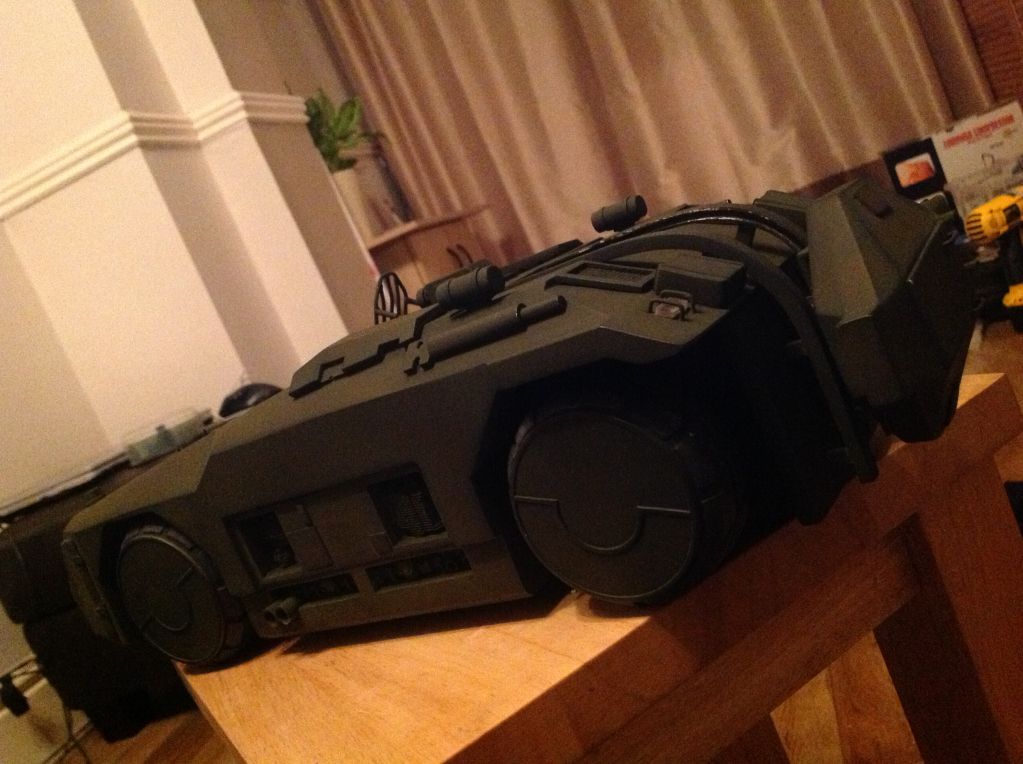
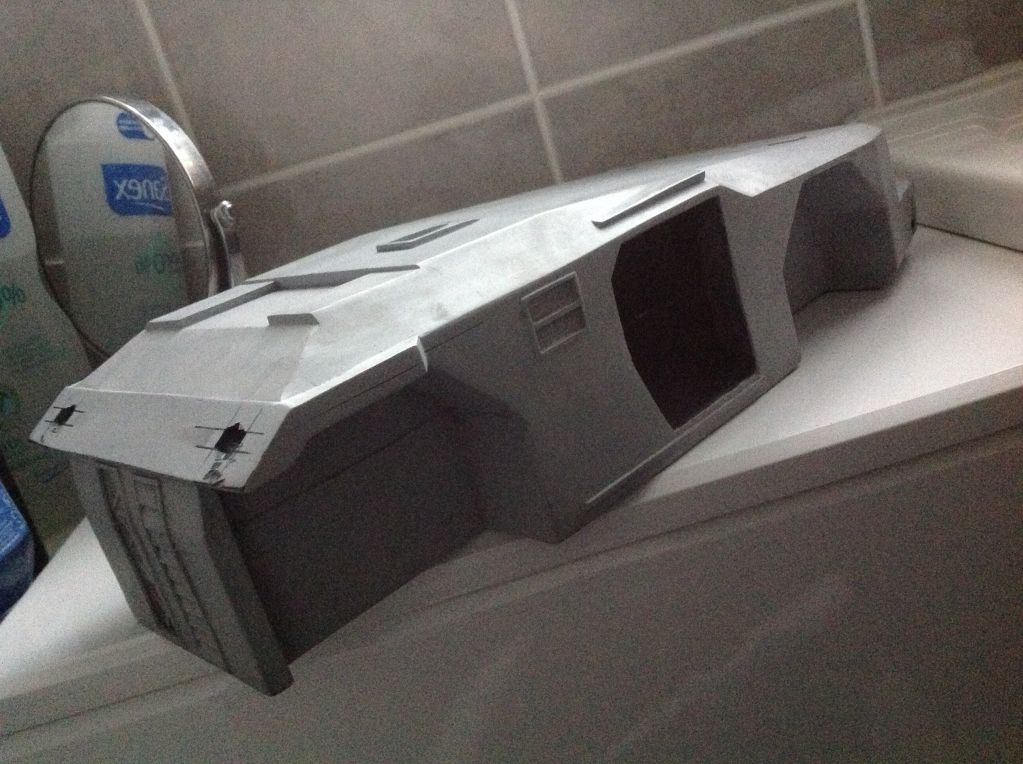
Now this is where rays prep work could really be seen, as I got smears, some glue spots I had to rub it down and decided to make the apc lines more defined......nothing wrong with rays stock model......I'm just being anal. You can clearly see how much work ray himself had put into it as a base kit when you start sanding. Most people would simply supply a raw kit but ray obviously hadn't
|
|
| Author: | who45 [ Sat Jan 12, 2013 8:05 pm ] |
| Post subject: | |
Another inspiration, decided to have some sort of visible engines and pipe work under the mesh grilles, of course it means dremel time again and filing down. A trip to the local model shop gave me these 2 items ![]() From which I selected some engine parts as the scale works well ![]() So time to dremel out some parts ![]() ![]() ![]() And made my final engine selection ![]() Gave the whole body a good rub, once again you can see the work ray put in to it as a kit and I feel a bit guilty taking it all off ![]() The parts go in ![]() The light goes in ![]() ![]() Light spread tested ![]() The remaining greeblies added, the engine bits in the back, the rail system for the gun and ladder go on. The turret will slide ![]() ![]() ![]() And a quick prime ![]() ![]() The engine parts in position ![]() Remaining parts on a dry fit ![]() ![]() Gun turret turns freely ![]() From behind ![]() Other side grilles and the rear gun in its transport position ![]() Rear light grab handles added from brass rods
|
|
| Author: | who45 [ Sat Jan 12, 2013 8:06 pm ] |
| Post subject: | |
Bringing this up to its current date, apart from the window, the tow hooks ....... It's got all the parts in primer of which it will now be flatted back and the reprimed in white and then flatted back for paint. Once that's done the LEDs will be glued in and wired. Then the grilles will go on. Anyway the build pics now up to date Wheels to go on ![]() ![]() ![]() ![]() Sitting on its own wheels ![]() ![]() ![]() Some fun with the marines ![]() Wheels masked ![]() And primer ![]() The beast primed ![]() ![]() ![]() ![]() ![]() ![]() Certainly looking more like an apc now, the side door is on a clip in system, I intend to house the electronics and power switch and power source inside the tanks door. |
|
| Author: | who45 [ Sat Jan 12, 2013 8:07 pm ] |
| Post subject: | |
White primer ahoy ![]() ![]() 2green tones, dark green for the highlights and olive drab ![]() You can see a colour shift between lights, looks brown here but until I get good natural light he pics look different colours....my theory if I'm happy under halogen light it will be fine under natural light. ![]() The tanks highlighting ![]() And the wheels ![]() Olive drab done ![]() You can see where I have re highlighted over the drab on the gun ![]() And on the front arch ![]() Happy with the arches I continued another dark green line on the tanks hull and edges, then to start the weathered look I took a bit of 3m material which is used for rubbing down car paintwork.....it's like a bit of material but not harsh......this will give a panel mark look I hope as well as blending in the greens so they shimmer in the light The turret line one and the 3m material used.... Blend is workin ![]() Made some gerber edge graphics onto clear adhesive ![]() And also tested one led ![]() ![]() With the green line done and the rub down.... Under poor light at 3am we have a good base start for the final stages of weathering. I'm being careful not to make it look old.....lets face it the tanks from the future so no rust .....just battle damage and smokes You can see now the green has changed after its rub ![]() And closer up the fine marring on one of the panels to make it not so new ![]() Here is the front end, bit more panel marring visible ![]() And the first daylight view of this after 4 nights of painting up ....I'd rather paint in the day but life's routine doesn't allow it ![]() ![]() Colour is really nice to my eye along with the toned down lines ![]() Clearly the colour shift can be seen in shade and light, I wasn't planning on it too much but I really like it ![]() ![]() ![]() I'm also really pleased with how the Perspex lights came out over the front and back ![]() ![]() ![]() I think this pic sums the paint so far which is very basic to do........it looks mean [IMG]http://i1095.photobucket.com/albums/i475/st200rich/aliens%20apc/3581c143fad7eb5805177dd0003a05ce.jpg[/ So detailing time with humbrol metal coat enamels, the grilles, window frame, wire the LEDs, glue the wheels on the poles, some wider weathering is my next stage to do |
|
| Author: | who45 [ Sat Jan 12, 2013 8:07 pm ] |
| Post subject: | |
The colour isn't as green as some images show..... The colour in life is pretty much this..... The slight panel marring visible too
|
|
| Author: | Willie Goldman [ Sat Jan 12, 2013 8:48 pm ] |
| Post subject: | |
Love the painting and weathering, great job. |
|
| Author: | Spatman [ Sat Jan 12, 2013 8:56 pm ] |
| Post subject: | |
Gorgeous! |
|
| Author: | MattRendar [ Sat Jan 12, 2013 9:52 pm ] |
| Post subject: | |
Frigging amazing! Great post, great modeling skills. Looks awesome. |
|
| Author: | capn thrag [ Sat Jan 12, 2013 10:04 pm ] |
| Post subject: | |
Amazing work on this i have 1 question were can i get me this kit lol |
|
| Author: | Osmotic [ Sat Jan 12, 2013 10:17 pm ] |
| Post subject: | Re: Building the apc...... Pic heavy |
Ooooooooh very nice |
|
| Author: | SgtTony [ Sat Jan 12, 2013 10:42 pm ] |
| Post subject: | |
No words....just...
|
|
| Author: | hunterkiller86 [ Sun Jan 13, 2013 12:17 am ] |
| Post subject: | Re: Building the apc...... Pic heavy |
absolutely badass! amazing looking model you have there! does the debarking door move too? |
|
| Author: | Scapey [ Sun Jan 13, 2013 12:51 am ] |
| Post subject: | |
That is a thing of beauty! |
|
| Author: | SGM Baldwin [ Sun Jan 13, 2013 5:18 am ] |
| Post subject: | Re: Building the apc...... Pic heavy |
This thing is horrendous. I can't believe you would post photos of something this sub-grade on our forum. Please ship it immediately to me for proper disposal. Seriously? Boss. |
|
| Author: | Alien1099 [ Sun Jan 13, 2013 9:49 am ] |
| Post subject: | |
Amazing work. Seriously you have some major talent and patience. |
|
| Author: | geo71 [ Sun Jan 13, 2013 3:32 pm ] |
| Post subject: | Re: Building the apc...... Pic heavy |
WOW!!!!! Absolutely stunning!!!! We want more!!!! keep the pics coming! |
|
| Author: | 577_ops [ Sun Jan 13, 2013 4:48 pm ] |
| Post subject: | Re: Building the apc...... Pic heavy |
Amazing work!! Thanks for sharing. |
|
| Author: | DATA [ Sun Jan 13, 2013 6:03 pm ] |
| Post subject: | Re: Building the apc...... Pic heavy |
Very nice and soo much work gone into this. Cheer's Steve |
|
| Author: | who45 [ Sun Jan 13, 2013 7:19 pm ] |
| Post subject: | |
Thanks guys, in answer to thrag..... Ray22 on the rpf sells them, he is also on here I think. The door won't slide, I couldn't manufacture a clean working method, and also the electronics and wiring are going in there. The door will pull on and off for battery and switch access. With regards to having patience, this one was nothing in comparison to my 1/350 3 foot enterprise build. To save 800 images being simply go to photobucket and search my username st200rich, there's a few albums in |
|
| Author: | who45 [ Sun Jan 13, 2013 7:20 pm ] |
| Post subject: | |
Little work done today but boy it was time consuming trying to get the LEDs in position and then somehow bond it all in.......after some swearing, loss of patience and comming back we now have the electronics fitted, 4 LEDs at the front in white, 2 at the rear in ultraviolet colour..... I've seen many do red lights but when the apc enters the colony it has a purplly blue white look to it, and finally the strobe circuit and led in position.....oh hang on there's also a red led inside the cockpit as well as some tamiya clear red on th inside of the window. The window cut from clear Perspex and glued ![]() The strobe circuit and all the LEDs go in ![]() The turret goes on ![]() It turns ![]() And slides down. It won't fall off the bottom as there are a couple of rods in the track ![]() And a side pic of the turret in its back mode ![]() And a quick peek at the lights fom above ![]() More pics soon of the next stages...... Engine painting, grill covers, and some powder weathering to give her a been to battle look. Everything's basically glued on the apc now |
|
| Author: | Trigger happy [ Sun Jan 13, 2013 9:34 pm ] |
| Post subject: | |
Great job mate. excellent detail work. |
|
| Author: | CPL Vengeance [ Mon Jan 14, 2013 5:24 am ] |
| Post subject: | Re: Building the apc...... Pic heavy |
i just shat myself. awesome job man. |
|
| Author: | Hudson [ Mon Jan 14, 2013 11:42 am ] |
| Post subject: | |
That is just too awesome! I especially love the tiles made for the Aliens Swarm Pack figures! |
|
| Author: | king_p90 [ Mon Jan 14, 2013 11:49 am ] |
| Post subject: | |
That's stunning, can't wait to see the full diorama. |
|
| Author: | Svenza [ Mon Jan 14, 2013 1:19 pm ] |
| Post subject: | |
It is just great ! Some talent there ! |
|
| Page 1 of 3 | All times are UTC [ DST ] |
| Powered by phpBB © 2000, 2002, 2005, 2007 phpBB Group http://www.phpbb.com/ |
|